
diy fabric storage boxes for clothes solve a very specific problem: you want storage that looks tidy, fits your shelves, and doesn’t collapse the moment you pick it up. Store-bought bins can be pricey, oddly sized, or flimsy, and cardboard options often wear out fast when they’re in daily rotation.
This guide walks you through a realistic, repeatable build you can finish in an afternoon, plus a few variations for closets, linen cabinets, and cube organizers. You’ll also get a quick sizing formula, a small materials cost table, and a checklist to help you choose the right stabilizer so your box holds its shape.
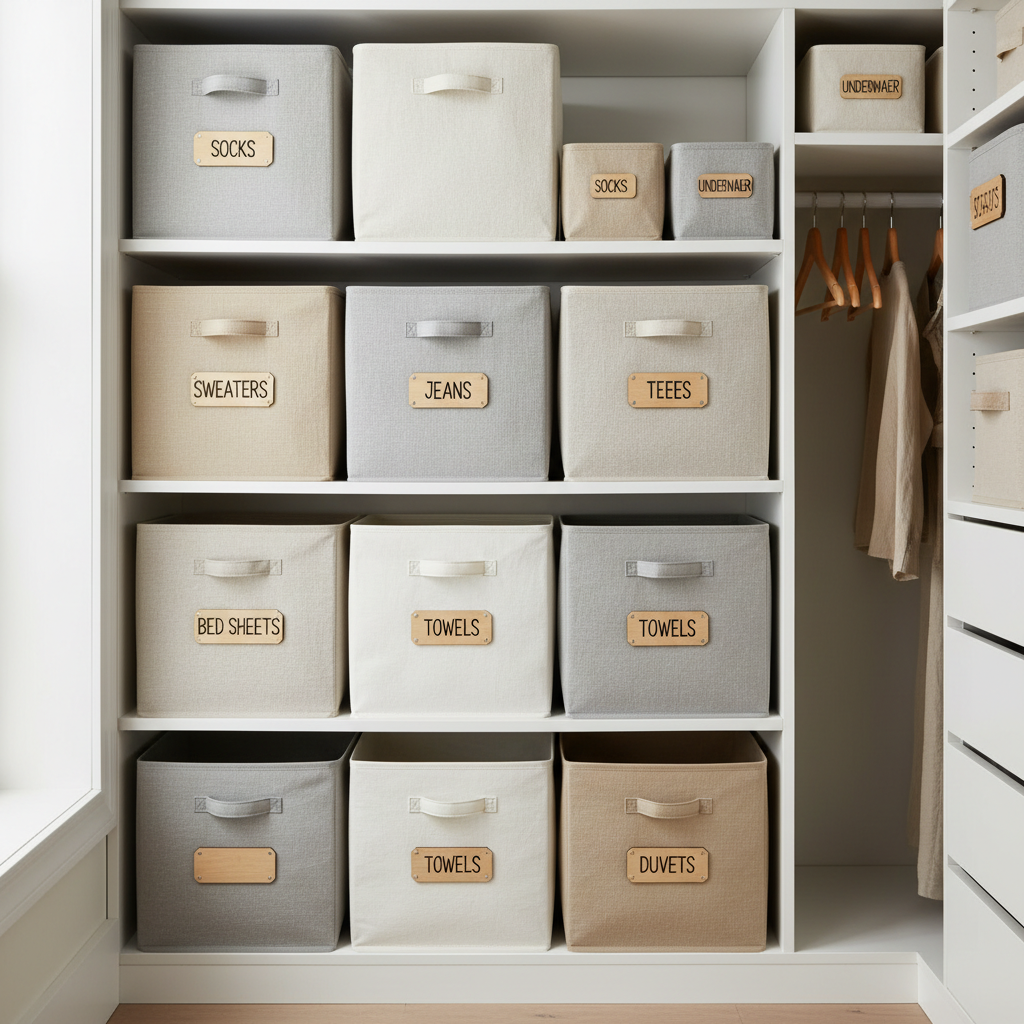
One quick note before you cut anything: most “DIY storage box” tutorials skip the boring part, structure. The difference between a bin that stands up and one that slouches is almost always the insert choice and how you reinforce the corners.
What makes fabric storage boxes sag (and how to avoid it)
If you’ve tried this before and ended up with a floppy cube, you’re not alone. The usual culprits are pretty consistent.
- Stabilizer too thin: craft felt and lightweight interfacing can’t resist side pressure from clothes.
- No base support: without a firm bottom panel, the box “smiles” when you lift it.
- Stretchy fabric choice: some home décor fabrics behave, others shift under the presser foot and distort.
- Weak seams at stress points: corners and handle areas take the load, so standard seams may pop over time.
According to the U.S. Consumer Product Safety Commission (CPSC), safer home storage often comes down to using products as intended and avoiding unstable setups, so for heavier loads, plan sturdier inserts and don’t stack bins where they can tip into walkways.
Quick self-check: which box style do you actually need?
Before you pick fabric, decide how the box should behave in your space. This saves you from building a beautiful bin that doesn’t fit your routine.
- For daily clothes (tees, leggings): medium rigidity, easy grab handle, washable liner helps.
- For sweaters or jeans: higher rigidity, reinforced base, wider handle or two side handles.
- For linens: larger footprint, breathable fabric, optional lid to reduce dust.
- For cube organizers (like 13-inch cubes): exact sizing matters, add 1/4–3/8 inch ease so it slides in/out.
If your shelves are slightly bowed, or the opening is tighter at the front than the back, build the box 1/2 inch smaller in width. It sounds minor, but it’s the difference between “glides” and “gets stuck.”
Materials and tools (with realistic substitutes)
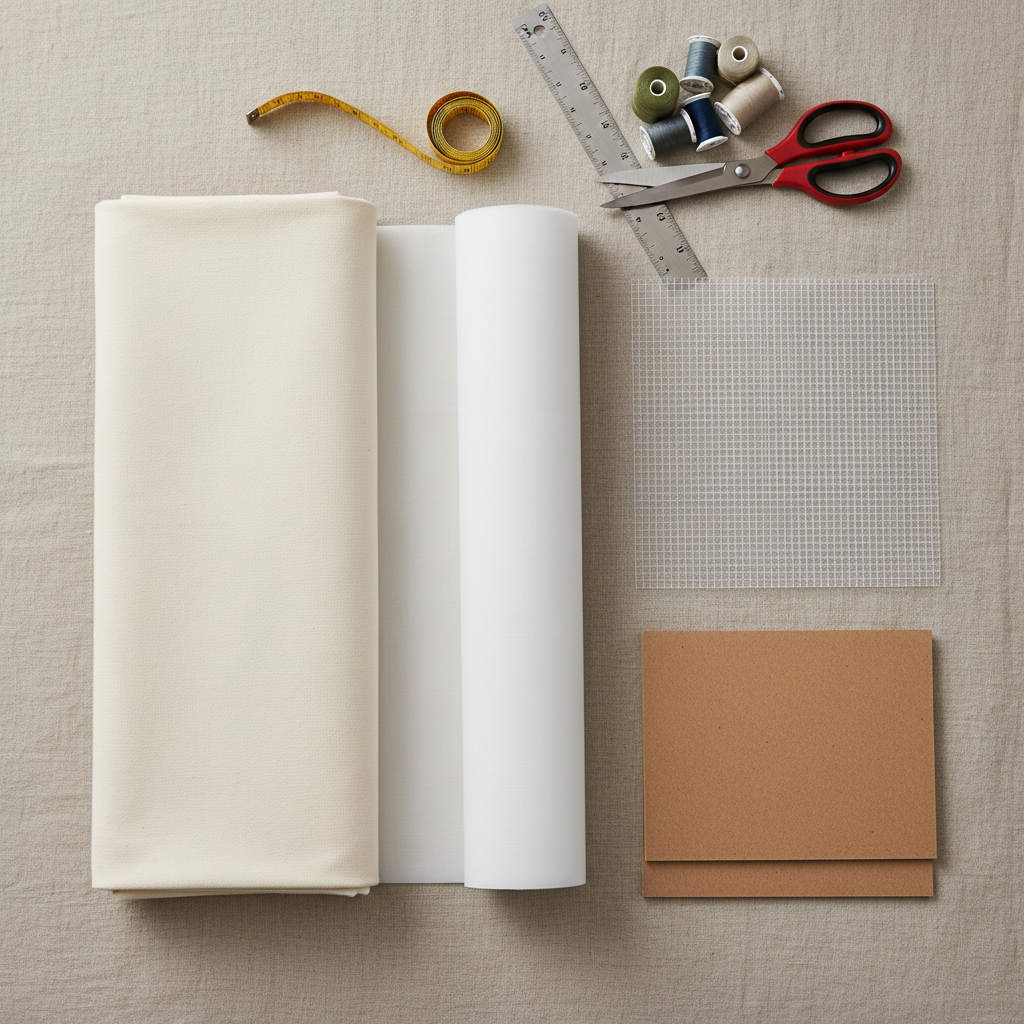
You don’t need specialty supplies, but you do need one structural layer that matches how much weight you’ll store.
| Item | Best for | Notes |
|---|---|---|
| Home décor cotton / canvas | Everyday clothes | Easy to sew, holds shape better than quilting cotton |
| Quilting cotton | Light items, liners | Usually needs a stronger stabilizer to prevent sag |
| Fusible fleece or heavy interfacing | Structure | Iron-on helps keep layers from shifting |
| Plastic canvas or corrugated plastic sheet | Insert panels | Great stiffness, easy to cut; sand edges if sharp |
| Chipboard / thin plywood base | Bottom support | Plywood adds weight; chipboard is lighter but can warp if damp |
Tool-wise, you’ll want fabric scissors or a rotary cutter, a ruler, clips/pins, and a sewing machine. If you’re hand-sewing, it’s possible, but you’ll want stronger thread and more patience at the corners.
Step-by-step: a sturdy fabric box that actually stands up
This build uses a fabric “shell” plus removable inserts. Removable matters because it lets you wash the fabric later without ruining the structure.
1) Measure your space, then add seam allowance
Measure the shelf opening: width, depth, height. Then subtract a little ease so the box slides smoothly.
- Finished box width = shelf width minus 1/2 inch
- Finished box depth = shelf depth minus 1/2 inch
- Finished box height = what looks good, usually 10–12 inches for clothes
For cutting fabric panels, add seam allowance (commonly 1/2 inch) on each side. If you prefer 3/8 inch, keep it consistent across all pieces.
2) Cut panels: outer, lining, and stabilizer
At a minimum you’ll cut outer panels and lining panels. If you’re using fusible fleece/interfacing, cut the same shapes for the outer panels.
- 2 long side panels
- 2 short side panels
- 1 bottom panel
- Optional: 1 lid panel (plus side strips)
For inserts, plan on 5 pieces: four sides and one base. Plastic canvas works well because it bends slightly without cracking.
3) Fuse stabilizer to the outer fabric (if using fusible)
Follow the stabilizer instructions for heat and time. Don’t guess here, uneven fusing causes bubbles that look messy and can weaken structure. If you’re not sure your iron temperature is stable, test on a scrap first.
4) Sew the outer shell, then sew the lining
Sew panels into a loop, then attach the bottom. Repeat for the lining, but leave a small opening if you plan to turn through it. Clip corners carefully so they sit crisp without bulky lumps.
- Reinforce corners with a second pass of stitching or a short zigzag bar tack.
- Press seams as you go, it helps the box hold a clean edge.
5) Add handles that don’t rip off
Handles fail when the stitching only grabs the fabric layer. You want the handle stitches to catch the stabilizer layer, or add a small reinforcement patch inside.
- Use cotton webbing, faux leather straps, or folded fabric straps.
- Stitch a boxed “X” pattern where the handle attaches.
If you store heavier clothes, two side handles are usually more comfortable than one front pull.
6) Assemble: lining + outer + inserts
Put the lining inside the outer shell, sew along the top edge, turn, then topstitch. Slide insert panels into place. If you want removable inserts, create simple inner sleeves (fabric channels) on the lining so panels don’t drift.
At this point, you have a box that behaves more like a real product, not a craft project.
Practical variations for closets, cubes, and linen shelves
The same pattern can adapt to different storage headaches, you just tweak a couple decisions.
Cube organizer version (13-inch style)
- Make the finished width/height slightly under your cube opening.
- Add a firm base panel, otherwise the bin bows when pulled out.
- Consider a front label window if multiple family members use the system.
Linen cabinet version
- Go wider and lower for folded sheets.
- Breathable fabrics (cotton canvas) help reduce musty smell in humid areas.
- Add an optional simple lid to cut down dust.
Closet shelf “soft basket” version
- Use softer inserts on the sides, keep the base rigid.
- Skip sharp corners and round them slightly, it’s easier to sew and looks relaxed.
Key tips that save time (and prevent redoing the project)
- Pre-wash fabric when possible: if you plan to wash the cover later, pre-washing reduces surprise shrinkage. If your fabric has special finishes, check care instructions.
- Don’t oversize inserts: cut inserts slightly smaller than the finished panels so corners don’t bulge.
- Use clips, not pins on thick layers: pins distort heavy canvas and leave marks.
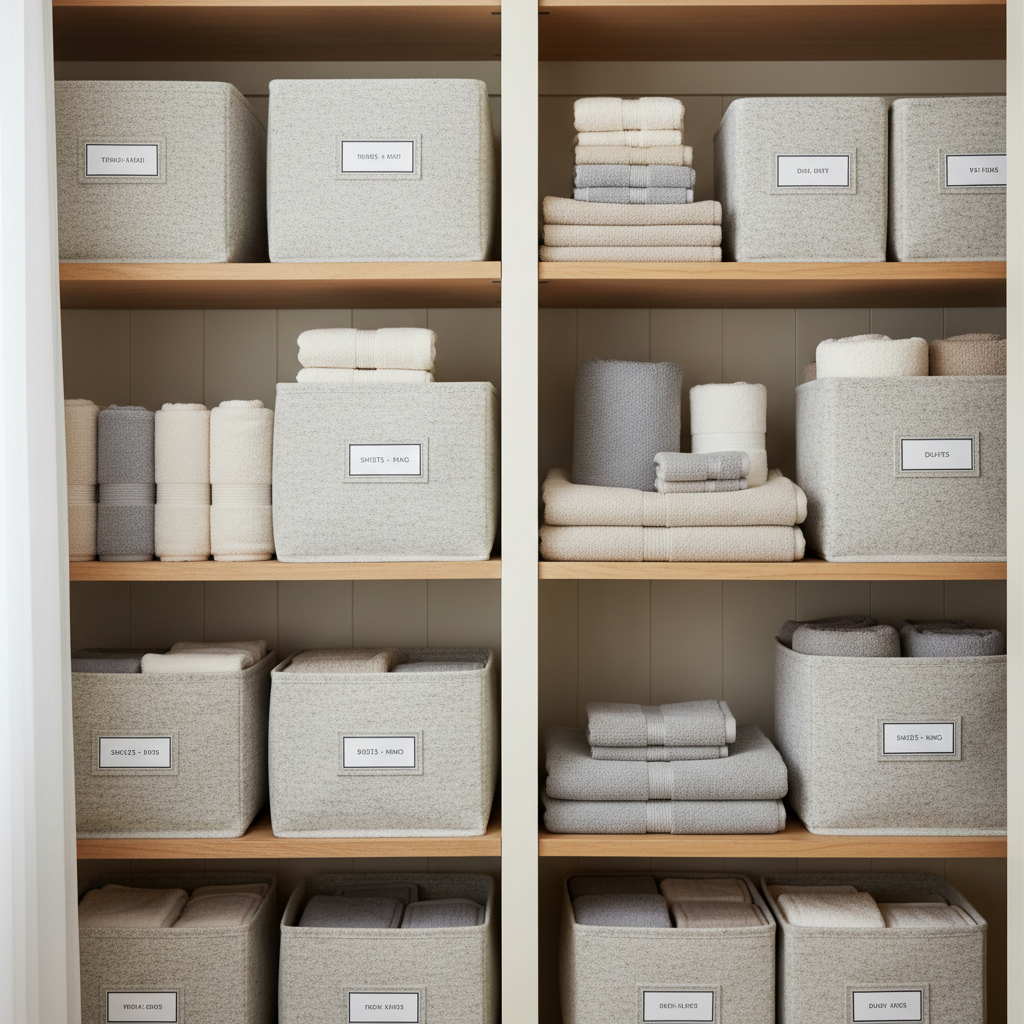
- Label early: people intend to label “later” and it rarely happens; add a simple tag loop while you sew.
If you’re aiming for truly crisp edges, topstitching near the top rim and adding a second line 1/4 inch below makes a noticeable difference.
Safety, care, and when to ask for help
If you use corrugated plastic or plastic canvas, check cut edges. Rough edges can snag fabric or scratch hands, a quick sanding helps. If you’re unsure what insert material is safe around kids or pets who chew, it’s sensible to choose less brittle options and keep bins out of reach.
For care, removable inserts make life easier. Spot-clean first, and if you machine wash the fabric cover, air-drying usually reduces warping. If you used fusible materials, very high heat drying can weaken adhesive over time.
If you’re building large lidded boxes, or you plan to store heavy items on high shelves, it may be worth asking a sewing pro or a handy friend for input on reinforcement, especially if the bin could fall and cause injury.
Conclusion: a good fabric box is mostly good structure
Once you treat inserts and corner reinforcement as non-negotiable, diy fabric storage boxes for clothes stop being a “cute weekend idea” and become a practical part of your closet system. Measure for your shelf, choose a fabric that behaves, and build the structure so the box keeps its shape even when you pull it one-handed.
If you want a simple next step, pick one shelf or one linen section, make one prototype box, then scale up only after you like how it fits and carries.
FAQ
What fabric works best for DIY storage boxes used for clothes?
Canvas and home décor cotton are usually the easiest because they resist stretching and hide wear. Quilting cotton can work, but it typically needs a stronger stabilizer and a firm insert set to avoid sagging.
How do I calculate the right size for cube organizer bins?
Measure the cube opening, then build the finished bin slightly smaller, often about 1/2 inch less in width and height. That small amount of ease keeps the bin from rubbing and makes it easier to grab when full.
Can I make fabric storage boxes without a sewing machine?
Yes, but it’s slower and the stress points matter more. Use strong thread, smaller stitches, and reinforce handle attachments. For heavy loads, a machine stitch tends to hold up better in many cases.
What can I use instead of plastic canvas for inserts?
Corrugated plastic sheets, chipboard, or thin plywood can work, each with tradeoffs. Chipboard is light but can warp if it gets damp, plywood is sturdy but heavier, corrugated plastic is a nice middle ground if edges are smoothed.
How do I keep the bottom from bowing when I lift the box?
Use a rigid base insert and make sure it sits flat inside the lining. Some people add a fabric sleeve or corner tabs inside so the base doesn’t shift when the box is dragged forward on a shelf.
Are DIY fabric storage boxes washable?
They can be, if you design for it. Removable inserts are the key, and pre-washing fabric helps. If you fuse stabilizer, gentler washing and lower heat drying often keeps the finish looking cleaner longer.
How much weight can a fabric storage box hold?
It depends on fabric, stitching, insert material, and handle construction. If you plan to store heavier clothing like jeans, build a stiffer box, reinforce handles, and test with a partial load before you commit to a whole set.
If you’re organizing a closet refresh and you’d rather skip the trial-and-error phase, it can help to start with one “reference bin” size and material plan, then repeat it across shelves so everything stacks and labels cleanly without constant tweaking.