
How to clean a washing machine filter is usually the fastest way to fix slow draining, mystery odors, and that “why are my clothes still gritty?” problem—without calling for service right away.
Most people don’t think about the filter until the washer starts acting up, and by then it’s often packed with lint, coins, hair ties, and sometimes a little sludge that smells worse than it looks. The good news, many filters are designed for regular cleaning, you just need the right approach to avoid a spill and a mess.
This guide walks you through locating the filter, cleaning it safely, and knowing when a “simple clean” won’t cut it. I’ll also point out common mistakes that cause leaks or error codes so you can skip the frustration.

What the washing machine filter does (and why it gets gross)
The filter is a small trap that catches debris before it reaches the drain pump. That includes lint, pet hair, tissue bits, and whatever was left in pockets. When it clogs, water movement slows and the washer may stop mid-cycle to protect the pump.
- Slow drain or standing water after a cycle
- Musty odor that returns soon after you “clean the drum”
- Extra vibration because water can’t drain at the right time
- Error codes related to draining, varies by brand
According to the U.S. Consumer Product Safety Commission, appliance safety starts with following manufacturer instructions, especially for maintenance tasks that involve water and electricity. If you can’t find your model’s manual, most brands host PDFs online.
Before you start: quick safety prep and what you’ll need
Cleaning a filter sounds simple, but the “surprise waterfall” is real, especially on front-loaders. Set yourself up so you stay calm when water shows up.
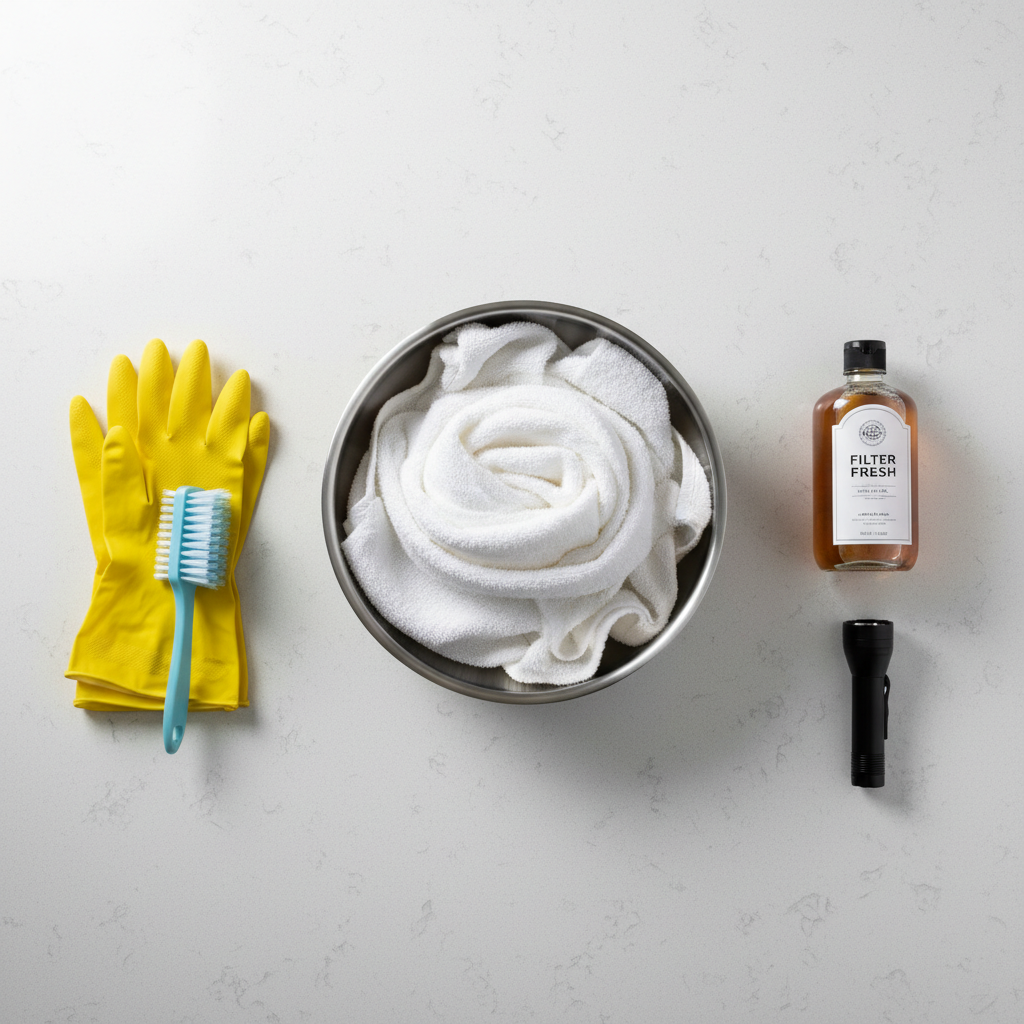
Supplies
- Towels or an absorbent rag
- A shallow pan or baking dish (for low clearance)
- Rubber gloves (optional, but you may prefer them)
- An old toothbrush or small nylon brush
- Mild dish soap and warm water
- Flashlight
Safety steps
- Unplug the washer or switch off the breaker if the plug is hard to reach
- Turn off water supply valves if you expect to move the machine
- Let hot cycles cool down if you just ran one
Key point: If your laundry area has no floor drain and you’re on an upper floor, go slower and use a shallow pan, a rushed filter clean can turn into ceiling stains.
Find your filter: front-load vs top-load (and what to do if you can’t)
Where the filter lives depends on washer type and brand. If you’re unsure, search your model number plus “filter location,” it’s usually quicker than guessing.
Most common locations
- Front-load washers: behind the small lower front access door or kick panel
- Some top-load washers: inside the center agitator or along the rim under the tub ring, many newer top-loaders have no user-serviceable drain filter
- Compact or European-style models: almost always a front access pump filter
If you truly can’t find a filter door and the manual doesn’t mention one, don’t force panels off. In many U.S. top-load models, lint management is handled differently, and “filter cleaning” really means cleaning the drum, dispensers, and checking the drain hose for kinks.
Step-by-step: how to clean a washing machine filter (front-load pump filter)
This is the classic process for a front-load pump filter. Your washer might look a little different, but the sequence usually holds.
- Open the access door at the lower front of the washer.
- Place towels and a pan under the filter area. If clearance is tight, slide a shallow baking dish under first.
- Drain water slowly if your washer has a small emergency drain hose. Pull the hose out, remove the cap, and let water flow into the pan.
- If there’s no hose, turn the filter knob gradually to let water seep out in a controlled way, pause as needed to empty the pan.
- Remove the filter fully once water stops, expect debris to come with it.
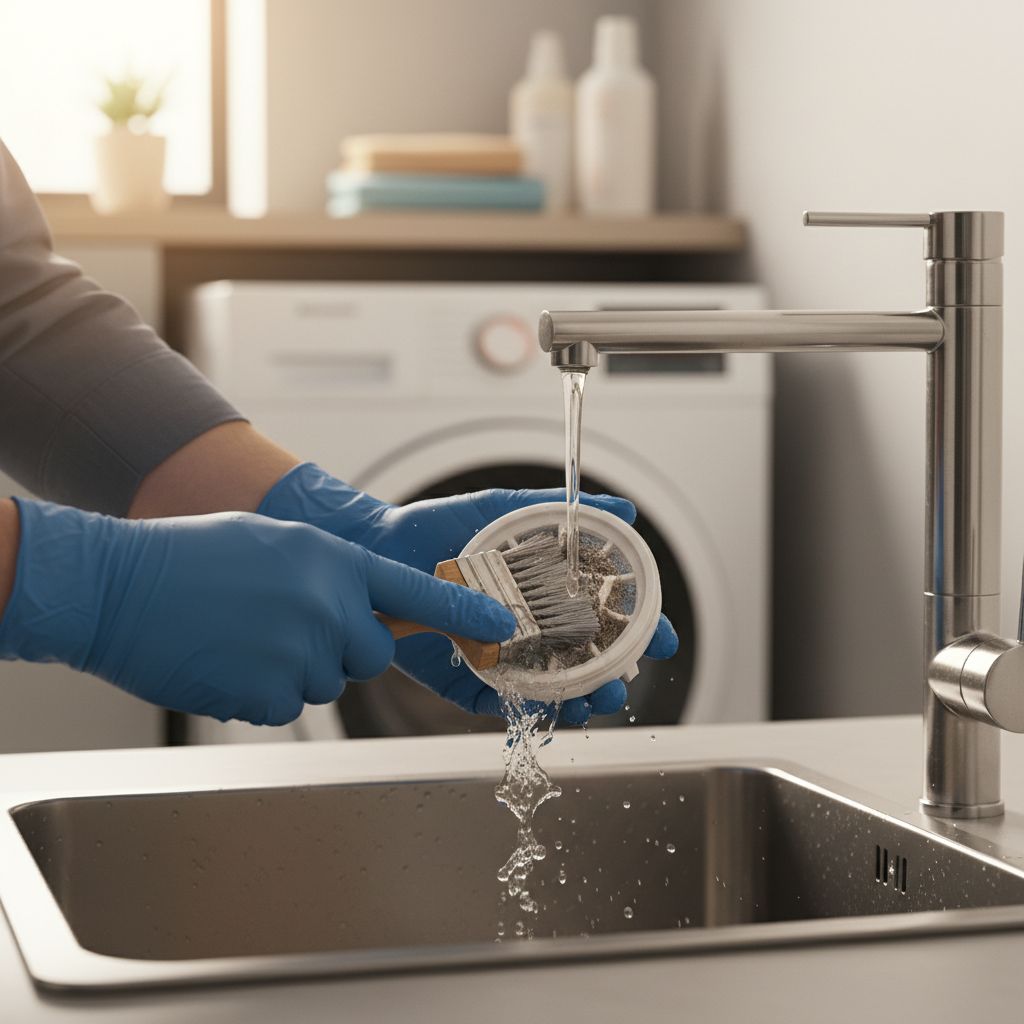
- Clean the filter with warm water and a small amount of dish soap, use a brush for stuck lint or slime.
- Inspect the filter housing inside the washer, remove coins, bobby pins, small socks, anything you can safely reach.
- Check the O-ring or gasket on the filter cap for cracks, flattening, or grit.
- Reinstall the filter firmly, it should seat evenly, no cross-threading.
- Run a short rinse/drain cycle and watch for leaks at the access door.
When people say they cleaned the trap but the washer still won’t drain, the usual culprit is debris past the filter, stuck in the pump impeller, or a partially blocked drain hose.
Quick self-check: is a filter clean enough, or do you have a bigger drain problem?
Use this checklist before you spend an hour repeating the same steps. It’s meant to help you decide whether to keep troubleshooting or escalate.
- Likely just the filter: you find obvious debris, washer drains normally after reinstall, odor improves within a few loads
- Could be a hose issue: filter is clean but drain is slow, hose behind washer is kinked, crushed, or pushed too deep into standpipe
- Could be pump trouble: loud buzzing/humming during drain, intermittent draining, repeated drain error even with a clean trap
- Could be a plumbing/standpipe clog: washer drains, then water backs up into the laundry sink or standpipe overflows
If you’re getting repeated drain errors after you know how to clean a washing machine filter and the trap stays fairly clean, it’s reasonable to stop and look at the hose path and household drain next.
Cleaning frequency, by real-life usage (table)
There isn’t one schedule that fits every household. Pet hair, detergent choice, and load size all change how quickly buildup happens. This table is a practical starting point.
| Household / Usage | Suggested filter check | What usually triggers earlier cleaning |
|---|---|---|
| Light use (1–3 loads/week) | Every 2–3 months | Wet towels, long idle gaps, musty smell |
| Average use (4–7 loads/week) | Monthly | Tissues in pockets, kid clothes, lots of lint |
| Heavy use (daily loads) | Every 2–4 weeks | Workwear, muddy items, frequent bulky loads |
| Pets in home | Every 2–4 weeks | Pet bedding, fleece, shedding season |
Rule of thumb: if you clean the trap and it’s nearly spotless each time, extend the interval; if you keep pulling out sludge and coins, shorten it.
Common mistakes that cause leaks, odors, or repeat clogs
A filter clean can backfire when the small details get skipped. These are the ones that show up again and again.
- Not draining first: you end up flooding the floor, then rush the reinstall, and the cap seats poorly.
- Cross-threading the filter cap: it feels tight but doesn’t seal evenly, leaks start on the next drain.
- Ignoring the gasket: hair or grit on the O-ring is enough to create a slow drip.
- Using harsh cleaners: strong bleach solutions or abrasive scrubbers can degrade rubber parts over time, mild soap is usually plenty.
- Overdoing detergent: excess suds can contribute to residue and funk, especially in HE machines.
If odor is your main complaint, cleaning the trap helps, but you may also need to wipe the door gasket folds (front-loaders) and run a manufacturer-recommended tub clean cycle.
When it’s time to call a pro (or at least stop and reassess)
Some situations look like a maintenance task but turn into a repair or a plumbing issue. It’s fine to draw a line.
- You see active leaking from underneath the machine after the filter is properly seated
- The washer makes grinding noises during drain, or the impeller won’t turn freely
- Drain errors keep returning and the filter area stays clean
- You suspect mold growth beyond surface areas, professional advice may be appropriate
- Water backs up into a sink/standpipe, suggesting a house drain clog that may need a plumber
According to EPA, moisture control and regular cleaning help limit mold growth indoors, but persistent or widespread mold problems often warrant professional assessment, especially if anyone in the home has sensitivities.
Practical finish: a simple routine to keep the filter cleaner longer
You don’t need a complicated system, just a few habits that keep debris out of the pump path.
- Empty pockets, especially tissues and coins
- Use HE detergent in HE washers, and measure it rather than free-pouring
- Leave the door ajar (front-loaders) so the gasket can dry, odor drops noticeably in many homes
- Run a rinse/spin after extremely linty loads if your machine tends to struggle draining
- Check the filter before and after washing pet bedding or small rugs
Key takeaways: A clean filter protects the pump, reduces smell, and helps your washer drain correctly. If cleaning doesn’t change symptoms, shift your focus to the hose, the pump, or your household drain so you’re not stuck repeating the same fix.
If you want one next step, put a monthly reminder on your phone and do a quick filter check, the first few times tell you a lot about how your household actually uses the machine.