
diy wooden floating shelf for bathroom toilet projects work best when you treat that wall like a real “wet-zone” surface: humidity, splash risk, and studs matter more here than in a living room.
If you’re tired of toilet paper stacks on the tank lid, cleaning supplies on the floor, or a tiny vanity that never seems to hold enough, a floating shelf above the toilet is one of the simplest upgrades that actually changes day-to-day use.
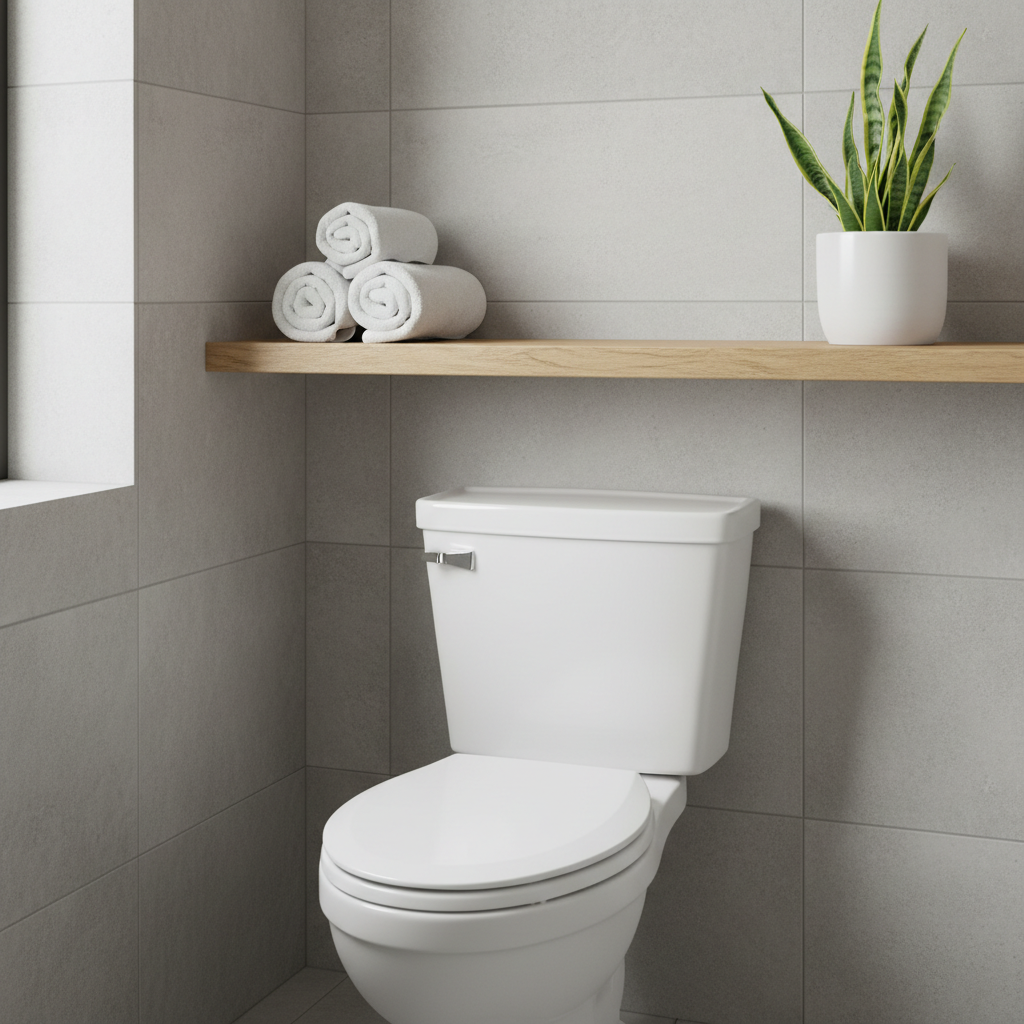
The catch is that “easy DIY” can turn annoying fast if the shelf sags, pulls out of drywall, or the wood finish gets blotchy from moisture. This guide helps you pick the right shelf depth, mount it safely, and finish it so it holds up in a real bathroom.
What makes the toilet-area wall different (and why shelves fail)
The toilet area feels like “dead space,” but the conditions are tougher than most people expect. Small mistakes show up quickly, usually as wobble, stains, or peeling finish.
- Humidity and temperature swings: hot showers push moisture into wood and fasteners, cheap finishes can haze or peel.
- Drywall anchors get overestimated: many floating shelf kits look strong, but a loaded shelf above the toilet often needs studs or heavy-duty toggles.
- Tank clearance: too deep, and you bump items every time you reach behind the toilet; too low, and the lid may not open fully on some models.
- Cleaning chemicals: sprays and disinfectants can spot unfinished wood or soften some paints over time.
According to the International Code Council (ICC), fastening and load considerations generally follow manufacturer instructions and safe anchoring practices, which is a fancy way of saying your wall type and fastener choice matter more than the shelf style.
Quick planning checklist before you buy wood
Before you cut anything, do a 10-minute check. It saves a lot of patching later.
- Wall type: drywall over studs, plaster, tile over cement board, or something else?
- Stud location: can you hit at least one stud with the bracket or cleat?
- Ideal shelf height: many bathrooms land around 24–30 inches above the tank lid, but confirm your lid clearance and comfort.
- Depth target: 5–7 inches is usually practical above a toilet, deeper looks nice but feels intrusive in tight bathrooms.
- What you’ll store: extra rolls and small baskets, or heavier items like glass jars and bulk cleaning refills?
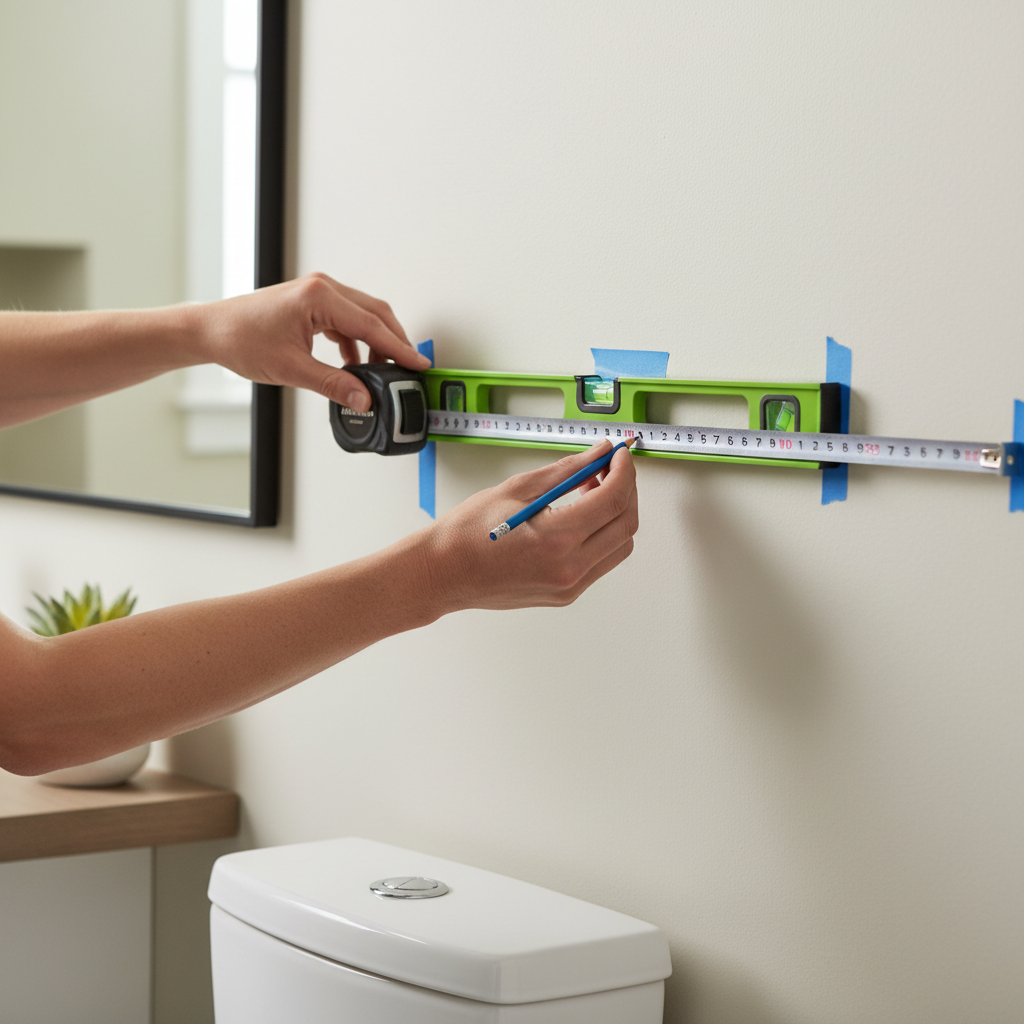
If you’re unsure about the wall build (common in older homes), it’s worth popping off a switch plate nearby or using a stud finder with “deep scan.” When in doubt, mount lighter and use wider shelf support.
Materials and tools that actually hold up in a bathroom
You can build a diy wooden floating shelf for bathroom toilet space with almost any wood species, but some choices behave better when moisture is part of life.
Wood options (practical picks)
- Pine: budget-friendly and easy to work, but dents easily and can blotch when stained unless you prep well.
- Poplar: great for paint, smoother than pine, usually stable for indoor bathrooms.
- Oak: harder and more durable, grain shows nicely with stain, costs more and needs sharp tools.
- Plywood with edge banding: stable and cost-efficient, especially for longer shelves.
Hardware that avoids the “wobble shelf” problem
- Floating shelf bracket rated for your span and load.
- 2.5–3 inch screws for stud mounting (confirm you won’t hit plumbing or wiring).
- Heavy-duty toggle bolts if studs aren’t available where you need support.
- Construction adhesive is optional, but don’t use it as a substitute for proper fastening.
According to the U.S. Consumer Product Safety Commission (CPSC), securing items to reduce tip-over and fall hazards is a key safety practice at home; the same common-sense logic applies to wall-mounted shelves in high-traffic areas like bathrooms.
Recommended shelf size and load: a simple table
These are “works in many bathrooms” ranges, not universal rules. If your wall is tile or your bracket is a different design, adjust accordingly.
| Use case | Typical length | Typical depth | Mounting approach |
|---|---|---|---|
| Light décor + 2–4 rolls | 18–24 in | 5–6 in | 1 stud + toggles OK |
| Basket storage + extra rolls | 24–30 in | 6–7 in | Prefer 2 studs or rated bracket |
| Heavier items (glass, bulk refills) | 24–36 in | 7–8 in | Hit studs, use quality bracket |
Key point: longer shelves look great, but the load and leverage increase fast. When people complain a floating shelf “never feels solid,” it’s often a long shelf with minimal anchoring.
Step-by-step: build and install the shelf (two solid methods)
There are dozens of designs, but in real bathrooms these two tend to perform: a bracketed floating shelf, or a cleat-based box shelf. Pick based on tools and patience.
Method A: Floating shelf bracket (fastest, clean look)
- Mark height and centerline above the toilet, then mark stud locations.
- Dry-fit the bracket with a level, mark holes, pre-drill into studs.
- Anchor non-stud holes with toggles rated for the load you expect.
- Cut and prep the shelf board, sand edges, test-fit on rods/arms.
- Attach shelf to bracket using the kit’s set screws or underside screws.
Method B: Cleat + hollow box shelf (strong, forgiving on uneven walls)
- Build a simple box: top, bottom, and face trim, leaving the back open.
- Install a wall cleat (a straight board) anchored into studs and leveled carefully.
- Slide the box over the cleat, then screw through the top/bottom into the cleat.
- Touch up seams with wood filler, sand, then finish.
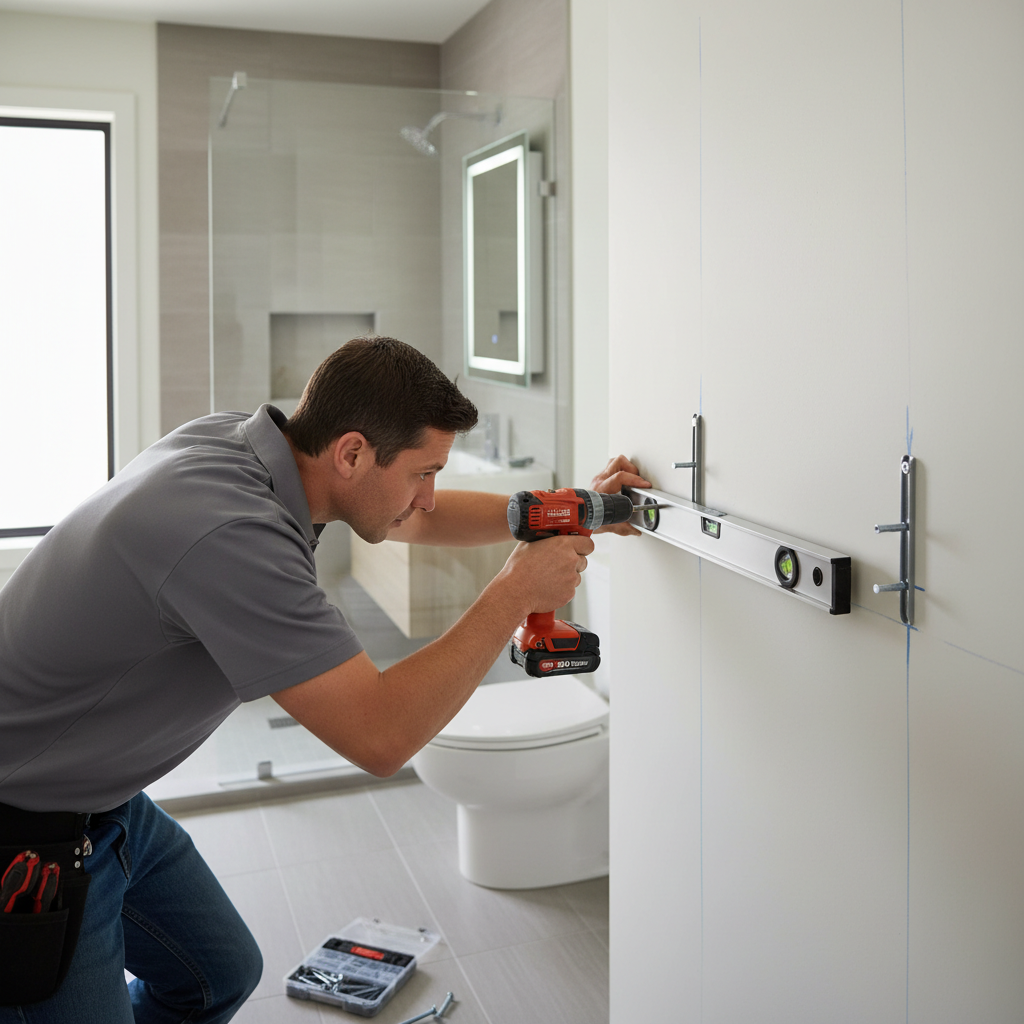
If your bathroom wall is tiled, drilling can chip tile and compromise waterproofing if done poorly. Many homeowners choose to mount into studs above the tile line when possible, or consult a contractor for tile-safe anchors and bit selection.
Finishing tips: keep wood looking good around moisture
A diy wooden floating shelf for bathroom toilet use can look amazing, but the finish is what keeps it looking that way after months of showers.
- Sand to 150–220 grit and remove dust thoroughly, dust left behind often becomes “rough finish.”
- Use a pre-stain conditioner on pine if staining, it reduces blotchy patches.
- Choose a bathroom-friendly topcoat: water-based polyurethane is common for low odor and quick curing; oil-based can be tougher but smells longer.
- Seal all sides, including the underside and back edges, moisture doesn’t only hit the front.
Let finishes cure fully before loading baskets and bottles. “Dry to touch” is not the same as “ready for daily humidity,” and rushing that part is an easy way to get permanent imprints.
Mistakes to avoid (the ones that cost you a weekend)
- Relying on small plastic anchors for a shelf you plan to load with refills and baskets.
- Mounting too low, then realizing you can’t open the tank lid or clean behind items.
- Ignoring the bracket’s depth, the shelf can end up sticking out more than planned.
- Overloading “floating” hardware, if the kit has no clear rating, assume it’s decorative-light duty.
- Skipping level checks, a slight tilt looks bigger over a toilet because you see it straight-on.
If you want one simple rule, make it this: mount for real weight, decorate for the look. Most bathroom shelves fail because people build for aesthetics and mount as an afterthought.
When to bring in a pro (it’s not just fear, it’s damage control)
Sometimes the “DIY part” is fine, but the wall is the wildcard. Consider professional help if any of these apply.
- You suspect plumbing vents or supply lines run where you need to drill.
- The wall is tile over unknown backing, and you’re not confident drilling without cracking tile.
- You have an older home with plaster or lath and anchors never seem to bite.
- You want a long shelf and plan to store heavier items, and you’d rather not experiment with wall repair.
A handyman or carpenter can usually mount quickly, and in many cases you’re paying for the confidence that the shelf stays on the wall.
Conclusion: a bathroom shelf that feels solid, not “pretty but fragile”
A diy wooden floating shelf for bathroom toilet storage is worth doing when you plan the load, respect the wall, and finish the wood like it belongs in a humid room.
If you only do two things this week, find studs (or pick proper toggles) and choose a finish that seals every side. That combo prevents most of the frustration people blame on “bad DIY.”
FAQ
How high should a floating shelf be above a toilet?
Many bathrooms feel comfortable with the shelf about 24–30 inches above the tank lid, but the real test is lid clearance and whether you can easily grab items without bumping them.
Can I mount a wooden floating shelf into drywall only?
It depends on load and hardware. For light décor, heavy-duty toggles can work, but if you expect baskets and refills, hitting studs is usually the safer route.
What’s the best wood for a bathroom floating shelf?
Poplar is a reliable paint-grade option, oak is durable for stain, and plywood can stay very stable for longer spans. The finish you choose often matters as much as the species.
How do I keep the shelf from warping in a humid bathroom?
Seal all faces and edges, avoid leaving raw end grain exposed, and let the finish cure fully. Also keep the shelf depth reasonable so it’s less likely to flex over time.
Is it safe to drill above a toilet?
Usually yes, but walls can hide vent stacks, electrical runs, or blocking. If you’re not sure what’s behind the wall, a stud finder with wire detection or a quick consult with a professional can reduce risk.
Should I use caulk around the shelf?
Most people skip caulk for a floating look, but a tiny bead at the back edge can help with minor gaps on uneven walls. Just remember caulk won’t fix weak mounting.
How deep should the shelf be so it doesn’t feel awkward?
In many standard bathrooms, 5–7 inches is the sweet spot. If the room is tight, shallower often feels better even if it means using a basket for extra storage.
If you’re building this and you want a more “no-surprises” path, it can help to choose a bracket kit with clear load guidance, then size your wood shelf to match, you’ll spend less time second-guessing and more time enjoying the extra storage.