
The best stackable plastic containers for pantry are the ones that seal reliably, nest or stack without wobbling, and match how you actually buy and use dry goods. If you pick based on looks alone, you’ll usually end up with lids that don’t fit, towers that slide, or “airtight” containers that still let cereal go stale.
This topic matters because pantry storage is less about organizing once and more about making everyday cooking easier. When containers stack well, you stop playing Tetris with bags and boxes, you can see what you have, and you waste less food.
One more reality check, “airtight” means different things across brands, and the right container set depends on whether you store flour and sugar, snacks for kids, pet food, or bulk grains. Below, I’ll break down what to buy, how to test what you already own, and how to set up a system that stays neat past week one.
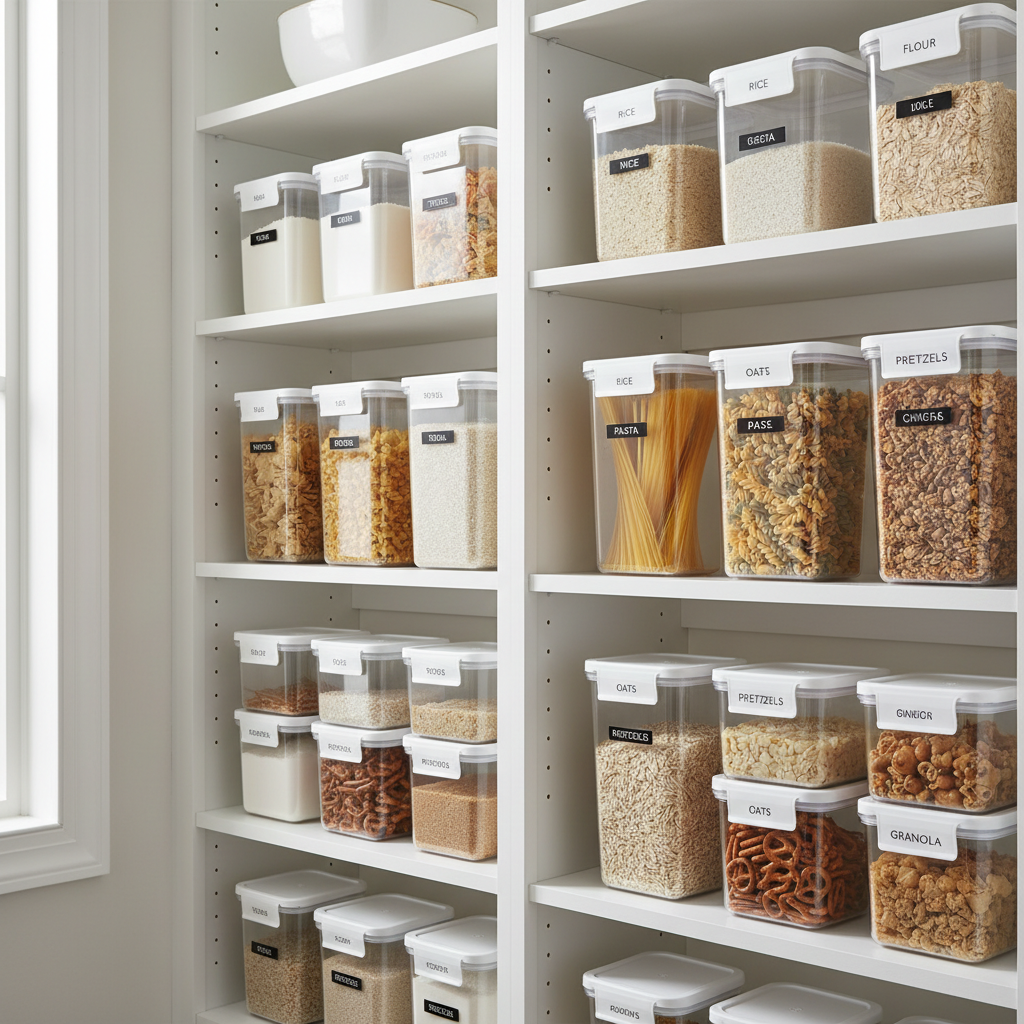
What usually goes wrong with pantry containers
Most “pantry container regrets” fall into a few patterns, and you can avoid them if you shop with a checklist instead of a vibe.
- Too many lid styles: mixed sets look fine online, then you realize half the lids don’t stack the same way, and replacement lids are a pain.
- False airtight expectations: the seal can be decent, but if the lid flexes or the gasket is thin, crispy foods go soft faster.
- Wasted shelf height: tall containers look efficient, yet they block shorter items behind them, or they don’t fit under the next shelf.
- Messy pour and scoop: narrow mouths are frustrating for flour and oats, wide mouths are better but can spill if the lid design is weak.
- Plastic that holds odor or stains: some plastics keep a “garlic powder” smell, others haze over after the dishwasher.
According to the U.S. Food and Drug Administration (FDA), food contact materials should be used as intended and in line with manufacturer directions, which is a good reminder not to microwave or dishwash containers that aren’t rated for it.
Quick self-check: what you should store (and how often)
Before buying anything, do a two-minute scan of your pantry and pick your “high-traffic” items. Those deserve the best seals and most ergonomic shapes.
A fast sorting method
- Daily/weekly: cereal, rice, pasta, snacks, coffee, sugar.
- Monthly: flour, baking staples, nuts, dried fruit, breadcrumbs.
- Occasional or bulk: beans, specialty grains, pet food, protein powder.
If you mostly store snacks, you’ll care about easy-open lids and medium sizes. If you bake a lot, you’ll care about wide openings, accurate capacity, and containers that don’t tip when you scoop.
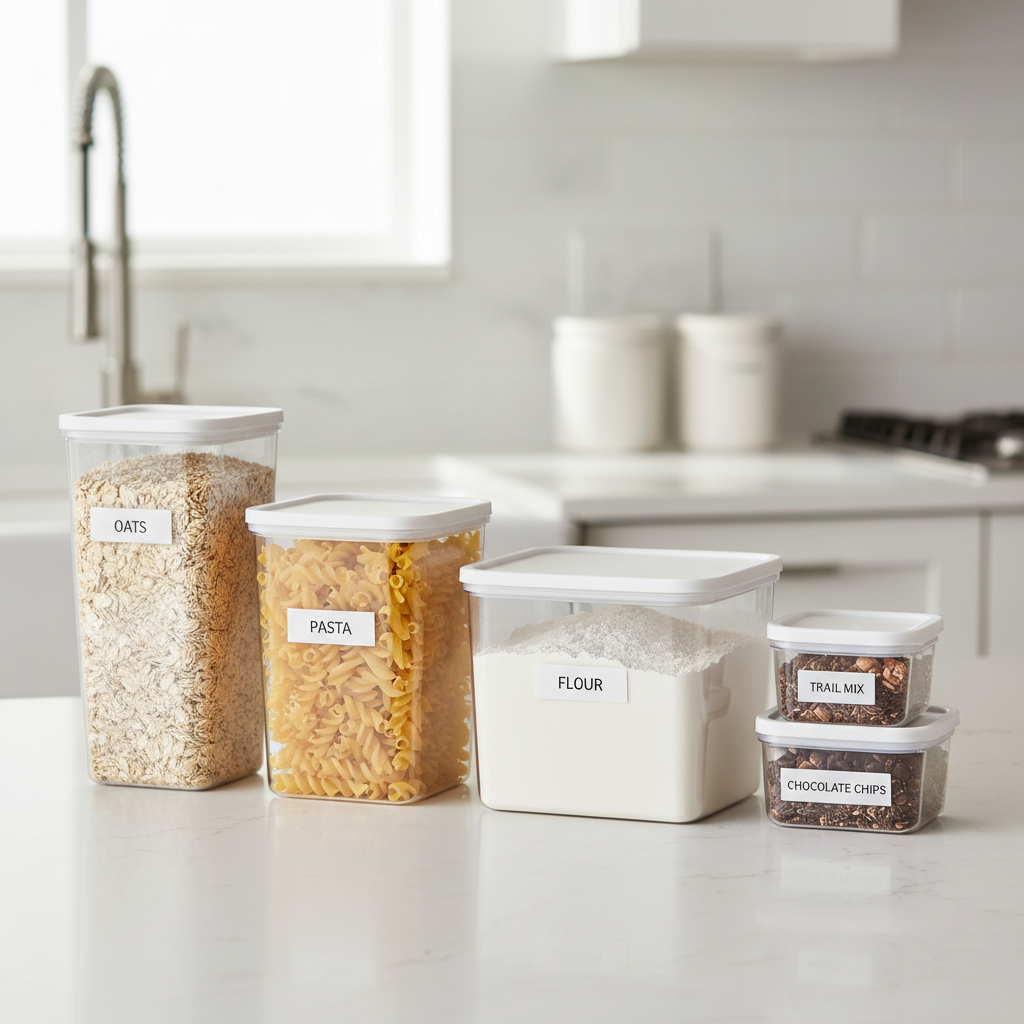
Buying criteria that actually matter (stacking, seals, and sanity)
You can find a lot of “pretty” sets, but a pantry system lives or dies by repeatable details. Here’s what to prioritize.
- Stacking geometry: look for flat, slightly recessed lids that don’t dome upward. A small rim or groove helps prevent sliding.
- One lid system: fewer lid types means fewer mismatches. Many households do better with a single brand line.
- Seal design: silicone gasket or a locking mechanism usually performs better than a simple press-on lid, but it depends on build quality.
- Material clarity and thickness: clear walls help inventory, thicker plastic resists cracking when dropped.
- Mouth shape: wide enough to scoop flour, oats, and sugar, and to clean without a tiny brush.
- Dishwasher and freezer ratings: only if you’ll use them that way. Otherwise, you may pay for features you don’t need.
For safety, if you’re concerned about chemicals, choose containers explicitly labeled for food storage and follow care instructions. For more specific health questions, it can help to consult a qualified professional.
Comparison table: choose the right container type for your pantry
This table isn’t about “one winner,” it’s about matching container style to what you store and how you use it.
| Container style | Best for | Pros | Watch-outs |
|---|---|---|---|
| Locking-lid, gasket seal | Cereal, crackers, brown sugar | Better seal, fewer spills when tipped | More parts to clean, gaskets can wear |
| Simple press-on lid | Pasta, beans, bulk grains | Fast access, usually cheaper | Seal varies, stacking may slip |
| Square/rectangular stackers | Maximizing shelf space | Less wasted space than round | Edges can trap residue if not cleaned well |
| Wide-mouth canister | Flour, oats, sugar | Scoop-friendly, easier cleaning | Can be bulky, check shelf height |
| Modular “brick” sizes | Unified look and easy stacking | Predictable stacking, easier to label | You must commit to the system |
Practical picks: what to buy (without naming a single “best” set)
If you search for the best stackable plastic containers for pantry, you’ll see a lot of listicles that crown one set. In real kitchens, a simple “core + add-ons” approach usually works better.
A starter kit that covers most pantries
- 2–4 tall containers for cereal, pretzels, pasta.
- 4–6 medium containers for rice, beans, baking sugar, snacks.
- 2 wide-mouth containers for flour and oats.
- 6–10 small containers for nuts, chocolate chips, raisins, tea bags.
Try to keep the footprint consistent, like all squares/rectangles, so stacking is stable and shelves look calmer. If your pantry shelves are shallow, shorter “brick” sizes often beat tall towers.
What features are worth paying extra for
- Truly stable stacking, where lids interlock or sit in a recess.
- Replacement lids that are easy to buy later, because lids are what fail first.
- Readable labeling surfaces, either flat sides or a designated label area.
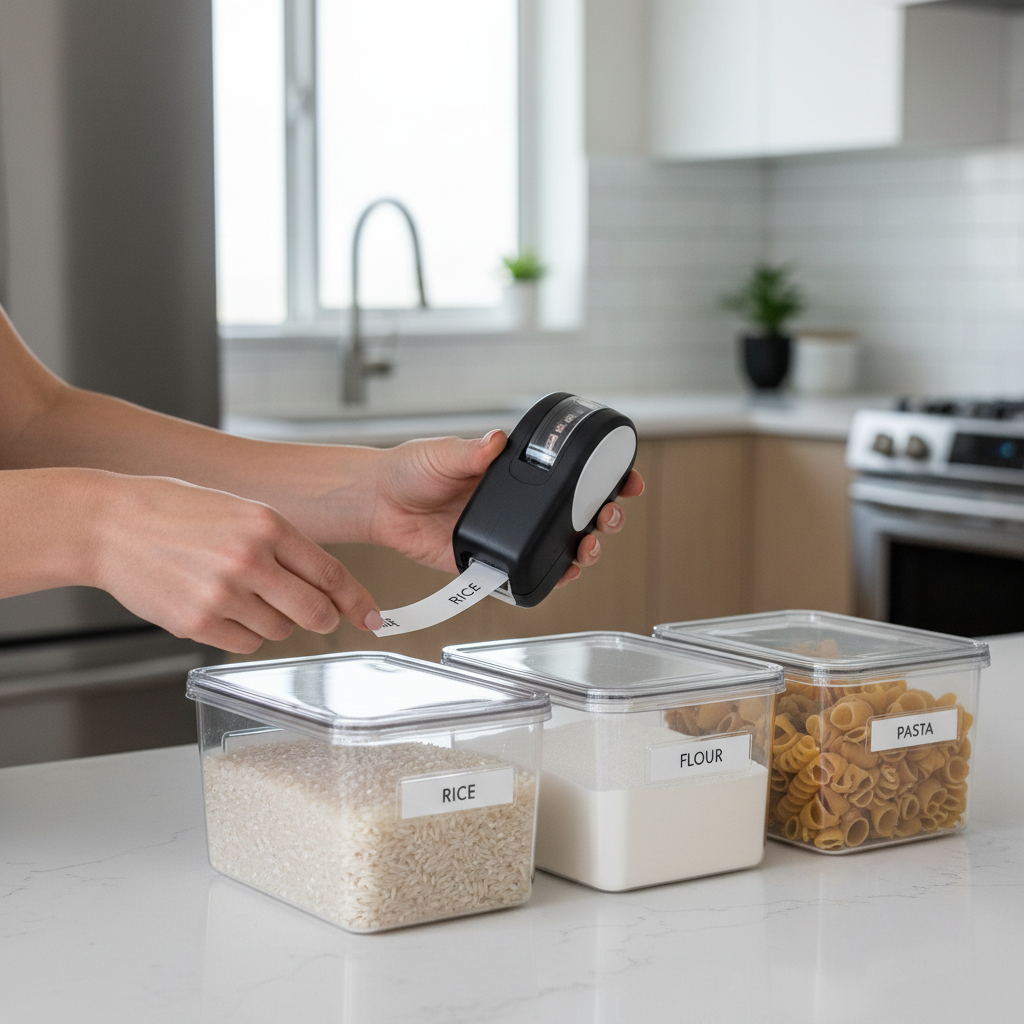
Set-up steps that keep your pantry organized past week one
Containers help, but the system is what keeps it from drifting back into half-open bags and mystery powders.
Step-by-step pantry reset (a realistic version)
- Measure two shelves you use most, height and depth. Buy for those shelves, not for a fantasy pantry.
- Decant only what you repeat-buy. If you tried quinoa once, don’t build a container plan around it.
- Standardize labels using the same format: item name + date. A quick “opened month/year” is often enough.
- Create a backstock zone for refills and bulky packaging, so the front stays clean.
- Keep a scoop where it matters, especially flour, oats, protein powder. It reduces mess and makes the container feel easier than the bag.
If pests are a concern, a consistent seal helps, but sanitation and rotation matter too. According to the USDA, good food storage practices include keeping food in clean, covered containers and maintaining clean storage areas, which is worth treating as the baseline.
Mistakes to avoid (the stuff that quietly wastes money)
- Buying one giant set sight unseen: you’ll almost always hate at least one size. Start smaller, then add.
- Ignoring how you pour: if kids grab snacks, prioritize lids they can close correctly.
- Overfilling “airtight” containers: lids warp or don’t seal fully when contents press upward.
- Mixing too many plastics: different brands stain and scratch differently, the pantry ends up looking messy fast.
- Labeling without dates: you won’t notice slow movers, which is how pantry waste happens.
Also, if you switch from original packaging to clear containers, keep allergen info somewhere accessible in case you cook for guests with food allergies.
Key takeaways: how to choose with confidence
- Stacking stability beats “pretty.” A secure lid shape prevents sliding and toppling.
- Match sizes to your buying habits. A few core sizes outperform massive variety packs.
- Wide mouths matter for baking staples. They’re easier to scoop and clean.
- One lid system saves time. Fewer mismatches, easier replacement strategy.
- Labeling is not optional. Names plus a simple date keeps rotation honest.
Conclusion: a pantry container system you’ll still like later
If your goal is less clutter and fewer stale snacks, focus on fit and function, then buy the containers that suit your shelves and your routine. The best stackable plastic containers for pantry aren’t “the most popular,” they’re the ones you can stack safely, open daily without annoyance, and restock without thinking.
Pick one container line, start with the 2–3 sizes you use nonstop, and label as you fill. Do that, and your pantry will feel easier within a single grocery cycle.
FAQ
- What size containers are most useful for pantry storage?
Medium containers usually do the most work, they handle rice, beans, snacks, and baking sugar. Add a couple tall ones for cereal and pasta, plus at least one wide-mouth for flour or oats. - Are “airtight” plastic containers actually airtight?
Some are close enough for pantry use, especially locking lids with gaskets, but performance varies by design and wear. If crispness matters, test a container with crackers for a week before converting everything. - Is it safe to store flour and sugar in plastic?
Many food-grade plastics are intended for dry food storage, but you should follow the manufacturer’s use and care directions. If you have specific concerns, consider glass or consult a qualified professional. - Do square containers really save more space than round ones?
In most pantries, yes, because they reduce dead space between containers. The trade-off is that corners can trap residue, so cleaning needs a bit more attention. - How do I keep container stacks from slipping?
Look for lids with a flat top and a rim or recess that “receives” the next container. If your current set slides, limit stacks to two high and use shelf liners for extra grip. - Should I decant everything into containers?
Usually no. Decant items you use often or that come in flimsy bags, and keep odd one-off ingredients in original packaging or small bins until they become regulars. - How should I label pantry containers for real life?
Keep it simple: item name plus an opened date. If you buy bulk, add a quick note like “basmati” or “gluten-free” so you don’t guess later.
If you’re trying to rebuild your pantry around stackable storage but don’t want to waste money on the wrong sizes, it may help to map your shelf dimensions and shopping habits first, then choose a modular set you can add to gradually as your routine becomes clear.