
How to clean leather dining chairs properly comes down to three things: identify the leather finish, use the mildest cleaner that works, and avoid soaking or scrubbing like you would fabric.
If you’ve ever cleaned a chair and ended up with dull patches, sticky residue, or a dark “water mark,” you’re not alone. Dining chairs take a special kind of beating—skin oils, food splatter, denim dye transfer, and frequent contact—so small mistakes show up fast.
This guide keeps it practical: a quick way to tell what kind of leather you have, a safe weekly routine, targeted stain tactics, and when it’s smarter to stop and call a pro rather than making a small spot worse.

Know what you’re cleaning: finished vs. aniline leather
Before any product touches the chair, figure out whether you’re dealing with finished (protected) leather or aniline/semi-aniline (more absorbent) leather. The same wipe-down can be totally fine on one and risky on the other.
- Finished/protected leather: Usually the most common for dining chairs. It has a subtle topcoat, cleans easier, and resists stains better.
- Aniline leather: Looks more natural, often softer, and can darken when wet. It can stain more easily and needs a lighter touch.
A simple at-home check: place a tiny drop of water in an inconspicuous area. If it beads and wipes off, it’s likely protected. If it absorbs and darkens, treat it like aniline and keep moisture minimal.
According to the Leather and Hide Council of America, gentle cleaning with minimal water and appropriate leather care products helps reduce damage from harsh household cleaners.
What you need (and what to keep far away)
You don’t need a cabinet of products. You need the right few, plus the discipline to not “upgrade” to something harsher mid-cleaning.
Safe basics for most leather dining chairs
- 2–3 clean microfiber cloths (one for cleaning, one for rinsing, one for drying)
- A small bowl of distilled water (helpful in hard-water areas)
- A pH-balanced leather cleaner or a very mild soap solution (only if the manufacturer allows it)
- Soft brush or soft toothbrush for seams (optional)
- Leather conditioner suited to your finish (use sparingly)
Common “fast fixes” that often backfire
- Vinegar or strong DIY acids: can dull the finish and dry the surface over time.
- Magic erasers: they’re micro-abrasive and may remove protective coating, leaving a lighter patch.
- Bleach, ammonia, all-purpose spray: may strip dye or cause cracking.
- Too much water: can create tide marks, especially on absorbent leather.
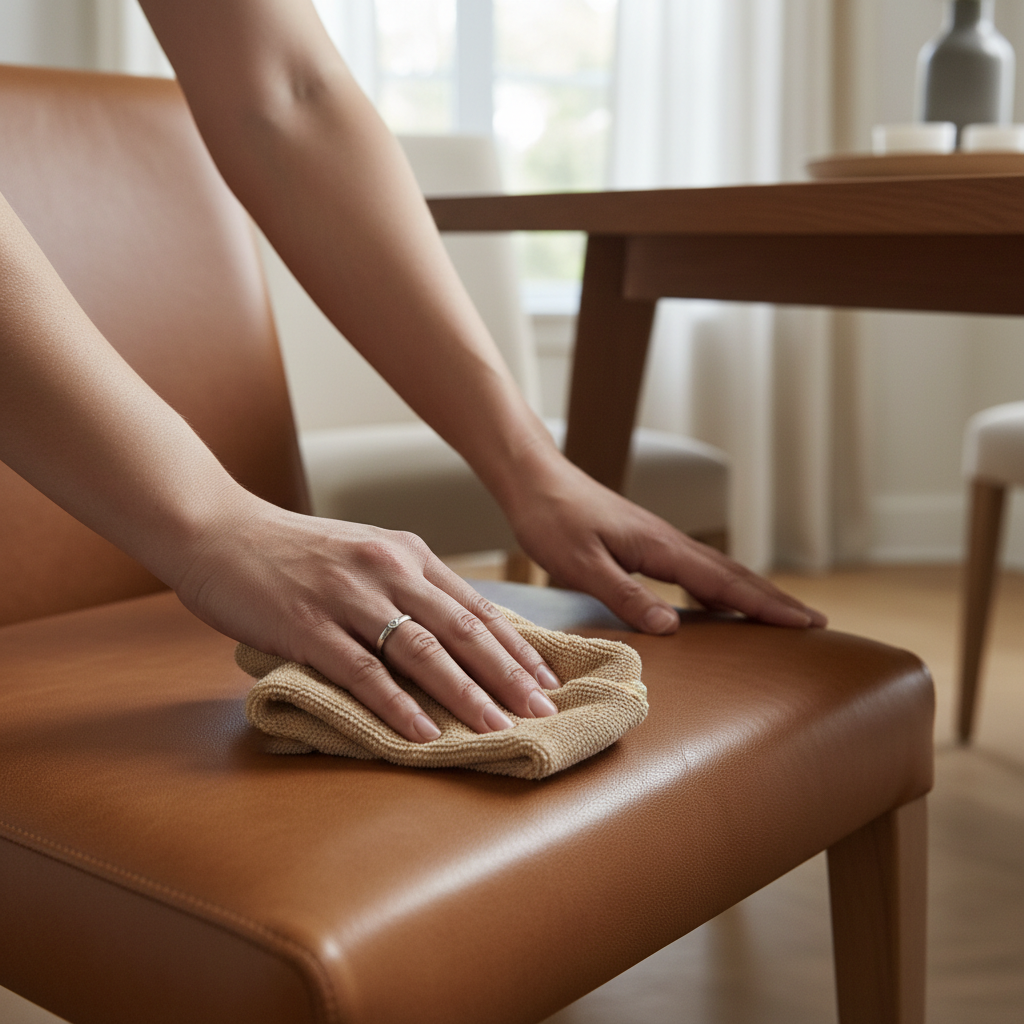
The regular-clean routine (10 minutes, low risk)
This is the routine most people skip, then they end up fighting stains. If you do this weekly or every other week, you’ll rarely need aggressive spot work.
- Dry dust first: Use a dry microfiber cloth to remove grit that can scratch when you wipe.
- Clean gently: Lightly dampen a cloth (not dripping), apply a small amount of leather cleaner to the cloth (not directly to the chair), then wipe in small sections.
- Mind the seams: Use a soft brush to lift crumbs and residue where the seat meets piping or stitching.
- Wipe again: Use a second cloth lightly dampened with clean water to remove any cleaner residue.
- Dry completely: Buff with a dry microfiber cloth. Don’t sit until it feels dry to the touch.
Two technique notes that matter: keep pressure light, and don’t “chase” a spot for five minutes straight. Repeated rubbing can create shiny patches on high-contact areas.
Spot-cleaning by stain type (without making it worse)
When people ask how to clean leather dining chairs properly, they usually mean “how do I get this mark out.” The trick is matching the method to the stain and the leather’s absorbency.
Quick reference table
| Stain or issue | What to do first | Avoid |
|---|---|---|
| Fresh food spill | Blot, then wipe with damp cloth + mild leather cleaner | Scrubbing, hot water |
| Grease/oil spot | Blot gently, let it sit; use a leather-safe degreaser if needed | Dish soap “extra strength” mixes |
| Ink (pen marks) | Try a leather ink remover on a hidden area first | Rubbing alcohol on finished surfaces unless approved |
| Denim dye transfer | Use leather cleaner + soft cloth, repeat lightly over a few days | Magic eraser, harsh solvents |
| Water mark/tide line | Lightly dampen the whole panel to blend, then dry evenly | Spot-wetting only the ring |
| Sticky residue | Clean with pH-balanced leather cleaner, then wipe residue away | All-purpose cleaner, heavy oils |
Blot beats rub. For most spills, use a clean cloth to blot upward, then follow with gentle wiping. Rubbing hard can push pigment deeper and may change the sheen.
For stubborn marks, the safest approach often looks boring: repeat a mild method across multiple sessions instead of escalating to a harsh “one-and-done.”
Conditioning: when it helps, when it just adds buildup
Conditioner can be helpful, but it’s also where many dining chairs get tacky or attract grime. In many homes, conditioning 2–4 times per year is enough, and some heavily protected leathers need even less.
- Use a small amount: Apply to a cloth, then spread thinly. If it looks wet or oily, that’s usually too much.
- Let it absorb: Give it time, then buff gently to remove excess.
- Skip it if the chair already feels slick: That slick feeling often means product buildup, not “dry leather.” Clean first, then reassess.
According to the American Leather Chemists Association, using leather care products as directed and avoiding incompatible cleaners can help maintain finish performance over time.
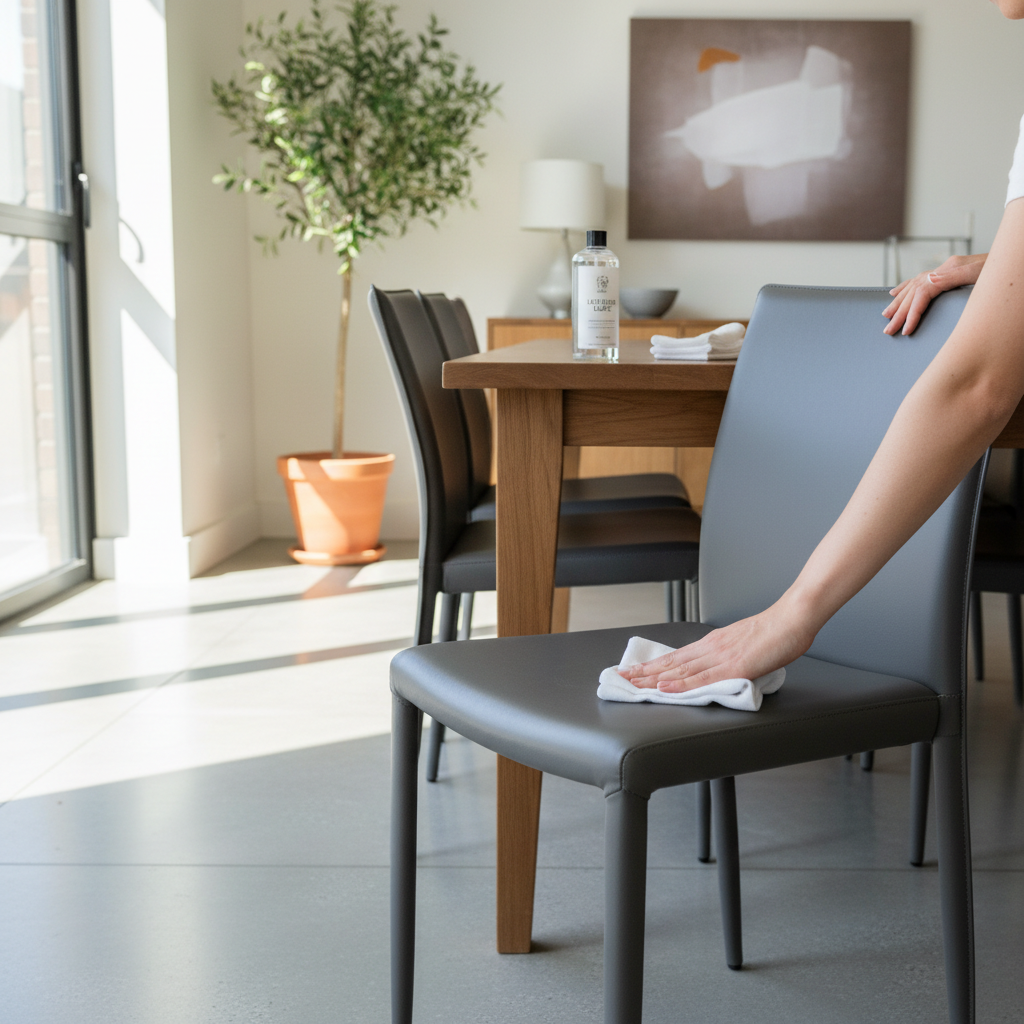
A quick self-check: do you need cleaning, conditioning, or repair?
If you’re unsure what step to take, this fast checklist saves time and prevents over-treating.
- Looks dusty, feels normal: dry wipe, then light cleaner wipe if needed.
- Looks dull in hand-contact zones: clean first; dullness is often oils and residue.
- Feels dry or shows faint creasing: consider a thin conditioner layer after cleaning.
- Feels sticky or attracts lint: likely buildup; avoid more conditioner, focus on gentle cleaning.
- Color looks lighter in one spot: could be finish wear; cleaners won’t “re-dye” it reliably.
Key point: if the issue is color loss, cracking, or peeling topcoat, cleaning products can only do so much.
Common mistakes that shorten a chair’s life
Most leather damage comes from good intentions plus the wrong tool. A few traps show up again and again.
- Over-wetting the seat: especially risky on aniline or older leather with compromised finish.
- Using household sprays “because they’re gentle”: many leave residues that collect grime.
- Scrubbing textured leather: you can flatten grain and create a shiny patch.
- Skipping a spot test: always test under the seat or back edge first.
- Drying with heat: hair dryers and space heaters can speed drying but may increase cracking risk.
If your chairs sit in direct sun for hours daily, fading and drying often happen faster. Curtains, UV film, or rotating chairs can make a bigger difference than switching cleaners.
When to call a professional (and what to ask)
Some problems are fixable at home, others get worse with repeated attempts. Consider professional help when you see widespread discoloration, peeling finish, deep cracks, or stains that spread after cleaning.
- Ask what finish you have: a reputable service should explain whether it’s protected vs. aniline and why that changes the approach.
- Ask about color matching: for dye transfer or faded areas, targeted recoloring may be possible.
- Share what you used: list products already applied, since residues change the repair plan.
If you suspect mold or strong odors in the padding, it’s usually worth getting an upholstery or leather specialist involved, and in some cases you may want to consult a qualified professional for indoor air concerns.
Conclusion: a simple routine beats heroic stain battles
How to clean leather dining chairs properly isn’t about “stronger” cleaners, it’s about lighter pressure, less moisture, and consistent maintenance. Identify the finish, stick to mild products, and treat stains in short, careful sessions.
If you want one easy next step, do this: wipe your chairs down today with a dry microfiber cloth, then schedule a gentle cleaner wipe every couple weeks. That small habit usually prevents the grime layer that makes everything feel harder later.
FAQ
How often should I clean leather dining chairs?
Light dusting weekly helps, and a gentle cleaner wipe every 2–4 weeks works for many households. If you have kids, pets, or daily use, you may need a bit more frequent attention in high-contact areas.
Can I use dish soap to clean leather dining chairs?
Sometimes a very diluted, mild soap solution can work on protected leather, but it’s easy to overdo and leave residue. If you go this route, keep the cloth barely damp and do a clean-water wipe afterward.
What’s the safest way to remove food stains from leather seats?
Blot immediately, then use a pH-balanced leather cleaner on a cloth and wipe gently. The longer food sits, the more likely oils and dyes will bind to the surface, so timing matters.
How do I get denim stains off leather dining chairs?
Start with a leather cleaner and soft cloth, working lightly and repeating across a few sessions. Dye transfer often lifts gradually; aggressive scrubbing can create a lighter “clean spot” that looks worse than the stain.
Should I condition leather dining chairs after every cleaning?
Usually no. Conditioning too often can leave buildup that attracts dirt. Many chairs do fine with conditioning a few times per year, and some protected leathers need even less.
Why does my chair look streaky after cleaning?
Streaks often come from leftover cleaner residue, hard-water minerals, or uneven drying. Try wiping again with a cloth dampened in distilled water, then buff dry with a clean microfiber cloth.
Is it okay to use rubbing alcohol on ink stains?
It can damage finishes and dye, so it’s a last resort and should be tested in a hidden spot first. A leather-specific ink remover is typically safer, and if the chair is expensive, a professional repair may be the smarter option.
If you’re cleaning leather dining chairs often and it still feels like a constant battle, you may prefer a simpler system: a finish-appropriate leather cleaner, a neutral conditioner used sparingly, and a quick routine you can repeat without guessing.