
DIY wall decor ideas with paper and cardboard work because they’re fast, forgiving, and cheap, but the results can still look intentional if you plan the scale, color, and how you’ll hang everything.
If you’ve ever taped something up, stepped back, and thought “why does this look like a school project,” you’re not alone, the gap is usually not talent, it’s a few small design choices: repeat a shape, limit the palette, and size it to the wall.
This guide stays practical, you’ll get a quick material cheat sheet, a few projects that reliably look “store-bought,” plus hanging tips that won’t wreck your paint job.
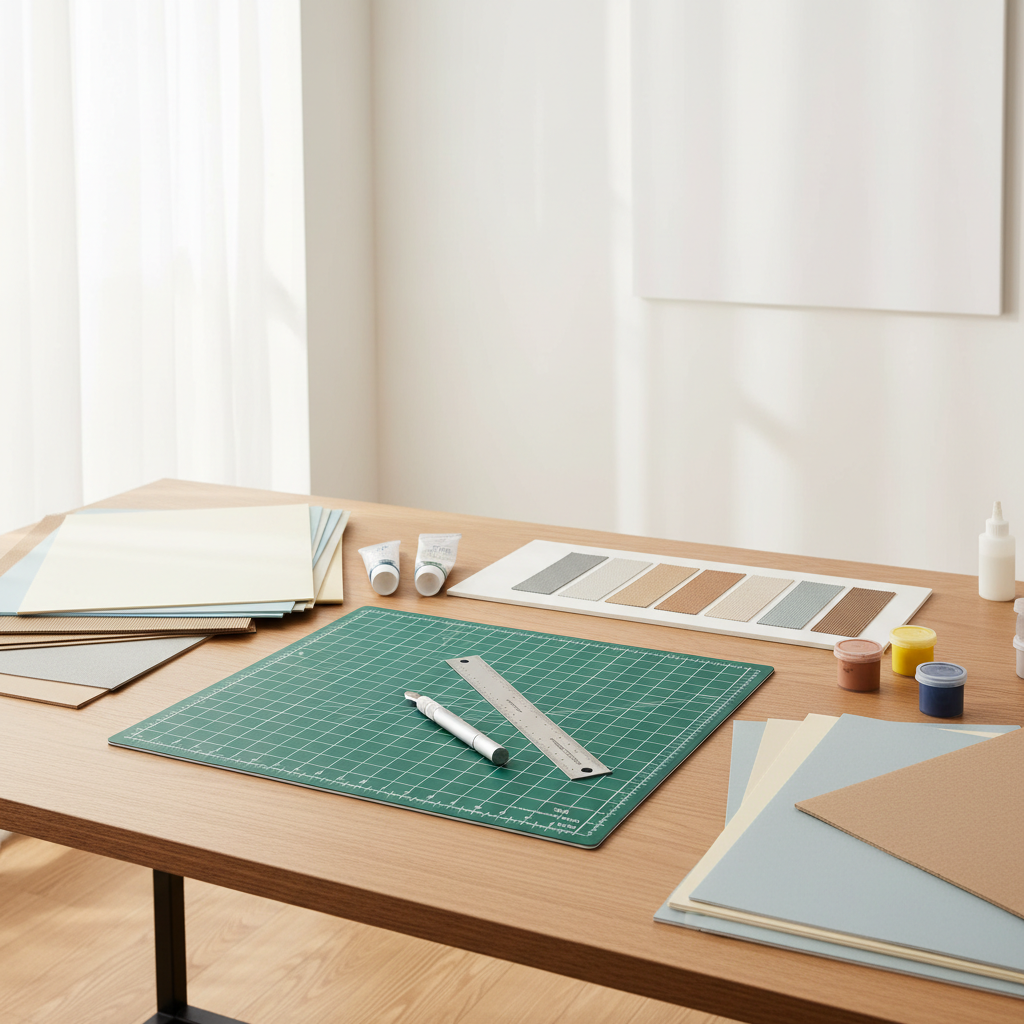
Pick the right paper and cardboard (it matters more than people think)
Most DIY wall pieces fail for two reasons: thin materials that warp, and adhesives that show. You can avoid both by choosing the right base up front.
- Cardboard type: corrugated cardboard is sturdy for large pieces, chipboard is smoother for clean edges, cereal-box cardboard is fine for small layered work.
- Paper weight: cardstock (80–110 lb) holds crisp folds, lighter paper suits quilling or layered cutouts but needs backing.
- Finish plan: paint hides mismatched materials, wrapping with kraft paper or solid-color paper gives a clean “graphic” look.
According to Smithsonian Libraries and Archives, paper-based objects are sensitive to light exposure, which is worth remembering if you hang your project in direct sun, colors can fade faster than you expect.
A quick self-check: which wall decor style will actually fit your room?
Before you cut anything, take 60 seconds and answer these, it saves a lot of redo work and “why does this feel off” frustration.
- Wall size: do you need one big focal piece, or a set of smaller items spaced out?
- Color reality: what 2–3 colors already dominate the room (rug, sofa, bedding), and can your decor borrow from those?
- Texture gap: is the room already busy, or does it need more dimension (layering, shadow, relief)?
- Hanging limits: renters often need low-damage hanging, homeowners may be fine with nails or anchors.
If you’re unsure, start with a simple rule that usually works: one large piece should be about two-thirds the width of the furniture below it (like a couch or console), many people go too small and it reads like clutter.
7 DIY wall decor ideas with paper and cardboard that look polished
These are the projects that tend to survive the “step back test,” they look cohesive even if your cutting is not perfect.
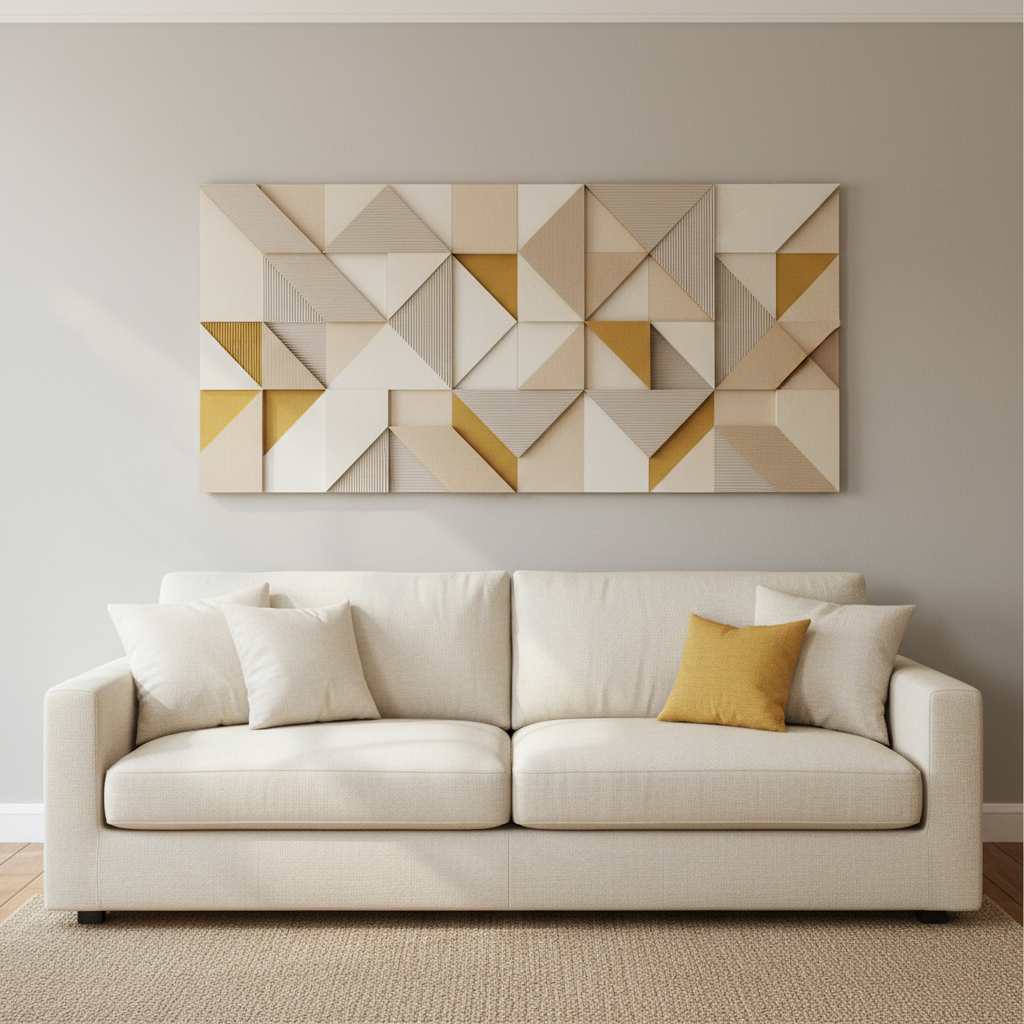
1) Oversized geometric panel (cardboard base + paper wrap)
Cut one large shape (arch, circle, soft rectangle), wrap it with solid paper or fabric, then add 3–6 smaller shapes layered on top, same palette, different sizes.
- Why it works: large scale reads intentional, layers add shadow and depth.
- Pro move: cover edges with a strip of paper like gift wrap, it hides “cardboard tells.”
2) Paper “tile” grid (repeat one shape)
Make 12–25 identical squares, circles, or hexagons from cardstock, mount each on thin cardboard, then hang in a tight grid with consistent spacing.
- Why it works: repetition makes small imperfections disappear.
- Color tip: pick one neutral plus one accent, too many colors can look accidental.
3) 3D folded wall flowers (shadow-heavy, lightweight)
Use cardstock to fold petals, glue petals into layered flowers, and mount each flower on a small cardboard disk so it “floats” off the wall.
- Where it shines: bedrooms, nurseries, entryways that need softness.
- Keep it modern: stick to one color family (whites, blush, clay, muted greens).
4) Cardboard relief art (painted, sculptural)
Cut multiple organic shapes from cardboard, stack them with small spacers (scrap cardboard strips), then paint the whole thing one color for a minimal, gallery vibe.
- Why it works: monochrome hides materials, shadows do the “design” for you.
5) Framed paper cut silhouette (clean and classic)
Cut a bold silhouette (leaves, abstract face line, city skyline) from black paper, mount on white, and place in a thrifted frame.
- Low-stress option: if you mess up, recut the silhouette, no one sees the attempt.
6) Ombre strip weave (paper weaving with cardboard loom)
Create long paper strips in 3–5 shades, weave them through a slit-cut cardboard backing, then trim edges flush and frame it.
- Why it works: texture + gradient reads “designed.”
7) Mini gallery of postcard-size abstracts
Make 6–12 small abstract pieces using leftover paper, mount each on cardboard, then hang as a gallery with consistent margins.
- Easy cohesion: same size cards, same spacing, same frame color (or no frames, just clean edges).
Materials, time, and difficulty: a quick planning table
If you want a smoother weekend, match the project to your patience level, drying time, and what tools you already own.
| Project | Best materials | Time range | Difficulty | Looks most “finished” when… |
|---|---|---|---|---|
| Oversized geometric panel | Corrugated cardboard, solid paper, glue | 60–120 min | Easy | Edges are wrapped cleanly |
| Paper tile grid | Cardstock, chipboard backing, tape | 60–180 min | Easy–Medium | Spacing stays consistent |
| 3D folded flowers | Cardstock, hot glue or tacky glue | 90–240 min | Medium | Petals vary in size for depth |
| Cardboard relief art | Cardboard layers, spacers, paint | 2–5 hours | Medium | Everything is one paint finish |
| Framed cut silhouette | Black paper, white backing, frame | 30–90 min | Easy | Cut lines are bold, not fussy |
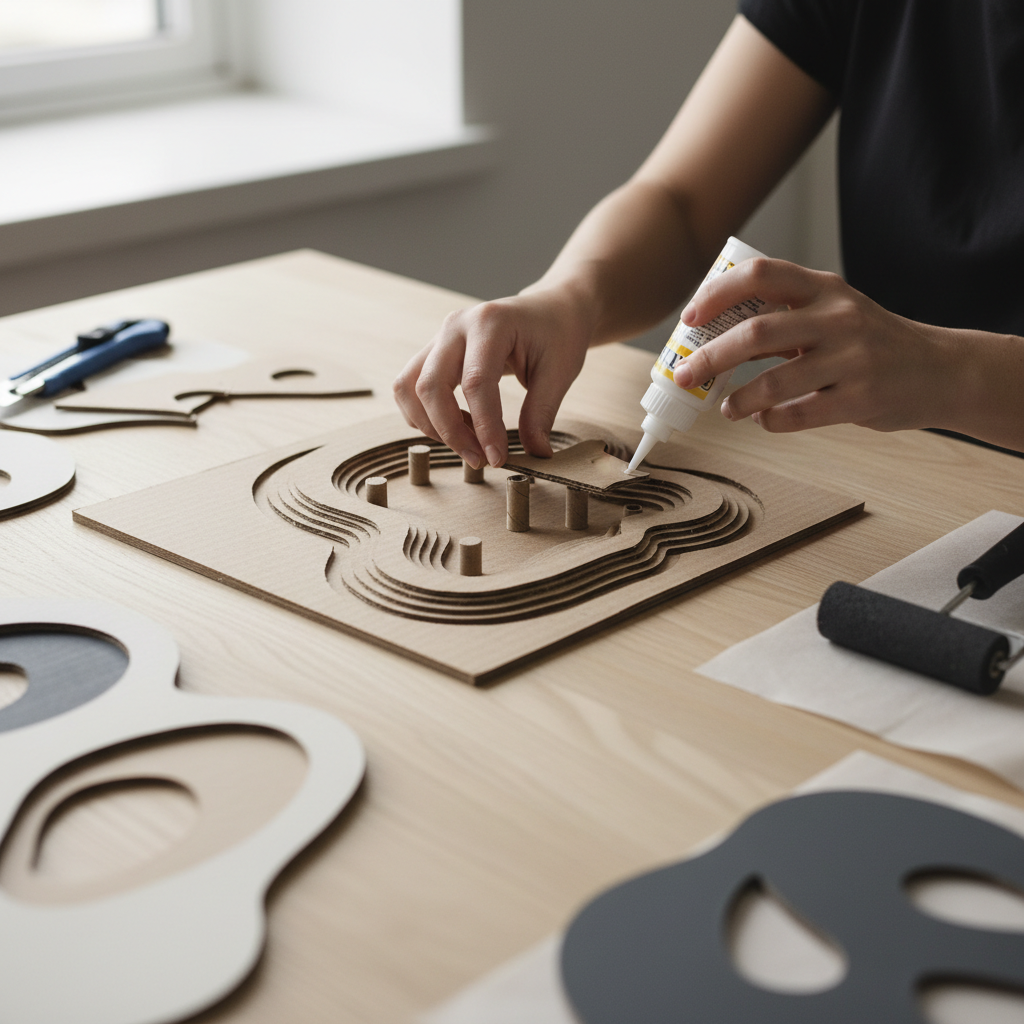
Step-by-step: one reliable “wow” project (layered relief panel)
If you only do one piece from this list, make a layered relief panel, it’s forgiving, dramatic, and you can scale it up without much extra cost.
What you need
- Corrugated cardboard (shipping box is fine)
- Craft knife or scissors, ruler, pencil
- Glue (tacky glue works, hot glue is faster but messy)
- Paint and brush or a foam roller
- Optional: lightweight spackle to smooth dents, sandpaper
Build it
- Choose a size that fits, for many couches, something around 24x36 inches reads balanced, but your room may want bigger.
- Cut 8–15 shapes, keep the theme consistent (all rounded, or all angular), mixed themes look chaotic fast.
- Add spacers, small cardboard strips between layers create shadow, which is where the “art” feeling comes from.
- Glue from back to front, largest base first, smallest pieces last, press each layer flat while it sets.
- Paint everything one color, matte tends to hide glue and texture, satin can highlight bumps.
Key point: don’t over-detail, two or three layer depths usually look more modern than five tiny layers fighting for attention.
Hanging and longevity: what keeps paper decor from warping or falling
DIY wall decor ideas with paper and cardboard often look great on day one, then humidity, heat, and weak mounting slowly ruin the vibe, you can prevent most of that with a few choices.
- Seal if needed: a light clear acrylic sealer may help reduce scuffs and moisture absorption, test first because some papers can wrinkle.
- Keep away from vents: airflow and temperature swings encourage curling, especially with thin cardstock.
- Use the right hanger: removable adhesive strips work for light pieces, heavier cardboard panels may need nails or picture hooks.
- Distribute weight: for wide pieces, use two hanging points so the center does not sag.
According to 3M, removable adhesive hanging products have specific weight limits and surface requirements, so it’s smart to follow the package instructions rather than guessing, especially on textured paint.
Common mistakes that make DIY wall decor look “cheap”
This is the part people skip, then they redo the whole thing, if you want your paper-and-cardboard decor to read clean, avoid these traps.
- Too small for the wall: a tiny piece on a big wall looks temporary, scale up or group items.
- Random color mixing: pick a palette, then repeat it, even kids’ art looks cohesive when colors repeat.
- Visible glue and lumpy corners: apply glue thinly, press flat, and wrap edges when possible.
- Inconsistent spacing: grids and galleries need measuring, eyeballing works for “messy chic,” not for modern.
- Over-text: quotes and lettering can feel dated quickly, if you want words, keep it short and typographic.
When it’s worth upgrading (tools, materials, or help)
DIY wall decor ideas with paper and cardboard are perfect for experimenting, but there are moments where a small upgrade saves hours, or avoids damage.
- If you keep re-cutting: a sharp craft knife, cutting mat, and metal ruler usually outperform scissors for clean edges.
- If pieces warp: switch to heavier cardstock, add a chipboard backing, or seal lightly after testing.
- If hanging feels risky: for heavier work, consider a professional to install hooks, or at least ask a handy friend, wall types vary and anchors are not one-size-fits-all.
- If you’re framing: a local frame shop can cut mats cheaply in many cases, and a clean mat instantly elevates paper art.
Conclusion: make it simple, make it big, make it repeat
The easiest way to get “real decor” energy from paper crafts is to go larger than you think, repeat shapes or colors, and finish edges so cardboard doesn’t announce itself. Pick one project that fits your wall, build a quick paper mockup to check size, then commit and hang it with hardware that matches the weight.
Action idea: choose one palette tonight, cut one test tile or shape, and tape it up at eye level, if it looks right from across the room, you’re ready to produce the full set this weekend.