
how to make throw pillow covers without sewing usually comes down to one thing: choosing a closure that holds up to real life, not just a pretty photo.
If you have pillows that look tired, don’t match your season, or came with covers you can’t wash easily, a no-sew cover is a practical reset. You get the “new pillow” look without buying new inserts, and you avoid the learning curve of zippers and straight seams.
One quick clarification before we start, “no-sew” still benefits from measuring and pressing. Most failures come from rushing the fit or using the wrong adhesive for the fabric, not from the method itself.
Pick a no-sew method that matches your fabric (and your patience)
You can make a no-sew cover work with almost any decor fabric, but not every closure behaves well on every textile. Thick woven fabrics forgive mistakes, slick fabrics and stretchy knits punish them.
- Envelope back (overlapping flap): fastest, forgiving, great for beginners.
- Iron-on hem tape: clean edges, good for cotton/linen blends, needs an iron and patience.
- Fabric glue: flexible, works when you can’t iron, drying time matters.
- Hook-and-loop (Velcro) or snap tape: best when you want a more secure closure.
According to the U.S. Consumer Product Safety Commission (CPSC), irons can cause burns and fires if left unattended, so treat pressing like cooking: stay nearby, use a stable surface, and unplug when you’re done.
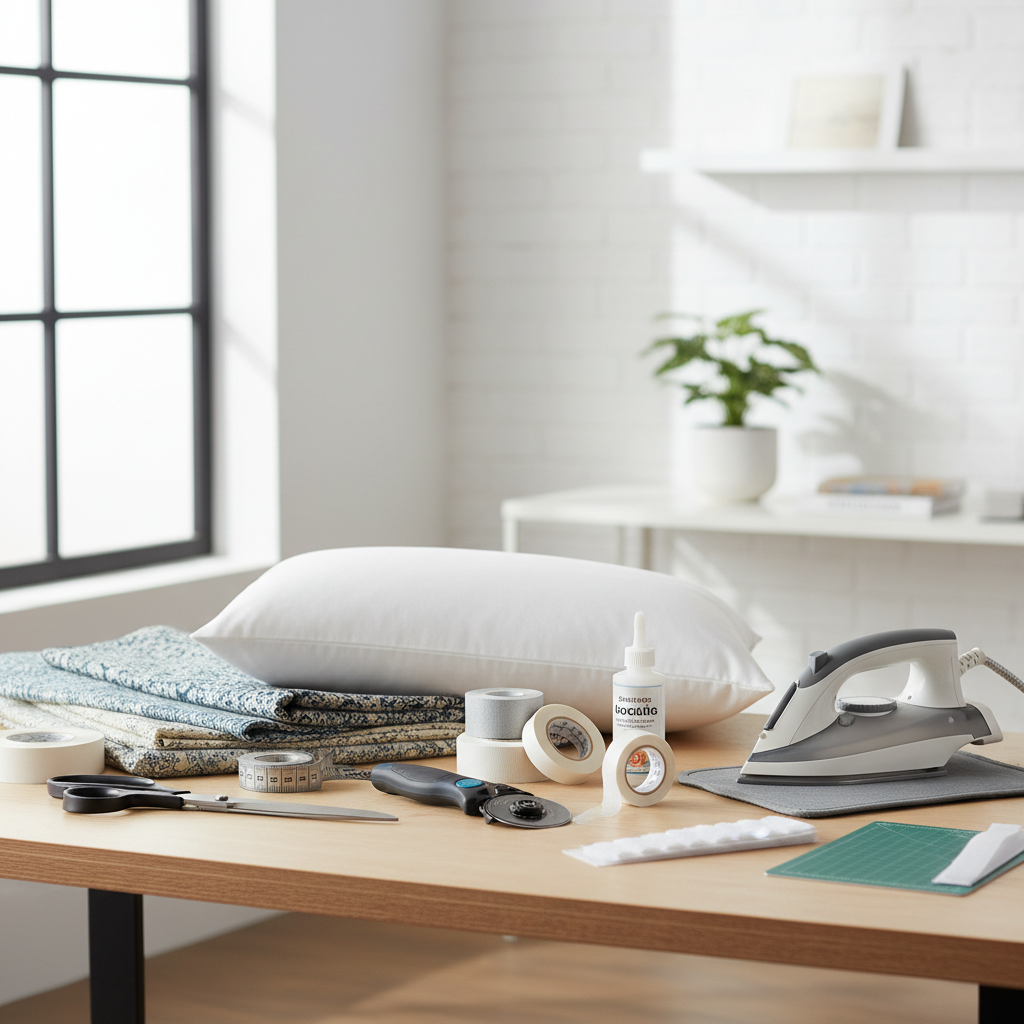
Materials checklist (what you actually need)
You can keep this simple. The “nice-to-have” items mainly save time and help the cover sit square on the insert.
Essentials
- Fabric (prewashed if it’s washable)
- Pillow insert (measure it)
- Measuring tape or ruler
- Fabric scissors or rotary cutter
- Iron and ironing board or heat-safe mat (for hem tape methods)
Helpful add-ons
- Iron-on hem tape (various widths)
- Fabric glue (washable/flexible type if you plan to launder)
- Hook-and-loop tape or snap tape
- Clips or clothespins (to hold glued edges while drying)
- Fray check or pinking shears (for fraying fabrics)
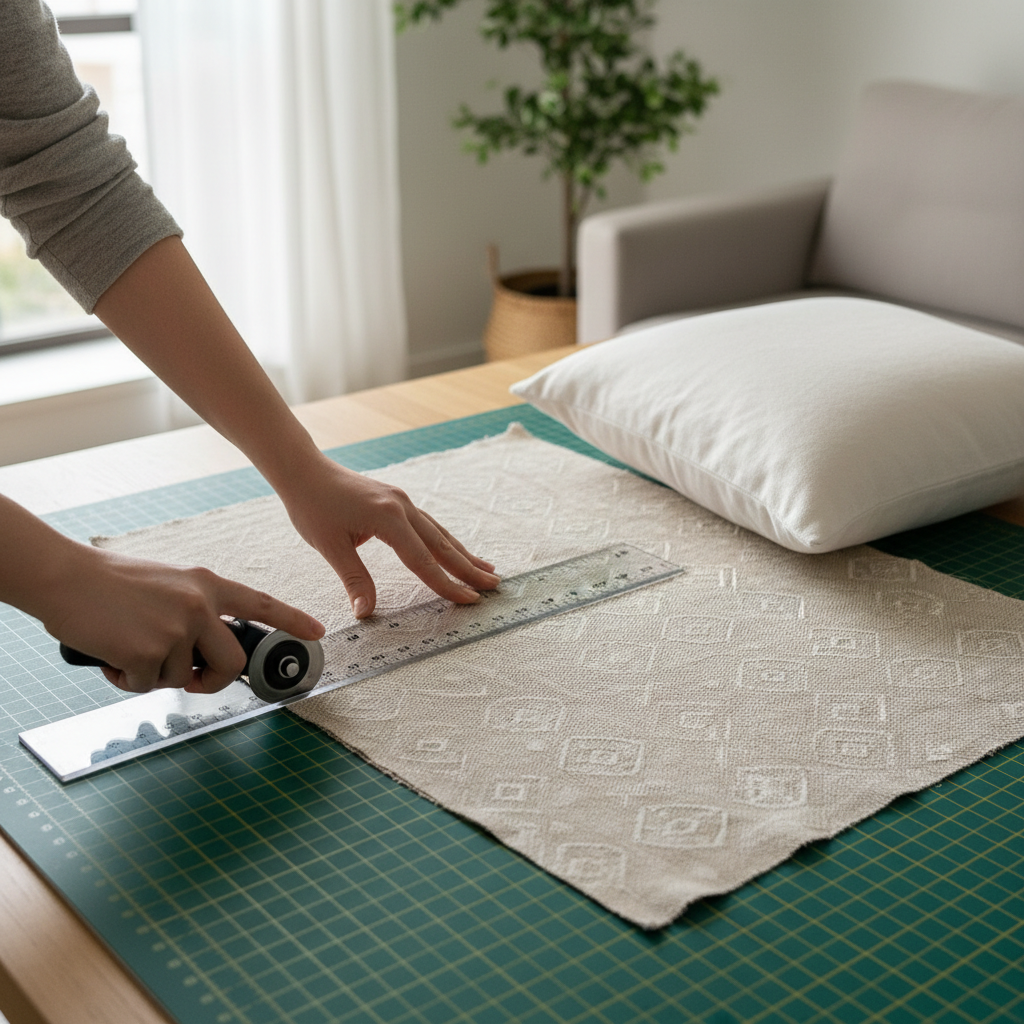
Quick sizing rule: measure the insert, then cut with intention
Most store-bought inserts are “plump,” so a cover cut exactly to the insert size can look tight in a good way, or tight in a bad way, depending on fabric thickness. For a polished look, many decorators aim for a snug cover, but you still need enough room to close the back without stress.
- Standard fit: cut panels to insert size + seam/hem allowance.
- Fuller look: cut panels about 0.5–1 inch smaller than insert size, but only if fabric has no give and your closure isn’t bulky.
Here’s a practical cheat sheet you can use without overthinking it:
| Insert Size | Front Panel Cut (square) | Envelope Back Cuts (2 pieces) | Overlap Target |
|---|---|---|---|
| 18x18 in | 19x19 in | 19x13 in (x2) | 4–5 in |
| 20x20 in | 21x21 in | 21x15 in (x2) | 4–6 in |
| 12x20 in (lumbar) | 13x21 in | 13x14 in (x2) | 4–5 in |
Key point: that “+1 inch” assumes you’ll fold edges for a clean finish using hem tape or glue. If you plan raw edges, add a bit more and expect fraying unless the fabric is stable.
Method 1: No-sew envelope pillow cover (most reliable)
If you only try one approach, make it the envelope back. It’s easy to remove for washing, you don’t need hardware, and the overlap hides minor measuring errors.
Steps
- Cut 3 panels: 1 front (full size), 2 backs (same width as front, shorter height so they overlap).
- Finish the inner edges of the two back panels: fold 1/2 inch, press, apply hem tape or a thin line of fabric glue, press again.
- Build the “sandwich”: place front panel right side up, then place back panels right side down on top, finished edges facing inward, overlapping in the center.
- Secure the outer perimeter: fold outer edges inward (about 1/2 inch), apply hem tape or glue along all four sides, press or clip until set.
- Turn right side out, push corners gently, then insert the pillow.
If your insert fights you, fold it like a taco, slide it in, then let it expand and adjust corners. This is where a slightly larger overlap pays off.
Method 2: Hem tape “seamed” cover (clean edges, structured look)
This method mimics sewing more closely. It takes longer than the envelope back, but it gives you crisp edges and works well for modern, tailored pillows.
- Cut front and back panels the same size.
- On both panels, fold and press edges (about 1/2 inch) so you create clean hems.
- Apply hem tape on three sides, press to bond, leaving one side open as the “insertion side.”
- Add closure on the open side: hook-and-loop strips, snap tape, or a wider overlap flap.
- Insert pillow, then close.
According to 3M (maker of many pressure-sensitive adhesives), adhesive performance depends heavily on surface prep, pressure, and time, so make sure fabric is lint-free, press firmly, and allow bond time before stressing the seam.
Method 3: Wrap-and-tuck cover (fastest, but it has limits)
This is the “I need this done before guests arrive” option. It’s also the method most likely to shift if you actually use the pillow daily, so set expectations.
- Cut a rectangle large enough to wrap around the insert with extra for a generous tuck.
- Center the pillow on the fabric, wrap like a present, then tuck the ends in tightly.
- Use discreet safety pins on the back side, or add small Velcro dots where the fabric overlaps.
Good fit: decorative pillows that don’t get leaned on much. Not ideal: kids, pets, constant couch naps.

Self-check: are you about to choose the wrong fabric or closure?
Before you commit, run this quick mental checklist. It saves you from the classic “it looked great on day one” disappointment.
- Fabric frays easily? Plan folded hems with tape or glue, or use pinking shears plus fray check.
- Fabric is very thick (upholstery, boucle)? Avoid tiny overlaps, use a larger envelope overlap or Velcro.
- Fabric is slippery (satin, some poly blends)? Hem tape can struggle, test on a scrap, consider glue + clips.
- You want machine washing? Choose washable adhesive products and avoid permanent glues unless label confirms wash durability.
- Kids/pets on the couch? Skip wrap-and-tuck, use envelope + added closure for security.
Common mistakes that make no-sew covers look “DIY” (and how to avoid them)
The goal is not perfection, it’s “intentional.” Most no-sew covers look homemade for a few predictable reasons.
- Skipping the iron: even if you hate ironing, press folds once and your edges look straighter.
- Too little overlap: if the back gapes, add 1–2 inches to each back panel next time.
- Too much glue: thick glue lines can telegraph through lighter fabrics, use a thin bead and spread gently.
- Not squaring the cut: measure both diagonals or use a cutting mat grid so the cover doesn’t twist.
- Using craft adhesives not meant for fabric: they can turn stiff or fail after washing.
Quick salvage tip: if corners look bulky, trim seam allowance slightly (without cutting into the bond), then turn and reshape.
When it’s worth getting help (or switching plans)
If you’re covering specialty inserts, very expensive fabric, or pillows used in high-traffic spaces, it can be worth asking a local alterations shop or upholsterer for advice on closures and durability. Many can add a zipper to your fabric if you decide “no-sew” isn’t enough.
If you notice strong fumes, skin irritation, or headaches from an adhesive, stop using it and ventilate the room. Product labels vary, and in sensitive situations it may be smart to consult a professional or choose a different product.
Conclusion: a no-sew cover can look legit if the fit is right
how to make throw pillow covers without sewing is less about hacks and more about good choices: a stable fabric, a closure that matches your household, and clean pressed folds. Start with an envelope back, test your tape or glue on scraps, and aim for a snug fit that still closes comfortably.
If you want one action step, measure your insert tonight and cut one practice cover from inexpensive fabric first, that small rehearsal prevents most frustration.