
how to organize craft supplies easily comes down to one idea: put every item in a “home” that matches how you actually craft, not how a perfect Pinterest room looks.
If your supplies keep migrating from bins to table to floor, it’s usually not laziness, it’s friction: storage is too far away, too hard to open, too mixed together, or you own duplicates without realizing it.
This guide keeps it practical, with a quick reset you can finish in an afternoon, plus a longer-term setup that stays neat even when you craft a lot, share space with family, or work in a small apartment.
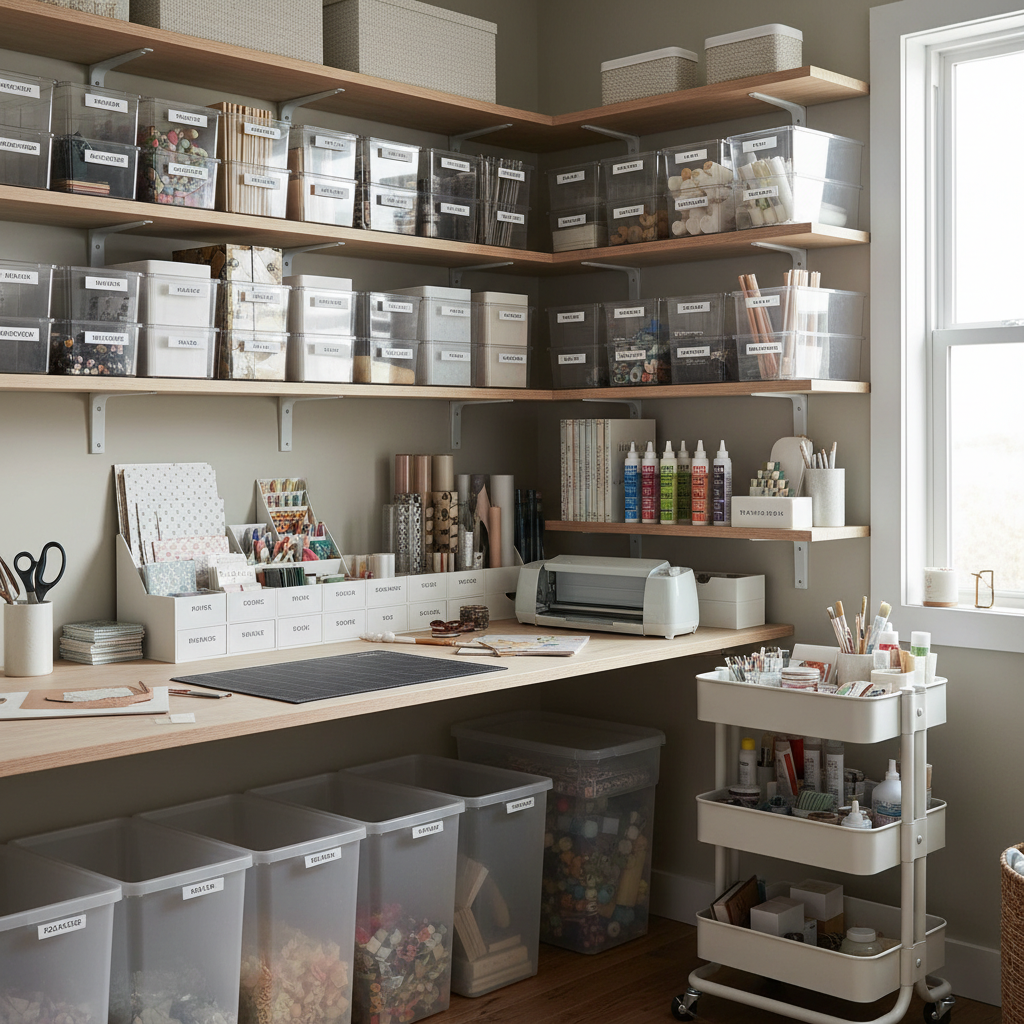
Start with a “usage-first” plan (not a storage shopping spree)
The biggest organizing mistake is buying containers before you decide what needs to live together. A better approach is to organize around how you move while crafting, because that’s what determines whether the system holds.
- Where do you actually craft? Dining table, desk, couch tray, garage bench, classroom corner.
- What do you reach for every session? Adhesives, scissors, markers, ruler, cutting mat.
- What stays occasional? Specialty punches, embossing tools, fabric dye, resin molds.
- What causes the mess? Tiny items, half-finished projects, paper scraps, cords.
According to OSHA, good housekeeping practices reduce trip hazards and keep work areas safer. Craft spaces count too, especially when you have blades, hot tools, or heavy bins.
A quick self-check: what kind of craft clutter do you have?
If you want to organize fast, diagnose the clutter type first. Different messes need different fixes.
Clutter type checklist
- “I can’t find anything” clutter: items stored by brand or size, not by task.
- “I have too much” clutter: duplicates, mystery bags, bulk buys, freebies.
- “Tiny chaos” clutter: beads, buttons, brads, stickers, die cuts.
- “Project pile” clutter: unfinished work mixed with core supplies.
- “Mobile crafter” clutter: you craft in multiple rooms and carry supplies around.
Be honest here, it saves time. Most people have a mix, but one type usually causes 80% of the frustration.
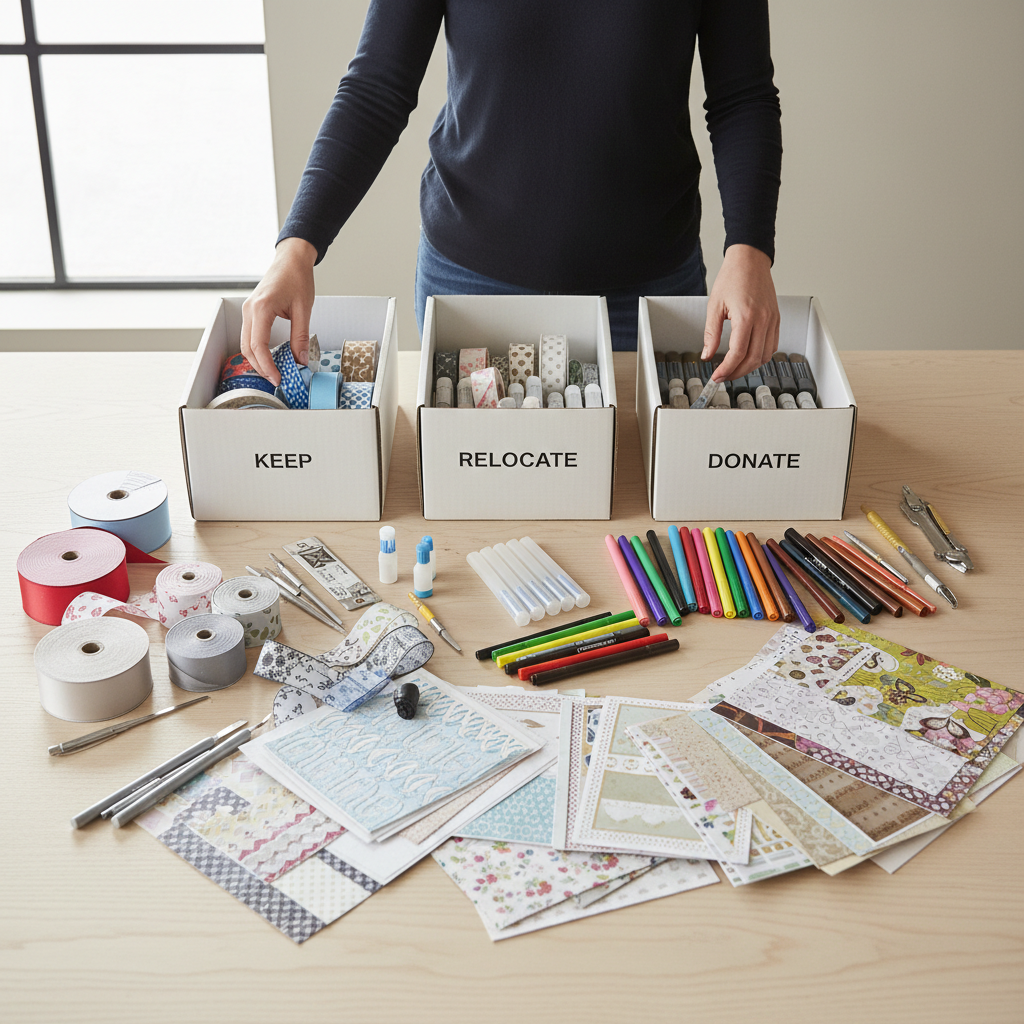
The 45-minute reset: clear, sort, and create “homes”
When time is tight, aim for a reset that makes the space usable today. You can refine later.
Step 1: Clear one surface completely
Pick your main work surface and clear it. If you only have a small area, clear a single bin or one shelf. Momentum matters more than square footage.
Step 2: Sort into 5 practical groups
- Daily tools: scissors, craft knife, adhesive, pens, ruler, tweezers.
- Consumables: paper, vinyl, paint, fabric, thread, foam, clay.
- Tiny parts: beads, findings, eyelets, buttons, sequins.
- Machines + accessories: Cricut tools, sewing feet, cords, mats.
- Projects in progress: anything “not done yet.”
Step 3: Assign a home before you put anything away
Every group gets a default spot. The goal is that cleanup becomes boring and quick, which is a compliment.
- Daily tools: one caddy or top drawer, within arm’s reach.
- Consumables: shelves or cabinets, organized by material type (paper with paper, paint with paint).
- Tiny parts: compartment organizer, sorted by project category, not color unless you truly craft by color.
- Machines: lower shelves, sturdy cart, or a dedicated table.
- WIPs: one bin per project, capped at 3 active bins.
Storage that stays neat: match containers to the supply
This is where how to organize craft supplies easily becomes real. A container should make the “right” behavior the easiest behavior.
Use this table to pick the right storage
| Supply type | What usually goes wrong | Container that helps | Label tip |
|---|---|---|---|
| Scrapbook paper, cardstock | Bends, mixed sizes, buried favorites | Vertical paper files, magazine holders, flat under-bed box | Label by size + theme ("12x12 Floral") |
| Vinyl rolls, wrapping paper | Unrolls, creases, hard to see colors | Standing bin, wine rack style holder, wall-mounted rack | Label by type ("HTV", "Permanent") |
| Beads, findings, small hardware | Spills, mixed compartments | Compartment case with secure latches | Add date or project ("Gold jump rings") |
| Paints, inks, glues | Lost caps, dried product, sticky shelves | Clear bins with washable liner, shallow drawers | Write “open date” for fast quality checks |
| Tools (cutters, rulers, punches) | Scattered across rooms | Drawer dividers, pegboard, tool cup | Group by task ("Cut", "Measure", "Punch") |
| Fabric, yarn | Bulky, attracts dust, hard to inventory | Zip bins, lidded cubes, clear tote by category | Label fiber/type ("Cotton quilting") |
Key point: Clear containers help you see inventory, but opaque bins look calmer. If visual clutter stresses you out, use opaque bins with very specific labels.
Set up zones so cleanup takes 5 minutes, not 50
Zones sound fancy, but it’s just grouping items by what you do with them. When you do this, you stop walking laps mid-project, and supplies stop piling up in random spots.
Three zones that work in most homes
- Make zone: your main surface, daily tools, cutting mat, trash can.
- Build zone: adhesives, tape runner, glue gun, clamps, heat tool.
- Store zone: backstock, refills, seasonal supplies, special tools.
If you share the room, consider a “close-it-and-walk-away” setup: one rolling cart or lidded tote that holds your daily kit, so you can reset fast when dinner happens.
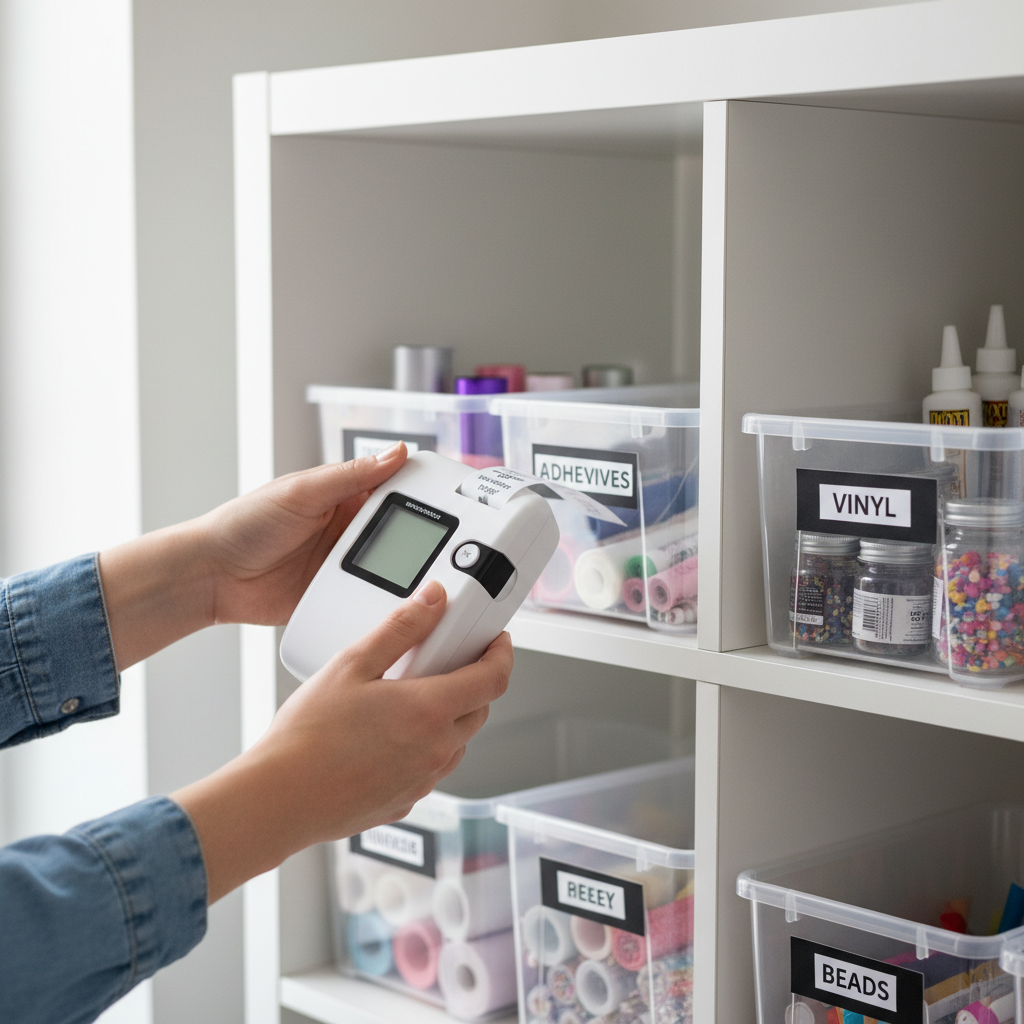
Labeling and inventory: boring, but it prevents re-buying
Most craft rooms get messy again because you can’t tell what you own. You buy duplicates, open new packs, and suddenly every bin overflows.
Simple labeling rules that don’t turn into a whole new hobby
- Label the front and top if bins stack.
- Use plain language you’d say out loud: “Stickers”, not “Embellishments Category B.”
- Keep labels consistent so your brain trusts the system.
- Create a “No Home” bin for items you can’t decide on yet, revisit monthly.
For inventory, a full spreadsheet is optional. A lighter method works for many people: take one photo per shelf/bin, keep it in a “Craft Inventory” album on your phone, update when you do a seasonal reset.
Real-life routines: keep it neat even when you’re mid-project
This is the part most guides skip. Organizing matters less than how you finish a session, especially when you craft in short bursts.
A realistic end-of-session routine
- Trash first: scraps, backing sheets, dried glue bits.
- Return daily tools to the caddy or drawer, nothing else until this is done.
- Put current project into one WIP bin or folder, including notes and cut pieces.
- Wipe the surface, quick check for blades, pins, or hot tools.
According to the U.S. Consumer Product Safety Commission (CPSC), injuries can happen at home from sharp tools and household products. If you craft around kids or pets, lidded storage and higher shelves often reduce risk, and if you use chemicals like resin, it’s wise to follow the manufacturer’s safety instructions and consider professional guidance for ventilation questions.
Common mistakes that make craft storage fail
- Mixing projects with supplies: keep WIPs separated or you’ll “lose” parts in general bins.
- Over-sorting tiny items: sorting beads into 40 micro-categories looks great, then collapses when you’re tired.
- Storing by color only: fun visually, but many crafters work by material or technique, so color storage slows you down.
- Buying containers that don’t fit your shelves: measure first, especially depth, lid height, and drawer clearance.
- No buffer space: bins packed to the top spill back into chaos, leave 10–20% empty when possible.
Conclusion: a neat craft area is mostly a decision, not a room makeover
If you want how to organize craft supplies easily to feel doable, focus on two moves: set up a daily-tool home within reach, and cap unfinished projects with a simple WIP bin rule. Everything else can improve over time.
Pick one shelf or one cart today, label it in plain words, and commit to the 5-minute reset after each session. Your future self will notice fast.
FAQ
- What’s the easiest way to start organizing craft supplies if I feel overwhelmed?
Start with one surface and one category, usually daily tools. A small “win” reduces decision fatigue and makes the next step feel lighter. - How do I organize craft supplies easily in a small apartment?
Go vertical and mobile: a rolling cart for daily tools, slim bins on a closet shelf for materials, and one lidded tote for WIPs. If it can tuck away fast, you’ll keep using it. - Should I use clear bins or opaque bins?
Clear bins help you remember what you own, opaque bins look calmer. Many people mix them: clear for backstock, opaque for visual peace on open shelves. - How do I store paper so it doesn’t curl or bend?
Keep it flat or supported vertically, avoid leaning stacks, and don’t overfill. If humidity is an issue in your area, a lidded container can help, but you may need to experiment. - How many projects should I keep “in progress” at once?
Most crafters stay organized with 1–3 active WIPs. If you keep more, the room starts to function as long-term storage instead of a workspace. - How do I keep kids safe around craft tools?
Use lidded bins, higher shelves, and a “sharp tools only in one drawer” rule. For hot tools or chemicals, follow product instructions and consider extra precautions if you’re unsure. - What if I share the space with another hobby or with family?
Create a portable “daily kit” and make your storage closeable. When cleanup is quick, shared spaces stay peaceful, and you’re more likely to craft often.
If you’re trying to organize craft supplies easily but keep getting stuck at the container-and-label stage, it may help to choose one small zone to standardize first, then expand once you know what sizes and layouts you truly like.