
Rustic home decor diy projects work best when they look a little imperfect on purpose, but still feel intentional and safe to live with. If you’ve tried “rustic” crafts before and ended up with something that feels more like a school project than a home upgrade, you’re not alone.
What’s worth caring about in 2026 is the gap between the rustic look and real-life durability, people want warm wood tones, matte metals, and cozy texture, but they also want pieces that don’t wobble, shed splinters, or scream “DIY.” The good news is you can get that collected, lived-in vibe without specialty tools or a garage full of lumber.
This guide narrows to easy, high-impact builds, the kind you can finish in a weekend, and still feel proud about next season. You’ll also get a quick “which project fits me” checklist, a supply table, and a few honest warnings that save time and frustration.
What “easy rustic” really means in 2026
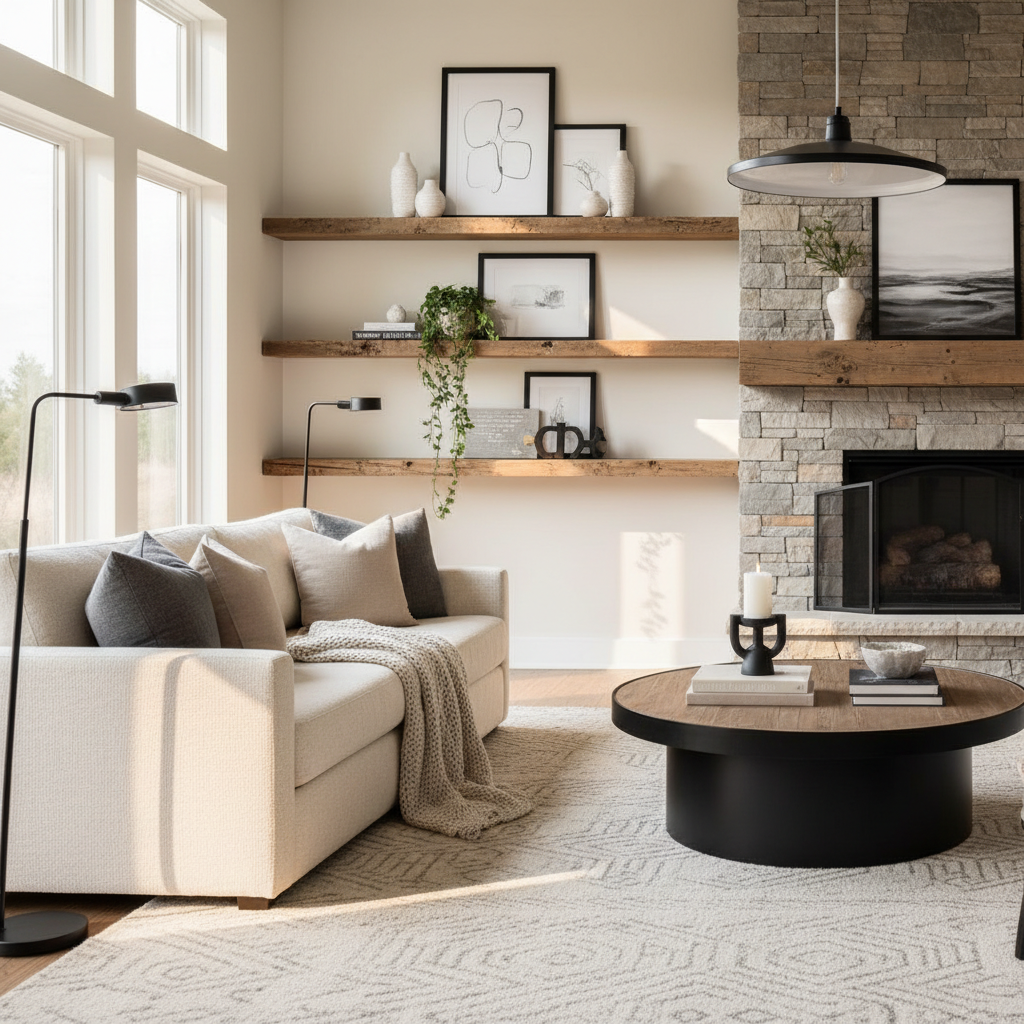
Rustic isn’t just “stain it dark and call it done.” The projects that read as believable usually share a few traits: simple shapes, honest materials, and a finish that doesn’t look plastic. In a lot of homes, the rustic pieces that land best are the ones that quietly support daily routines, entryway drops, towel storage, bedside lighting, not just decor for decor’s sake.
- Simple joinery: screws, brackets, pocket holes, or strong adhesive where appropriate.
- Controlled imperfection: rounded edges, visible grain, light distressing, not random gouges.
- Balanced contrast: warm wood plus matte black, aged brass, or natural fiber.
- Clean function: holds weight, wipes clean, doesn’t snag clothing.
According to the U.S. Consumer Product Safety Commission (CPSC), tip-over and stability hazards can be serious with furniture and shelving, so even for small builds, anchoring and load ratings are not “extra,” they’re part of the design.
Quick self-check: which rustic project should you build?
If you’re stuck choosing, decide by constraints, not inspiration. Most DIY fatigue comes from picking a project that fights your space, tools, or patience.
- You rent: lean toward removable hooks, freestanding ladders, tray tables, and adhesive-friendly wall decor.
- You own and want impact: go for shelves, a mirror frame, or an entry bench where you feel the change daily.
- Small space: vertical projects win, wall-mounted racks, narrow ledges, over-toilet shelving.
- Limited tools: pick builds that use straight cuts from the hardware store and brackets instead of complex joinery.
- You hate finishing: choose pre-finished boards, peel-and-stick veneer, or wipe-on oils rather than multi-coat poly.
One more honest filter: if you want “rustic,” but your home is mostly modern, choose one hero piece and keep the rest simple. Too many distressed items can make a space feel themed.
Tools and materials: keep it minimal (and realistic)
You can do a lot with a drill, a sander, and a level. Anything beyond that is optional, nice-to-have, not required for most rustic home decor diy projects in this list.
| Item | Why it matters | Easy substitutes |
|---|---|---|
| Drill/driver + bits | Fast assembly, cleaner screws | Hand screwdriver (slower) |
| Level + stud finder | Safer shelves, straighter installs | Magnet + measuring from corners |
| Sandpaper (80/120/220) | Controls “rustic” vs “rough” | Sanding sponge |
| Wood screws + wall anchors | Strength and stability | Toggle bolts for hollow walls |
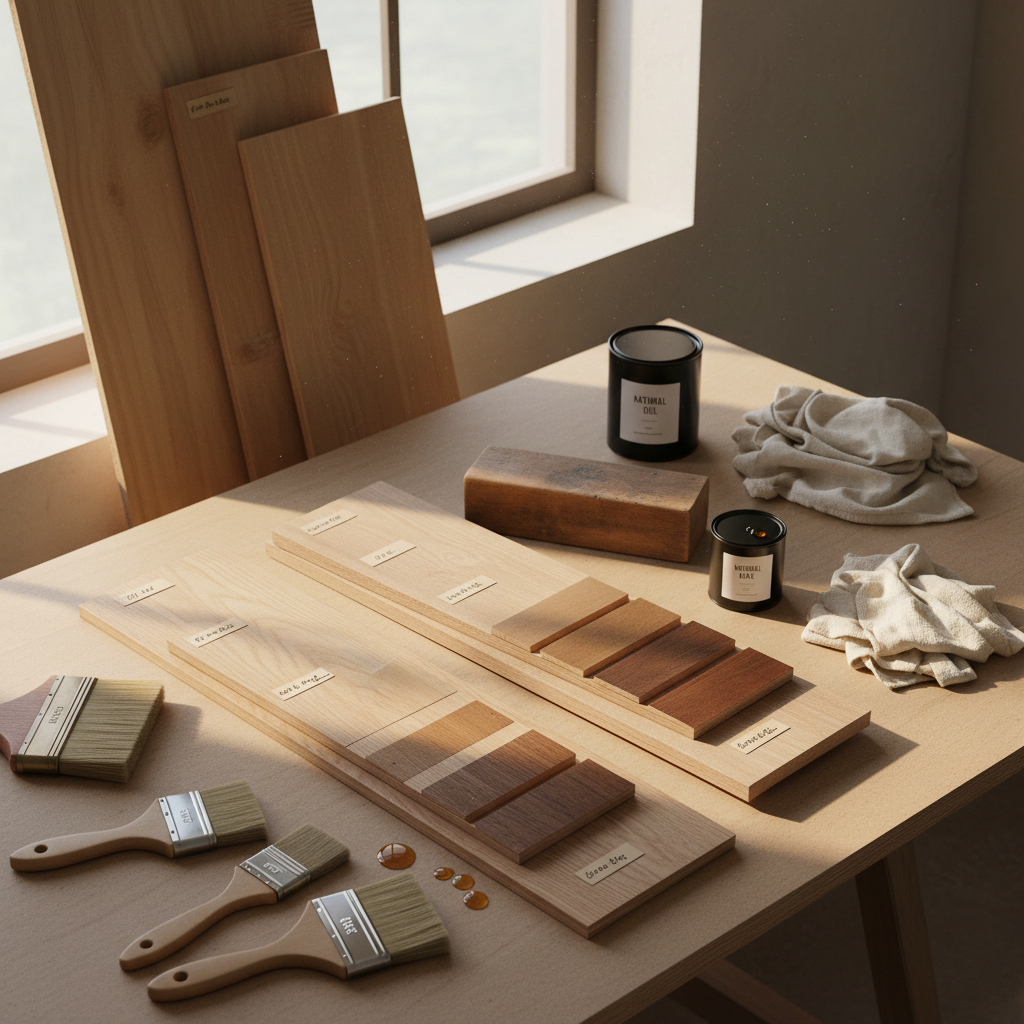
| Finish (oil, wax, stain) | Color, protection, feel | Pre-stained boards |
Key point: buy straight boards. Warped wood can ruin an “easy” build fast, especially for shelves and frames.
6 easy rustic home decor DIY projects (high impact, low drama)
These are chosen because they scale up or down, and most mistakes are fixable. Each one can be made to look “expensive” by tightening the finish and hardware choices.
1) Reclaimed-look floating shelves (without reclaimed wood prices)
Use common boards, then create depth with a medium walnut stain or a layered finish, wipe back the stain so grain shows, then seal. Heavy-duty brackets matter more than the wood species here.
- Ask the store to cut boards to length, fewer tools at home.
- Mount into studs when possible, if not, use rated anchors and keep loads light.
- Finish the edges, a quick 120 grit pass prevents splintery “rustic.”
2) Vintage-style mirror frame with trim boards
Frames are forgiving: you’re mostly making a rectangle. Use mitered trim if you like clean corners, or butt joints if you want a chunkier farmhouse feel.
- Choose a mirror first, then build to fit, not the other way around.
- Use construction adhesive where appropriate, clamp while curing.
- Antique finish trick: rub a little dark wax into corners, then wipe back.
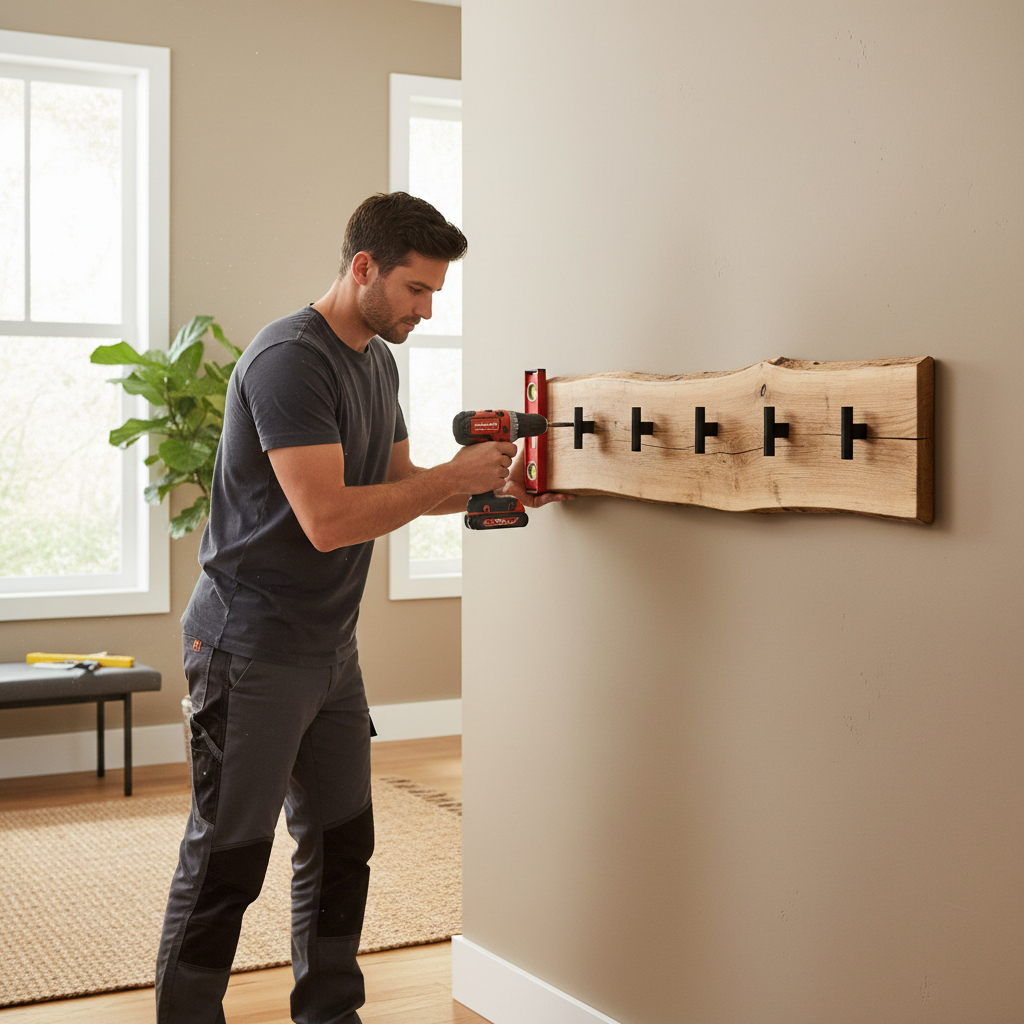
3) Entryway “drop zone” wall rail (hooks + small ledge)
This solves a real daily pain point: keys, dog leash, sunglasses. A narrow ledge plus hooks reads rustic fast when paired with matte black hardware.
- Keep the ledge shallow so it doesn’t catch shoulders in tight hallways.
- Pre-drill for hooks to avoid splitting.
- If kids use it, mount lower and choose rounded hook shapes.
4) Rustic tray for coffee table or ottoman
A tray is a low-risk build that makes your living room feel pulled together. Add side handles, keep the base simple, and sand like you mean it.
- Use a thin plywood base and 1x2 sides for an easy build.
- Line the bottom with cork or felt to protect surfaces.
- Seal the tray if you expect mugs, condensation can stain raw wood.
5) Blanket ladder (freestanding, renter-friendly)
This is the classic rustic project because it’s mostly straight lines. The “not cheap-looking” upgrade is round dowels, tighter spacing, and a consistent finish.
- Angle the side rails slightly for stability.
- Add rubber feet if you have slick floors.
- Don’t overload it, it’s decor storage, not a climbing ladder.
6) Mason jar sconce lights (the safer, simpler version)
Hardwiring can be great, but it’s not always the “easy” path. A simpler approach is a sconce-style backer with a jar holder and a battery LED puck or candle-style LED.
- Pick warm LEDs for a believable glow.
- Keep jars away from heat sources, open flame near wood is risky.
- If you want wired lighting, consider a plug-in sconce kit and consult a licensed electrician when unsure.
Step-by-step: a weekend plan that actually finishes
Most unfinished DIYs stall at two points: cutting accuracy and finishing time. A weekend plan works when you accept dry time and keep the scope tight.
- Friday night: confirm measurements, order store cuts, buy hardware, test stain on scrap.
- Saturday: assemble, sand, first coat of finish, stop before you “over-fix.”
- Sunday: second coat if needed, install, then touch-ups only after you see it in place.
For rustic home decor diy projects, the finish is half the look, and rushing it is usually visible. If you can only do one upgrade, choose better hardware and a calmer, more even stain.
Common mistakes that make rustic look cheap (and how to avoid them)
Rustic has a fine line: too polished and it feels generic, too rough and it looks unfinished. These are the issues I see most often in “easy” builds.
- Over-distressing: random chains and deep dents read costume-y, try soft edge wear instead.
- Shiny topcoats: high gloss can fight rustic, consider matte or satin finishes.
- Hardware mismatch: mixing chrome with rustic wood often feels off, matte black or aged brass tends to blend.
- Ignoring weight and anchors: shelves sag, hooks rip out, always use rated fasteners.
- Skipping sanding: “rustic” shouldn’t mean splinters, hands and sweaters notice fast.
According to OSHA, using power tools without proper eye protection can increase injury risk, so goggles and dust control are a practical baseline, especially when sanding or drilling overhead.
When it’s worth getting professional help
DIY is great, but a few situations deserve a pause. If your project involves hardwiring, load-bearing wall changes, or mounting heavy items into questionable drywall, it may be safer to consult a licensed electrician or contractor. The cost often beats repairing a wall failure, or dealing with a safety issue later.
- Any new electrical box, new circuit, or unknown wiring condition
- Very heavy shelving over beds, cribs, or seating
- Historic plaster walls where anchors behave differently than drywall
Conclusion: pick one project, finish it well, then layer
The quickest way to get a cozy home is not building ten things, it’s completing one or two rustic home decor diy projects that solve a daily problem and look intentional in your space. Start with a shelf, a tray, or a hook rail, then repeat the same wood tone and hardware finish elsewhere so it feels collected, not cluttered.
Action ideas for this week: choose one “pain point” spot in your home, then buy the wood pre-cut and commit to a simple finish you can repeat later.
FAQ
- What are the easiest rustic home decor diy projects for beginners?
Trays, blanket ladders, and hook rails are usually the smoothest starts because cuts are simple and the pieces still look good with basic tools. - How do I make new wood look old without going overboard?
Focus on color and texture: soften edges, use a layered stain or a light glaze, then wipe back. Avoid deep dents or random damage that looks staged. - Is reclaimed wood safe to use indoors?
Often yes, but it depends on where it came from and what it was exposed to. Clean it well, watch for old finishes, and if you suspect lead paint or chemical exposure, consider professional advice. - What finish looks most “rustic” but still protects the wood?
Many people like matte or satin sealers, or hardwax oil, because the surface doesn’t look plasticky. For high-use items like trays, prioritize a protective topcoat. - How do I hang rustic shelves if I can’t hit studs?
Use anchors rated for the load and keep the shelf depth and weight modest. For anything heavy, it’s smarter to reposition into studs or use a mounting system designed for hollow walls. - Can I do rustic decor in a modern apartment without it feeling themed?
Yes, keep the palette calm, pick one hero wood tone, and repeat one metal finish. A single rustic mirror frame or shelf often reads better than multiple distressed items. - What’s a good “one-hour” rustic upgrade?
Swap hardware: matte black hooks, knobs, or pulls can shift the vibe quickly. Pair it with a small wood rail or a simple tray for a more complete look.
If you’re working with limited time or tools and still want rustic results that feel consistent across rooms, it can help to plan a small “finish system” first, one stain tone, one hardware finish, and two repeatable project types, then build from there without reinventing every piece.