
diy floating shelves easy tutorial is usually what people search right after a shelf leans, sags, or rips out of drywall, and the fix is rarely “more screws.” It’s almost always about choosing the right mount for your wall type, hitting studs when you can, and keeping the bracket perfectly level from the start.
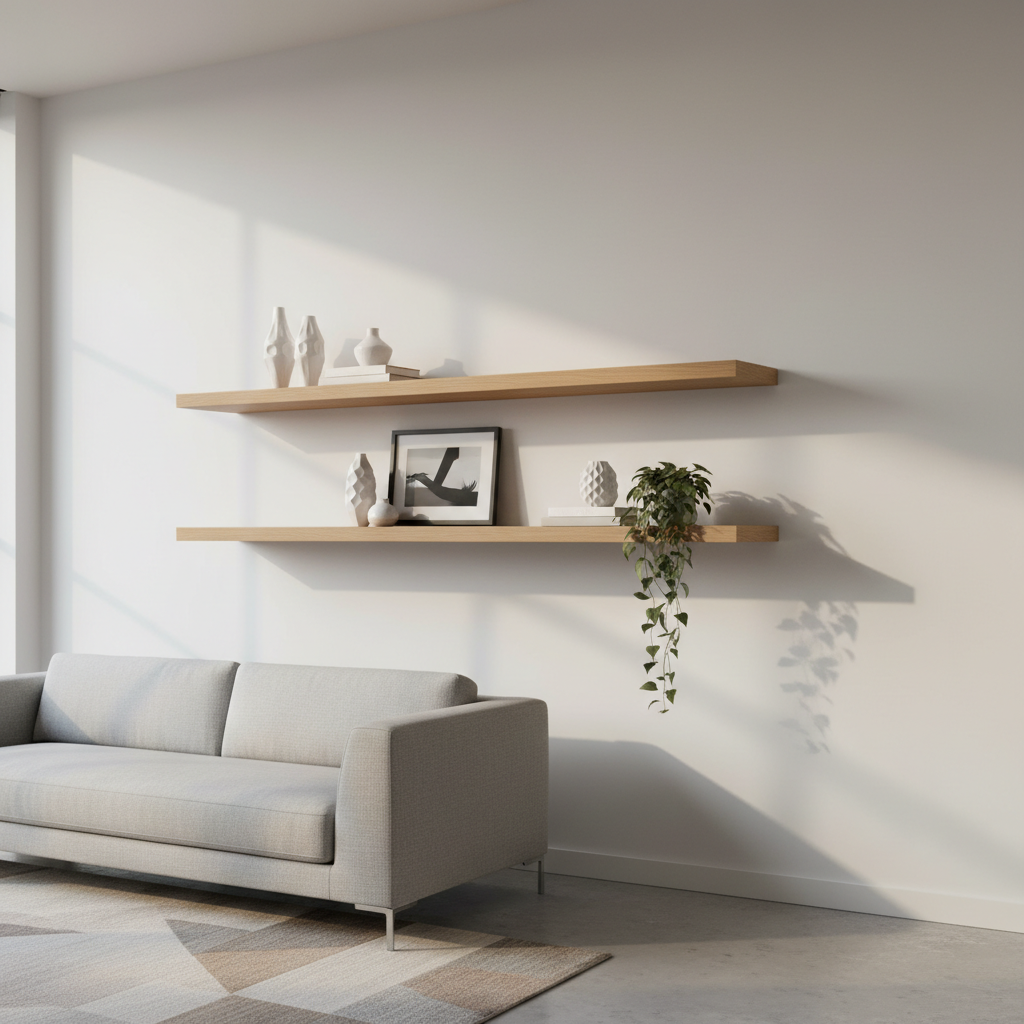
If you want floating shelves that look clean and feel solid, this guide walks you through the whole job without assuming you own a full woodshop. You’ll get a simple plan, a quick checklist to confirm your wall can handle the load, and a step-by-step install that works for most common shelf kits and DIY builds.
One quick expectation check, “floating” doesn’t mean “weightless.” A shelf can be invisible-mounted and still needs a real structure behind it, either studs, proper anchors, or a mounting board that spreads the load. If you’re aiming for books, heavy ceramics, or a big coffee setup, you’ll plan differently than for framed photos.
What makes floating shelves fail (and how to avoid it)
Most shelf problems show up in the first week, then get worse slowly. Here are the usual culprits and what they look like in real homes.
- Wrong anchors for the wall: Drywall anchors used on plaster, masonry anchors used in drywall, or “universal” anchors used for heavier loads, the shelf feels firm at first, then starts to wobble.
- Not enough bite into a stud: A screw that barely catches a stud can hold temporarily, then loosens as the shelf gets bumped or loaded.
- Bracket not level: Even a small angle becomes obvious once you place decor, and it can also shift weight to one side.
- Shelf cavity fit is sloppy: For sleeve-style floating shelves (a hollow box that slides over rods), a loose fit makes the shelf rock.
- Overloading shallow shelves: Deep or long spans with heavy items in the front edge create leverage that pulls hardware out.
According to OSHA, using the right tools and following safe practices reduces injury risk on home projects, especially when drilling and working on ladders. If you’re uncertain about wiring or plumbing behind a wall, it’s worth slowing down and checking before you drill.
Quick self-check: your wall, your load, your shelf type
Before you buy wood or open the shelf kit, answer these questions. It saves you from redoing holes and patching drywall later.
Wall type
- Drywall over studs: Most common in the US, easiest to hit studs with a stud finder.
- Plaster and lath: Often older homes, stud finding can be trickier and anchors vary by condition.
- Masonry (brick, block, concrete): Requires masonry bits and the correct anchors.
Load reality check
- Light: small plants, frames, lightweight decor
- Medium: stacked dishes, small speakers, pantry jars
- Heavy: books, large cookware, dense pottery, anything you’d hesitate to drop on your foot
Floating shelf system
- Rod-and-sleeve (hidden metal rods): clean look, needs precise drilling and a snug shelf cavity.
- Hidden bracket (steel plate + arms): common in kits, forgiving and strong when mounted well.
- French cleat style (still “floating-ish”): slightly more visible build-up, excellent load distribution.
Tools and materials (what you actually need)
Keep this practical, you can do a solid install with basic tools plus the right fasteners. If your kit includes hardware, treat it as “starter hardware,” not a guarantee.
- Tape measure, pencil, painter’s tape
- Level (a longer level makes this easier)
- Stud finder (for drywall)
- Drill/driver with bits, including a bit for pilot holes
- Appropriate fasteners: wood screws for studs, rated anchors for drywall, masonry anchors for brick/concrete
- Optional but helpful: impact driver, laser level, clamp, wood filler

Key point: If you can hit at least one stud for each shelf, do it. Anchors have their place, but studs make everything calmer.
Measurements that prevent crooked shelves
This is the part people rush, then regret. You’re not just measuring “where it looks nice,” you’re setting reference lines that keep multiple shelves visually aligned.
- Find the visual center: Center between cabinets, windows, or furniture, not always the wall’s true center.
- Mark your shelf line with painter’s tape: It’s easier to step back and judge height, plus pencil stays off the wall paint.
- Plan spacing: For stacked shelves, keep spacing consistent unless you’re intentionally styling an asymmetrical layout.
- Check for obstructions: Outlets, switches, vents, and anything that forces the shelf to sit awkwardly.
If you’re installing more than one shelf, measure from a fixed point like the floor or countertop. Measuring from the ceiling can trick you if the ceiling is out of level, which happens more often than people think.
DIY floating shelves easy tutorial: step-by-step installation
This process works for most hidden-bracket floating shelf kits and many custom builds. Adjust fasteners and drill bits to match your wall type and the bracket manufacturer’s instructions.
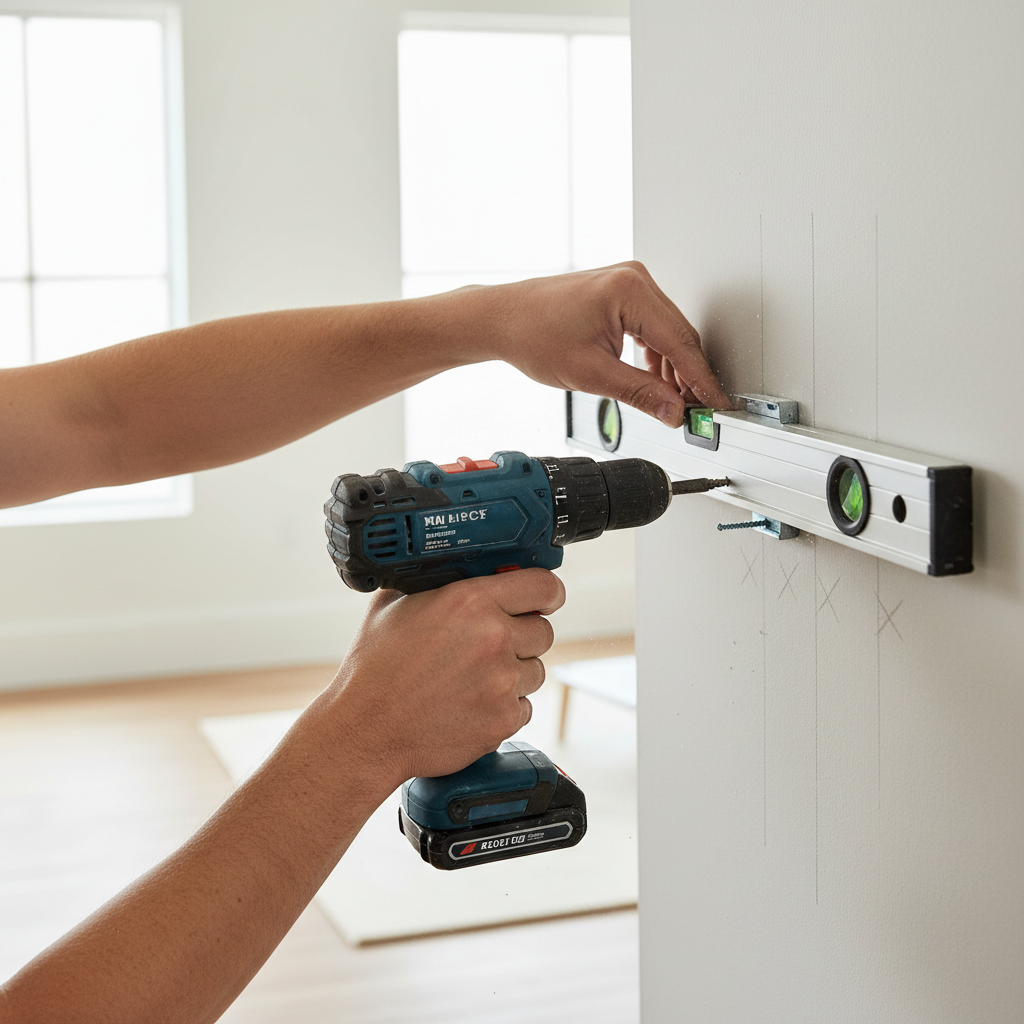
1) Mark bracket location and confirm level
Hold the bracket on the wall where you want the shelf, use a level, then mark screw holes through the bracket slots. Step back and eyeball it before drilling, your eyes catch what a tape measure misses.
2) Locate studs (if drywall) and choose your fastening plan
Use a stud finder, then confirm with a small pilot hole if needed. Many brackets let you land at least one screw in a stud and use rated anchors for the remaining holes, that’s a common “best of both worlds” setup.
3) Drill pilot holes
Pilot holes reduce splitting and help screws track straight. For masonry, use the correct masonry bit and drill to the anchor depth. If you’re not sure what’s behind the wall, proceed cautiously or consult a professional, especially near kitchens and bathrooms where plumbing might run.
4) Install anchors (when you can’t hit studs)
Pick anchors rated for your expected load and wall type, then install them as directed. Avoid mixing systems, for example, don’t use a random screw with a specialty anchor unless the manufacturer says it’s compatible.
5) Screw the bracket tight, then re-check level
Tighten screws evenly so the bracket sits flat. Check level again. If it’s off, fix it now, shimming or adjusting is much easier before the shelf goes on.
6) Fit the shelf onto the bracket
Slide the shelf onto the arms/rods. If it binds, don’t force it. Pull it off and check for interference points, a tight fit is good, but “hammering it on” can bend hardware out of alignment.
7) Lock the shelf (set screws or underside screws)
Many kits include set screws that cinch the shelf to the bracket. Use them. They prevent the small wiggle that turns into a sag over time.
Quick stability test: Press down gently on the front edge with your palm. You want “solid with minimal flex,” not movement at the wall. If you feel shifting, unload and fix it before styling.
Wall-type cheat sheet: fastener choices at a glance
Hardware depends on your wall and your load goals. Use this as a starting point, then confirm with the shelf manufacturer and the anchor packaging ratings.
| Wall type | Best practice | Common fasteners | What to watch for |
|---|---|---|---|
| Drywall over studs | Hit studs whenever possible | Wood screws into studs, plus rated drywall anchors if needed | Stud spacing, bracket hole alignment, drywall thickness |
| Drywall with no stud options | Limit load or use a mounting board | Toggle bolts or other rated anchors | Overloading front edge, anchor compatibility |
| Plaster and lath | Test substrate, pre-drill carefully | Anchors designed for plaster, screws into studs when found | Cracking plaster, unreliable hollow spots |
| Brick/concrete | Use masonry bit and proper anchors | Concrete screws, sleeve anchors, wedge anchors (by need) | Dust in holes, drilling depth, hard spots in old brick |
Finishing touches and styling without overloading
A shelf that looks great on day one can start drooping if the load creeps up. A few habits keep it looking intentional.
- Keep heavy items closer to the wall: It reduces leverage on the bracket.
- Balance left and right: Especially on longer spans.
- Use liners under ceramics: Helps prevent slipping and small scratches.
- Seal or finish raw wood: Kitchens and bathrooms add moisture, a basic finish helps.
If you’re building shelves from scratch, a simple rule tends to hold: longer and deeper shelves need stronger brackets and better attachment points. When in doubt, reduce span or add a center support.
Mistakes that waste time (and how to recover)
Even careful DIYers hit these. The goal is to correct early, not “live with it.”
- Drilling before checking level twice: Patch the hole, repaint later, and re-drill in the right spot. Trying to “muscle” a crooked bracket into place usually fails.
- Using whatever screws came in the box: Swap to the correct length and type for your wall. Many kits aim to fit many situations, not your specific one.
- Ignoring a small wobble: That wobble often means an anchor is spinning or a screw missed the stud edge.
- Over-tightening into drywall: You can crush drywall and weaken the bite. Tight is good, crushed is not.
If holes end up in the wrong place, patching is normal. Let compound dry fully before re-drilling nearby, rushing this step can cause crumbling and repeated failures.
When it’s smarter to call a pro
Some situations are DIY-friendly in theory but annoying in practice. Consider professional help if any of these apply.
- You need shelves on tile, stone, or masonry and you’re not comfortable drilling it cleanly
- The wall might hide electrical wiring or plumbing in the drill zone, common around sinks and backsplashes
- You want a long, heavy shelf run for books or media, and studs don’t line up with bracket holes
- Your wall surface is crumbling plaster or uneven, where anchors may not hold reliably
There’s no shame in outsourcing the tricky part. Many people still do the planning, shelf finishing, and styling themselves, then hire out the high-risk drilling.
Conclusion: a simple plan that keeps shelves straight and strong
If you take one thing from this diy floating shelves easy tutorial, let it be this, the wall attachment matters more than the shelf board. Hit studs when you can, match anchors to your wall when you can’t, and don’t move past the bracket stage until level and tight feel boringly solid.
Pick one shelf location and do a “test install” before committing to a whole wall of shelves, then repeat the same measurements for the rest. If you’re ready, grab your level, mark with tape, and start with the bracket, the rest goes faster than you expect.
FAQ
What is the easiest way to install floating shelves for beginners?
Start with a hidden-bracket kit, install into studs if possible, and use painter’s tape to preview placement. The job feels easier when the bracket stage is slow and careful.
Can I install floating shelves without studs?
Often yes, but you’ll rely on rated drywall anchors and you should keep loads light to medium in many cases. If you want heavy storage, a mounting board or a different shelf style may be safer.
How do I keep floating shelves from sagging over time?
Make sure the bracket is firmly attached, lock the shelf with set screws, and keep heavy items closer to the wall. Sagging usually comes from leverage at the front edge, not the shelf “weakness” alone.
What depth is practical for DIY floating shelves?
It depends on the bracket system and what you’ll store. Deeper shelves increase leverage, so if you want depth for books or appliances, plan stronger hardware and better attachment points.
Why is my floating shelf wobbly even after tightening screws?
Common reasons include a spinning anchor, a screw that barely missed a stud, or a shelf cavity that fits loosely on the bracket arms. Removing the shelf and re-checking each screw point usually reveals the cause.
How high should I hang floating shelves above a couch or desk?
There isn’t one perfect number, but you want enough clearance to avoid head bumps and to keep the arrangement visually balanced. Mock it up with tape, then sit down and check sightlines before drilling.
Is it safe to drill into plaster walls for floating shelves?
It can be, but plaster condition varies a lot. Pre-drill carefully, expect some brittleness, and consider consulting a professional if the wall shows cracking or hollow spots near where you need support.
If you’re installing shelves in an older home, on tricky wall materials, or you just want a cleaner finish with fewer patch-and-paint surprises, it may help to choose a shelf kit matched to your wall type and load goals, or to get a quick opinion from a local handyman before you drill the first hole.