
diy wooden tray for coffee table decor sounds simple, but most projects go sideways for a predictable reason: the tray ends up the wrong size, feels flimsy, or the finish looks “crafty” instead of intentional.
A good tray is more than a cute DIY, it’s a styling anchor that keeps remotes, candles, coasters, and books from looking like clutter. When it’s the right scale and finish, your coffee table instantly reads “pulled together,” even on a busy weeknight.
This guide keeps it practical: what to build, what to buy, how to avoid the common mistakes, and a few styling rules that actually work in real living rooms.
Why most DIY trays look “off” (and how to fix that early)
In most homes, the coffee table is visually busy: mixed materials, varied heights, and everyday items that keep moving. A tray either organizes that chaos or adds to it.
- Scale mismatch: too small and it feels like a coaster, too large and it blocks the table from being usable.
- Thin stock: lightweight boards flex, corners split, and handles loosen over time.
- Finish choice: matte vs glossy matters more than people expect, especially under lamps and daylight.
- Sharp edges: a tray gets touched constantly, so crisp edges often feel harsh and look less finished.
If you only take one idea from this section, make it this: decide your tray size and finish before you cut wood, because those two choices drive everything else.
Quick checklist: is a tray the right move for your coffee table?
Trays solve specific problems. If your table is already minimal and you never leave items out, you may not need one. But if any of these sound familiar, it’s usually worth building.
- You’re constantly moving remotes, coasters, or matches around.
- Your table is large and looks empty in the center.
- You like styling with candles or a small plant, but it never looks “contained.”
- Kids or pets make you want a quick “sweep everything into one place” option.
Rule of thumb: many rooms look balanced when the tray footprint takes up roughly one-third to one-half of the coffee table surface, depending on how much negative space you like.
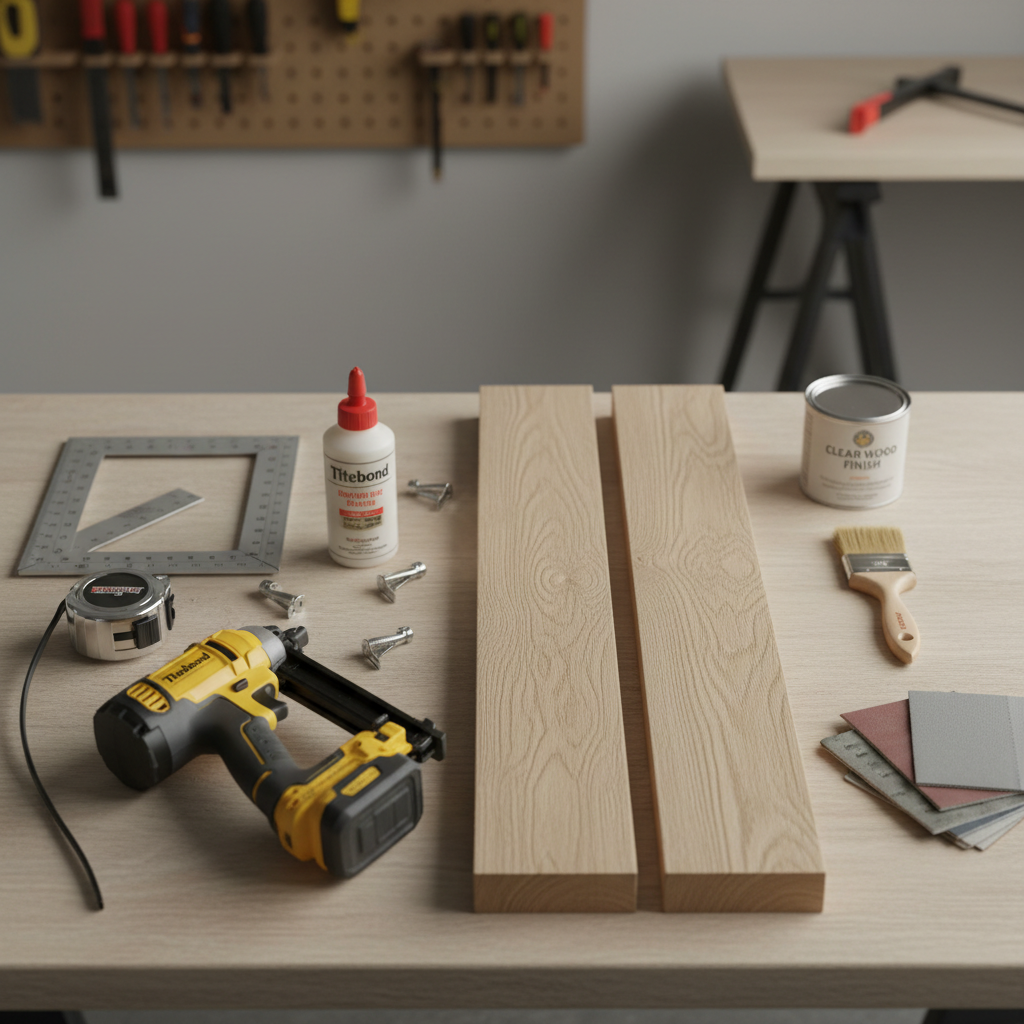
Materials and tools: keep it simple, spend where it shows
You can make a solid tray with basic tools. If you own a saw and a sander, you’re already most of the way there. If you don’t, you can still do this with pre-cut lumber from a home center and light assembly.
Best wood options for a coffee table tray
- Hard maple or oak: durable, classic grain, takes stain well, usually looks “store-bought” when finished carefully.
- Walnut: premium look, often needs less stain, higher cost but very forgiving visually.
- Poplar: budget-friendly and stable, but typically better for paint than stain.
- Plywood (cabinet grade): great for a flat base, just watch exposed edges or add edge banding.
Basic supply list
- Wood boards for base and sides (or one sheet + side strips)
- Wood glue and clamps
- 18-gauge brad nails or small screws (optional but helpful)
- Sandpaper (80/120/180/220 grit)
- Finish: water-based polycrylic, wipe-on polyurethane, hardwax oil, or paint + topcoat
- Handles or pull cutouts (optional)
- Felt pads for the bottom
Safety note: sanding dust and finishes can irritate skin and lungs. Many makers use a dust mask and good ventilation, and if you have sensitivities it’s smart to consult a professional or follow product-specific guidance.
Build plan: a sturdy tray you can finish in a weekend
This is the simplest build that still feels substantial: a flat base, mitered or butt-joint sides, and optional handles. You can modify the measurements, but keeping the structure similar helps prevent wobble.
Recommended tray dimensions (choose your lane)
| Use case | Typical size (L x W) | Side height | Notes |
|---|---|---|---|
| Small coffee table / minimal styling | 16–18 in x 10–12 in | 1.25–1.75 in | Feels light, easy to move, great for 3–4 items |
| Most living rooms (balanced) | 20–24 in x 14–16 in | 1.5–2 in | Good for books + candle + coaster stack |
| Large sectional / oversized table | 26–30 in x 16–18 in | 1.75–2.25 in | Choose thicker stock so it doesn’t flex |
Step-by-step build (no fancy joinery required)
- Measure your coffee table first, then pick tray size that leaves usable space around it.
- Cut the base from 1/2 in to 3/4 in thick material. Thicker feels more premium.
- Cut side pieces from 1x2 or 1x3 boards. If you can, use a miter saw for clean corners, but butt joints work too.
- Dry fit everything on a flat surface and check squareness using a carpenter’s square.
- Glue and clamp the sides to the base. Add brad nails or small screws if you want extra hold.
- Fill gaps with wood filler (especially on butt joints) if you plan to paint, or keep joinery cleaner if staining.
- Round over edges lightly with sandpaper or a router bit so it feels finished in hand.
- Add handles after sanding if you’re installing hardware, or cut hand-holds before assembly if that’s your design.
According to OSHA, many workshop injuries are tied to improper tool use and insufficient protective equipment, so follow your tool manuals and basic shop safety practices while cutting and sanding.
Finishing for a “decor” look: stain, paint, or natural?
The finish is where your tray stops looking like a school project and starts looking like decor. The secret is restraint: fewer products, more patience between coats.
Three finishes that usually work on a coffee table
- Natural + clear topcoat: great with oak, walnut, maple. Keeps it timeless, easy to style.
- Stain + satin topcoat: helps match existing furniture. Satin often hides fingerprints better than gloss.
- Paint + durable clear coat: easiest for a crisp modern look, especially with poplar or less-pretty boards.
Most coffee table trays deal with water rings and candle soot eventually, so a protective topcoat is worth it. Many people like water-based polycrylic for low odor and quick dry times, but oil-based finishes can be tougher, just slower and smellier.
Finishing steps that prevent the “blotchy stain” problem
- Sand to 180 or 220 grit, then remove dust fully.
- If using softwoods, consider a pre-stain conditioner to reduce uneven absorption.
- Test stain on an offcut, not the tray itself.
- Use thin coats of topcoat, light sanding between coats when the label recommends it.

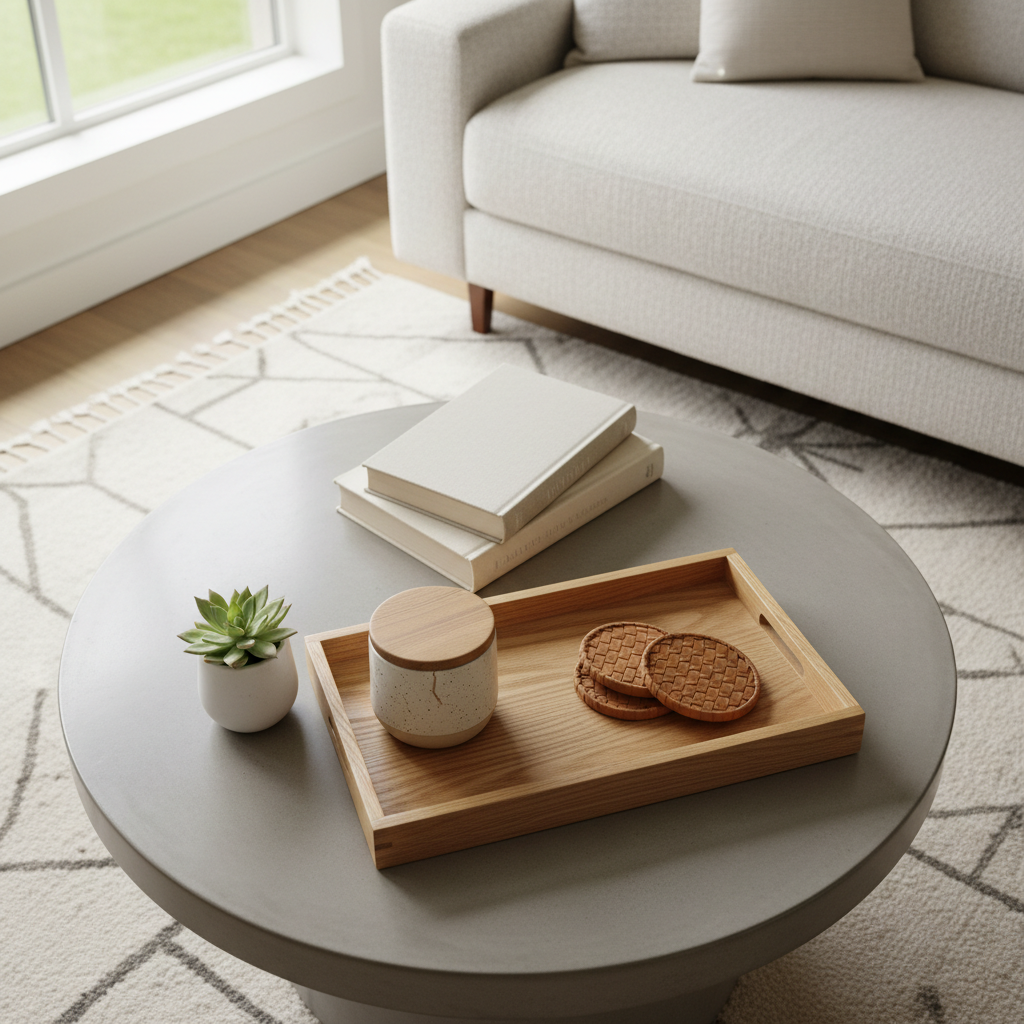
How to style the tray so your coffee table looks intentional
Styling is where people overthink. If you keep two rules in mind, you’ll usually be fine: vary height, and repeat one material or color so it feels coherent.
A simple “always works” tray formula
- Anchor: 1–2 books or a low box as the base layer.
- Height: a candle, small vase, or sculptural object for vertical interest.
- Function: coasters, a match striker, or a small bowl for keys.
- Soft element: a small plant or textured bead garland if that fits your style.
For diy wooden tray for coffee table decor, the tray finish should connect to something nearby: the legs of the table, a picture frame, a lamp, or even hardware on a console. It’s a small trick, but it stops the tray from feeling random.
Common mistakes (so you don’t waste a Saturday)
- Building too shallow: if the sides are under about 1 in, items slide out when you move it.
- Skipping felt pads: wood-on-wood scratches show up fast, especially on softer table finishes.
- Using indoor-only paint with no topcoat: it can scuff from rings, mugs, and remote edges.
- Overdecorating: if you can’t set down a drink, you’ll resent the tray and stop using it.
- Over-sanding edges: rounded is good, but too round can look puffy and imprecise.
If your tray ends up slightly imperfect, don’t panic. In many homes, a tray with small character marks still looks better than no tray at all, because it creates visual order.
When to upgrade the plan or ask for help
Some situations deserve a more advanced approach. If you want a super-large tray, very thin modern profiles, or inset hardware, the build can get finicky.
- Go thicker (or add underside cleats) if your tray spans over 26–30 inches to prevent flex.
- Consider a pro if you want a perfect stain match to existing furniture, that’s often harder than the woodworking.
- Ask a hardware associate when selecting handle screws and placement, stripped holes are a common headache.
According to the Consumer Product Safety Commission (CPSC), following manufacturer instructions for tools and finishes reduces the risk of avoidable accidents, so if any step feels uncertain, slowing down is the smarter move.
Key takeaways + a practical next step
A coffee table tray works when it’s sized to your table, built sturdy enough to move easily, and finished with a sheen that fits your room. The rest is just styling.
- Pick size first, then commit to a finish before you cut wood.
- Choose durability over novelty, especially for topcoat and handles.
If you want momentum, measure your table tonight and sketch a tray rectangle on paper, that single step makes tomorrow’s supply run way faster and keeps the project from drifting.
FAQ
What is the best wood for a DIY coffee table tray?
Oak, maple, and walnut usually hold up well and look refined with a clear or stained finish. If you plan to paint, poplar can be a cost-effective choice because it paints smoothly.
How big should a tray be for a standard coffee table?
Many people land around 20–24 inches long and 14–16 inches wide, but it depends on your table and how much usable space you want. A quick test is to tape out the tray footprint on the tabletop and live with it for a day.
Do I need handles on a wooden tray for coffee table decor?
Not always. Handles are helpful if you move the tray often, but a clean handle-free design can look more modern. If you skip handles, slightly taller sides make it easier to pick up.
What finish is most durable for daily use?
Polyurethane and polycrylic are common choices for high-touch items. Hardwax oils can look beautiful too, but they may need maintenance sooner depending on spills and cleaning habits.
How do I keep stain from looking blotchy?
Good sanding and dust removal matter more than people think, and a pre-stain conditioner can help on soft or uneven-grain woods. Testing on an offcut is the easiest way to avoid regret.
Can I make this tray without power tools?
Often yes, especially if you buy cut-to-size boards from a home center and use clamps and glue for assembly. You’ll still want careful sanding, which can be done by hand if you have patience.
How do I style a tray without making the table unusable?
Keep one “empty landing zone” either inside the tray or on the table itself. In real life, leaving space for a mug and a remote is what keeps decor from becoming annoying.
Is diy wooden tray for coffee table decor a good beginner project?
Usually yes, because it teaches measuring, squaring, sanding, and finishing without complex joinery. The finish step is where beginners tend to rush, so plan for drying time.
If you’re building this for a specific room and want it to look cohesive fast, it can help to choose your finish based on one item you already own, like a frame, lamp base, or table legs, then build the tray to match that “reference” instead of guessing in the stain aisle.