
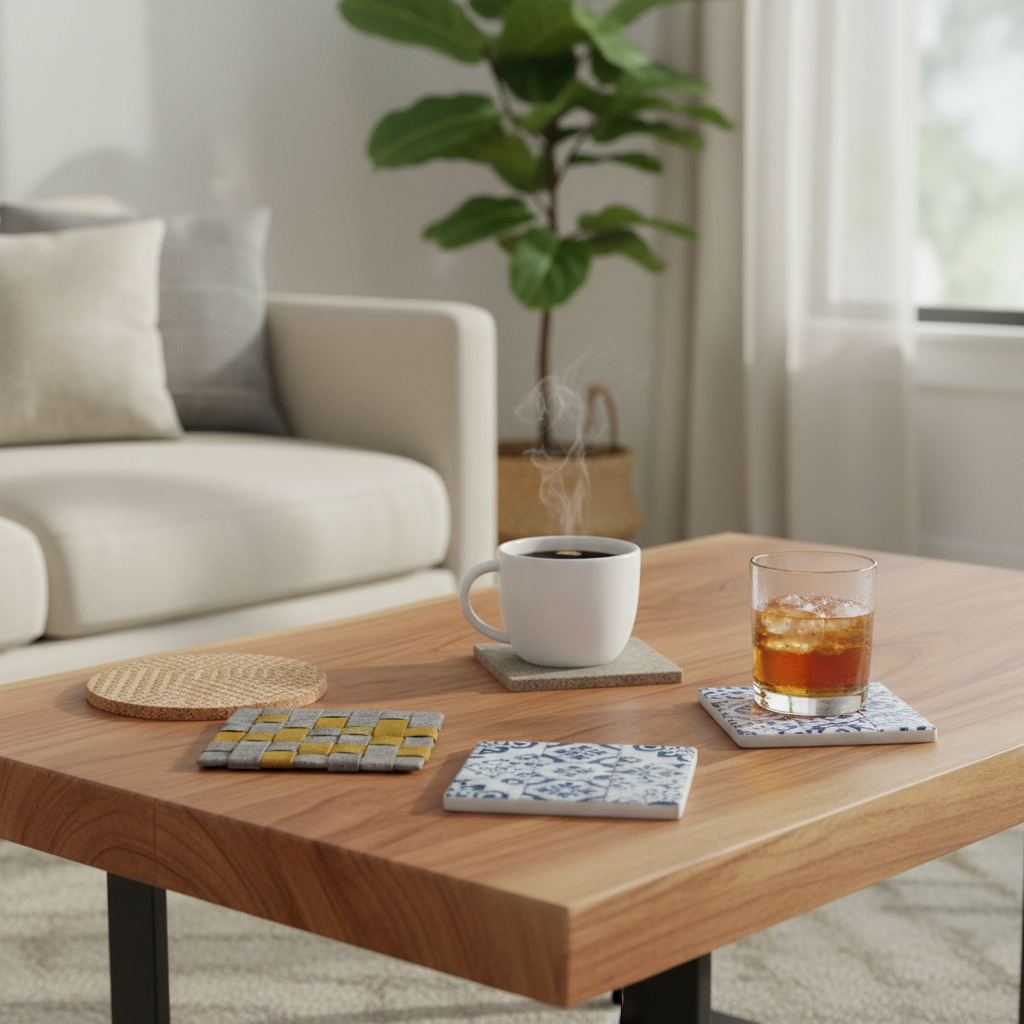
Easy DIY coasters for coffee table projects are one of the fastest ways to stop water rings, heat marks, and sticky “mystery spots” from becoming permanent decor.
If you have a coffee table you like, this is one of those small fixes that saves you real money, because refinishing a top costs more time and hassle than most people expect, and it’s usually avoidable.
People often assume “any coaster works,” but the material and finish matter a lot depending on whether you deal with hot mugs, icy condensation, or kids who drag cups across the surface. This guide keeps it practical, you’ll be able to pick a style, make it in an hour, and seal it so it survives real use.
What actually ruins a coffee table (and what coasters need to do)
Most coffee table damage comes from a few repeat offenders, and each one asks something different from a coaster.
- Condensation rings: Cold drinks sweat, water seeps into finishes, and you get cloudy spots or rings.
- Heat marks: Hot mugs soften certain finishes, leaving dull circles.
- Color transfer: Some cups, dyes, or cheap rubber backings can leach color onto lighter wood.
- Scratches: A coaster that slides or has grit trapped under it can do the opposite of protecting.
According to the U.S. Forest Service, wood responds to moisture changes by swelling and shrinking, which helps explain why repeated wet spots can turn into uneven, stressed finishes over time. In plain terms, keeping moisture off the top is the whole game.
Quick self-check: which coaster style fits your table and habits
Before you cut anything, decide what problem you’re solving. This tiny checklist saves a lot of “cute but useless” crafting.
- You see rings often → prioritize absorbent materials (cork, felt, unfinished wood) plus a moisture-aware seal.
- You drink lattes/tea → prioritize heat resistance (tile, stone, thicker wood with a proper finish).
- Your table is soft wood or has a delicate finish → prioritize a non-scratch backing (felt pads, cork backing).
- You want low maintenance → prioritize wipeable tops (sealed tile, sealed wood, resin topcoat used carefully).
- You care about “living room looks” → pick a color palette that matches the room, then choose the easiest build in that palette.
Materials cheat sheet (with a simple comparison table)
Here’s the honest trade-off: absorbent coasters protect from moisture but can stain, while non-porous coasters wipe clean but may trap condensation underneath if there’s no absorbent layer or rim.
| Material | Best for | Watch-outs | Finish tip |
|---|---|---|---|
| Cork sheet/tiles | Cold drinks, everyday use | Can crumble if too thin | Seal lightly; keep some grip |
| Felt + backing | Scratch protection, quiet setting-down | Absorbs spills, can look worn | Use washable felt or make removable covers |
| Ceramic tile | Heat resistance, easy wipe | Can scratch tables without backing | Add cork backing; seal grout/art |
| Wood slices | Rustic style, moderate heat | Can warp if not sealed evenly | Seal both sides to reduce cupping |
| Concrete/Jesmonite | Modern look, weighty feel | Can stain; edges may chip | Use a penetrating sealer + wax |
5 easy DIY coaster ideas that look good on a coffee table
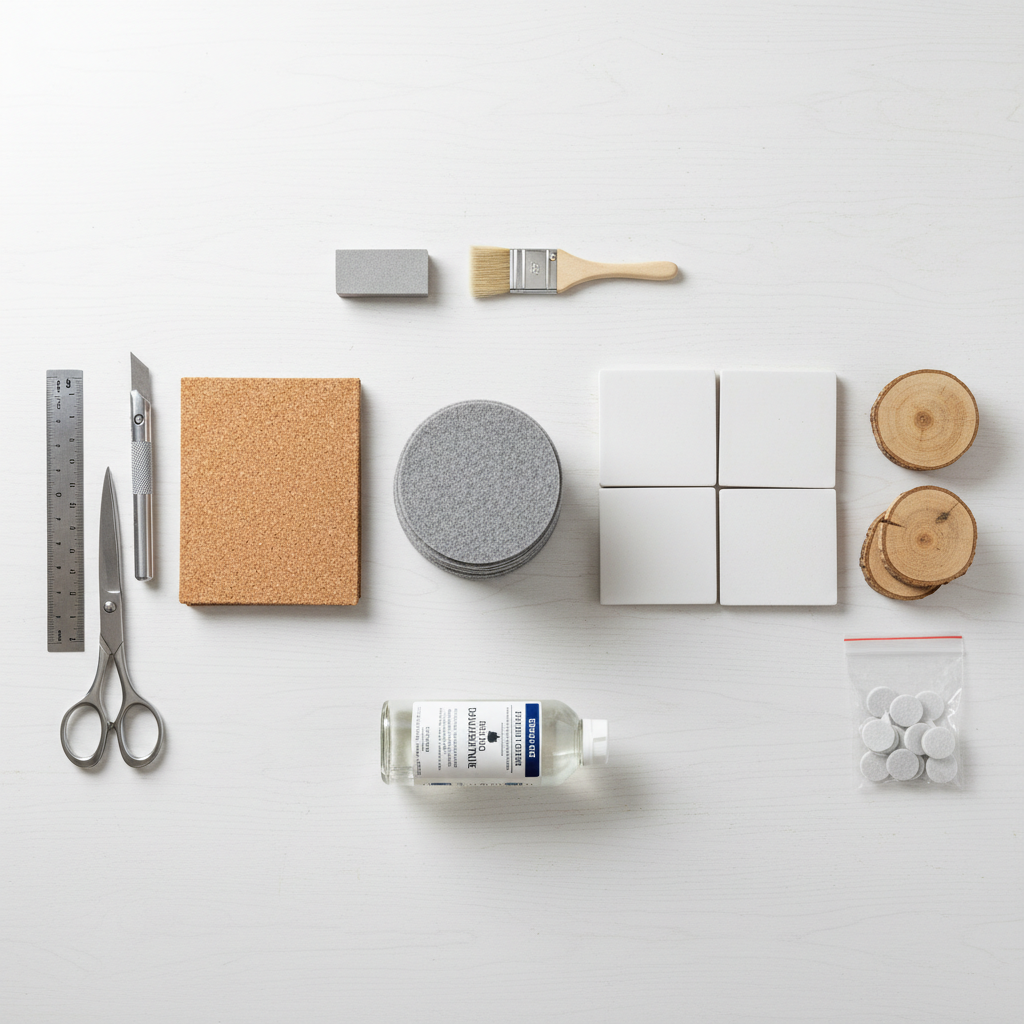
All of these are “one afternoon” builds, and none require special tools beyond basics like scissors, a craft knife, and sandpaper.
1) Minimal cork coasters (fastest, most forgiving)
If you want easy DIY coasters for coffee table use that don’t slide around, cork is the safe pick.
- Cut 4x4 inch squares or 4 inch circles from cork sheet (3–6 mm thick tends to feel substantial).
- Round the corners with scissors, then lightly sand edges.
- Optional: stencil a simple shape with acrylic paint, let it dry fully.
- Seal with a light coat of water-based polyurethane or a cork-safe sealer, keeping the bottom mostly uncoated for grip.
Key point: If you fully seal cork top and bottom to a glossy finish, it can become slippery and less absorbent, so aim for “protected” not “plastic.”
2) Tile coasters with cork backing (best for heat + wipe-clean)
Tile is great for hot mugs and looks surprisingly modern if you keep the design simple.
- Buy 4x4 inch ceramic tiles (matte looks more “designer” and hides smudges).
- Add art: peel-and-stick vinyl, paint marker design, or decoupage paper.
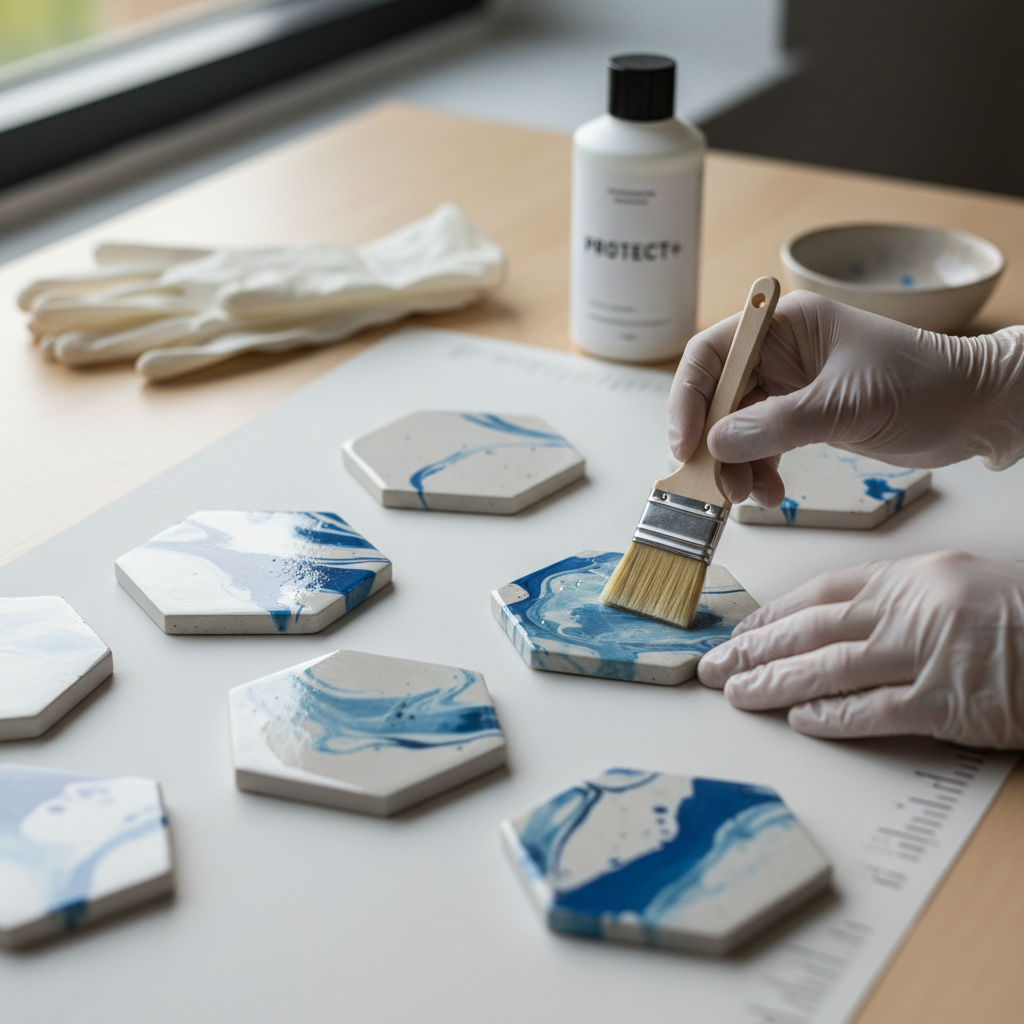
- Seal the top design with clear, water-based sealer in thin coats.
- Glue cork to the underside using contact cement or a strong craft adhesive.
- Add felt dots if your table finish scratches easily.
For families, this is often the most durable “set it and forget it” option.
3) Felt coasters with a stitched edge (soft, quiet, scratch-safe)
Felt is underrated if your main problem is micro-scratches or clanking cups.
- Cut two layers per coaster: a top felt layer and a bottom cork layer, or two felt layers if you prefer fully soft.
- Stitch around the edge (blanket stitch looks polished even if you’re not a sew-pro).
- Optional: apply fabric protector spray, test on a scrap first.
These feel cozy, but if your group spills red wine often, choose a darker felt and accept that “patina” happens.
4) Wood slice coasters (warm, rustic, surprisingly flexible)
Wood slices look right at home on many coffee tables, but they need an even seal to avoid warping.
- Choose slices around 3.5–4.5 inches wide, sand both faces smooth.
- Seal both sides with thin coats so moisture doesn’t pull the wood in one direction.
- Add a cork or felt backing if you want extra scratch protection.
If you’re sensitive to sap or allergies, consider a pre-finished slice or ask a pro at the lumber shop about wood type and sealing products.
5) “Concrete look” coasters (Jesmonite or craft mix)
For a modern room, these look expensive even though the process is pretty straightforward.
- Mix and pour into silicone coaster molds, tap to release bubbles.
- Demold, sand edges lightly.
- Seal with a penetrating sealer made for the material, then add wax for water resistance.
They’re heavier, which people either love or hate. On delicate tables, a soft backing is non-negotiable.
Step-by-step finishing: make coasters that survive real life
Most DIY coasters fail at the finish, not the cut. A pretty top that isn’t sealed correctly turns into sticky, stained, or cloudy circles after a few weekends.
- Sand first: Even cork and tile edges benefit from a quick smoothing so they don’t catch or flake.
- Seal in thin coats: Thick coats drip, stay tacky, and feel “crafty.” Two to four thin coats usually looks cleaner.
- Let it cure: “Dry” is not always “cured.” Many finishes need extra time before they stop grabbing condensation.
- Protect the bottom: If the coaster touches a wood table, add cork, felt, or silicone dots so grit can’t scratch.
According to the U.S. Consumer Product Safety Commission, following label directions on household chemicals helps reduce exposure risks. Ventilation and gloves are a reasonable default when you’re using sealers or strong adhesives, and if you have asthma or sensitivities, it may be worth asking a professional about lower-odor options.
Common mistakes (and the quick fixes)
A few issues show up again and again, especially with easy DIY coasters for coffee table projects that skip the “boring” steps.
- They stick to the glass: Too-glossy topcoat or not fully cured. Fix by curing longer, or lightly scuff-sand and apply a more matte finish.
- They slide around: Bottom fully sealed or too smooth. Fix with cork backing, felt pads, or a thin silicone dot pattern.
- They leave a ring anyway: Non-absorbent top traps condensation. Fix by adding a cork layer, a small rim, or switching to absorbent material for cold drinks.
- Paint smears: Sealing too soon. Fix by letting paint dry longer, then sealing in very thin coats.
- Edges chip: Tile or concrete without softened corners. Fix by sanding edges and adding a backing that slightly overhangs.
Key takeaways + a simple plan for your first set
If you’re deciding in the aisle or scrolling supplies online, keep this short list in mind.
- Cold drinks: cork or felt-forward designs prevent most ring drama.
- Hot mugs: tile with cork backing feels sturdy and wipes clean.
- Nice table finish: always add a soft underside, even if the top is perfect.
- Longer life: thin coats of sealer and real curing time beat “one heavy coat.”
Action plan: pick one material, make four coasters, and test them for a week. If they slide or stick, adjust the finish and backing before you make a full set.
Conclusion: protect your table without overthinking it
Easy DIY coasters for coffee table setups work best when you match the coaster to your actual drink habits, not the cutest tutorial photo. Start with cork if you want low risk, go tile if heat is your constant issue, and whatever you choose, treat the underside like part of the design. Make a small set, live with it, then scale up once you know what your coffee table really needs.
If you want a quick next step, choose one design above and commit to finishing it properly this weekend, you’ll notice the difference the first time you wipe the table and nothing feels sticky or looks cloudy.