
How to organize kids art supplies at home comes down to two things: giving every category a “home,” and making it easy enough that kids can actually keep up with it.
If you live in a smaller space, the mess feels bigger, fast. Markers migrate, glitter shows up in your sock drawer, and the “one craft project” becomes a week-long countertop takeover. The goal isn’t a Pinterest-perfect craft room, it’s a setup that resets in five minutes on a normal weekday.
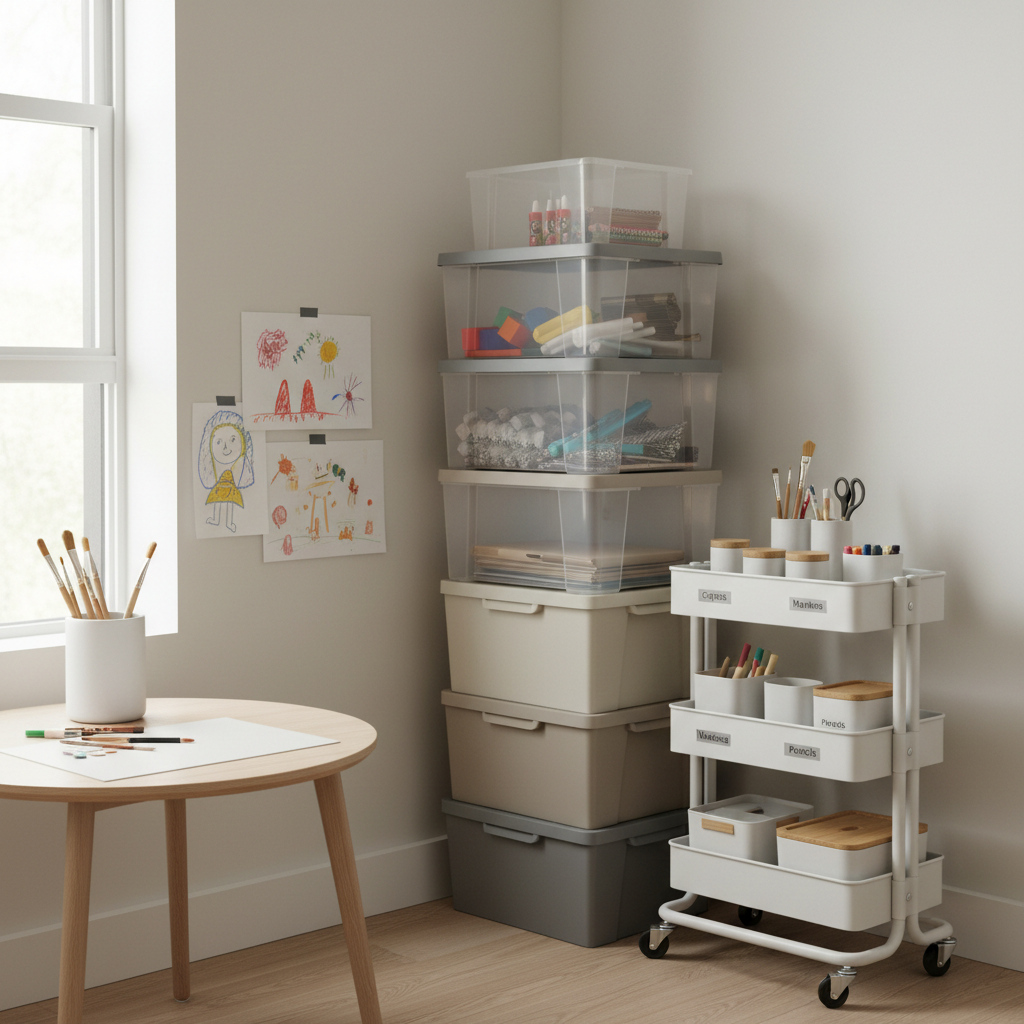
I’ll walk you through a few realistic organizing “zones,” what containers work best in tight areas, and how to set rules kids can follow without a long lecture. You’ll also get a quick decision checklist and a simple table you can copy when you shop your house for storage.
Start with the real problem: why art supplies explode in small homes
Most families don’t have an art-supply problem, they have a “no boundaries” problem. Art items are small, colorful, and easy to stash anywhere, which means they end up everywhere.
- Too many formats: loose paper, half-used sticker sheets, random beads, paint bottles, and 12 types of glue do not stack neatly together.
- No clear categories: when crayons, markers, colored pencils, and pens live in the same cup, kids rummage, spill, and walk away.
- Storage doesn’t match behavior: if you expect a 6-year-old to put 30 items back into separate drawers, you will stay frustrated.
- Projects have no “parking spot”: unfinished crafts sit on the table because there’s nowhere safe to pause them.
According to CDC, some craft materials can be harmful if misused, so a good system also helps with basic safety by separating “kid-safe daily use” from “adult-supervised items.” When you can see what you have, you’re less likely to hand a toddler something that needs supervision.
A 10-minute self-check: what kind of setup do you need?
Before buying bins, figure out what you’re optimizing for. Different households need different “defaults,” and that’s normal.
Pick the statement that sounds most like your house
- “We craft almost daily.” You need quick access and quick reset, with a dedicated surface and a rolling or shelf-based station.
- “Weekends only, but we go big.” You need compact storage plus a project box that can expand onto the table.
- “We do crafts at the kitchen table.” You need portable kits and strong cleanup rules to protect food areas.
- “My kid forgets to put things away.” You need fewer categories, bigger bins, and more visual labels.
Also ask yourself two practical questions: Where do supplies live when nobody is crafting, and where do wet/unfinished projects go to dry? If you can answer those, you’re already most of the way there.
Create 3 small-space zones (you don’t need a craft room)
Small spaces work better with “zones” than with one giant organizer. Think in three layers, so the messy parts stay contained.
Zone 1: Daily tools (kid-accessible)
This is the stuff you’re okay with your child using independently, most days.
- Crayons or washable markers
- Glue stick (not liquid glue)
- Child scissors (age-appropriate)
- A small set of colored pencils
- Stickers (a small, curated selection)
Keep Zone 1 in a single caddy or bin that can move to the table and back. If you’re figuring out how to organize kids art supplies at home without constant nagging, this is your “grab-and-go” win.
Zone 2: Project support (adult-assisted)
These are the items that create bigger mess or require more control: paint, glitter, beads, strong adhesives, specialty papers.
- Paints and brushes in a lidded bin
- Glitter and sequins in a sealed container inside another bin
- Beads, googly eyes, and small parts (especially if you have younger kids)
- Stapler, tape refills, hole punch
Store Zone 2 higher up, or behind a door, and bring it out when you can supervise. This is less about being strict, more about avoiding the “one second of silence” surprise.
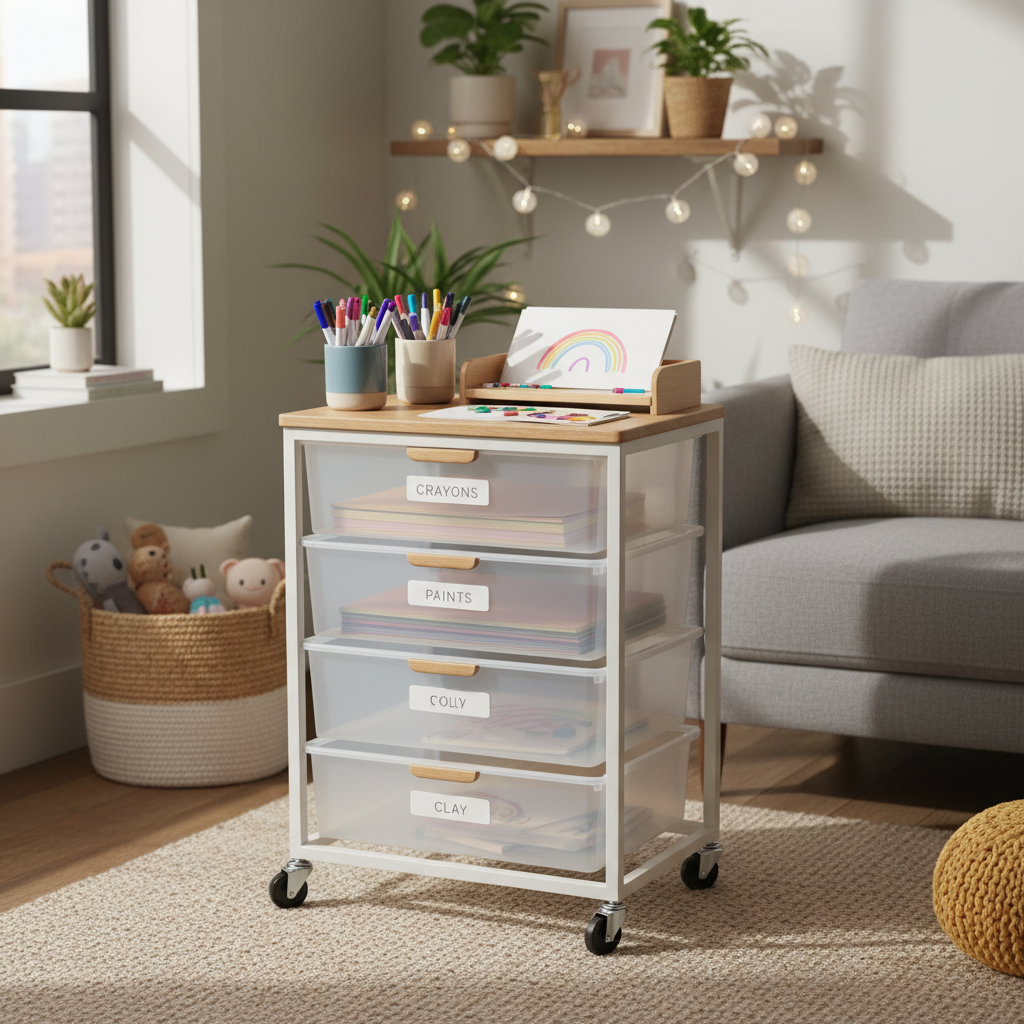
Zone 3: Works-in-progress (WIP parking)
This is the zone most homes miss. Without it, projects stay on the table, then get bumped, then you feel like you’re “always cleaning.”
- A shallow lidded box for each child (or one shared box)
- A rigid folder or expanding file for “important paper”
- A drying tray or a cafeteria tray for wet paint
Put WIP storage near where you craft, not in a closet across the home. Convenience beats perfection every time.
Containers that actually work in tight spaces (with a simple table)
You don’t need fancy organizers, you need containers that match what you own. If something is hard to open, too heavy, or too precise, it will fail during a weekday cleanup.
| Supply type | Best small-space container | Where to store | Why it works |
|---|---|---|---|
| Markers, pencils, crayons | Handled caddy or cup-in-bin | Low shelf or rolling cart | Easy carry, fast reset |
| Paper (letter/A4, construction) | Vertical magazine files or slim paper tray | Bookcase shelf | Prevents bending, saves depth |
| Stickers | Binder with sheet protectors | Upright on shelf | Keeps sets together, kid can flip |
| Paint + brushes | Lidded bin + zip pouch for brushes | High shelf | Contains leaks, separates wet tools |
| Small loose parts (beads, eyes) | Compartment box inside a larger bin | High shelf or locked cabinet | Stops spill cascades |
| Glue, tape, tools | Small “tool pouch” | In Zone 2 bin | Keeps sharp/strong items grouped |
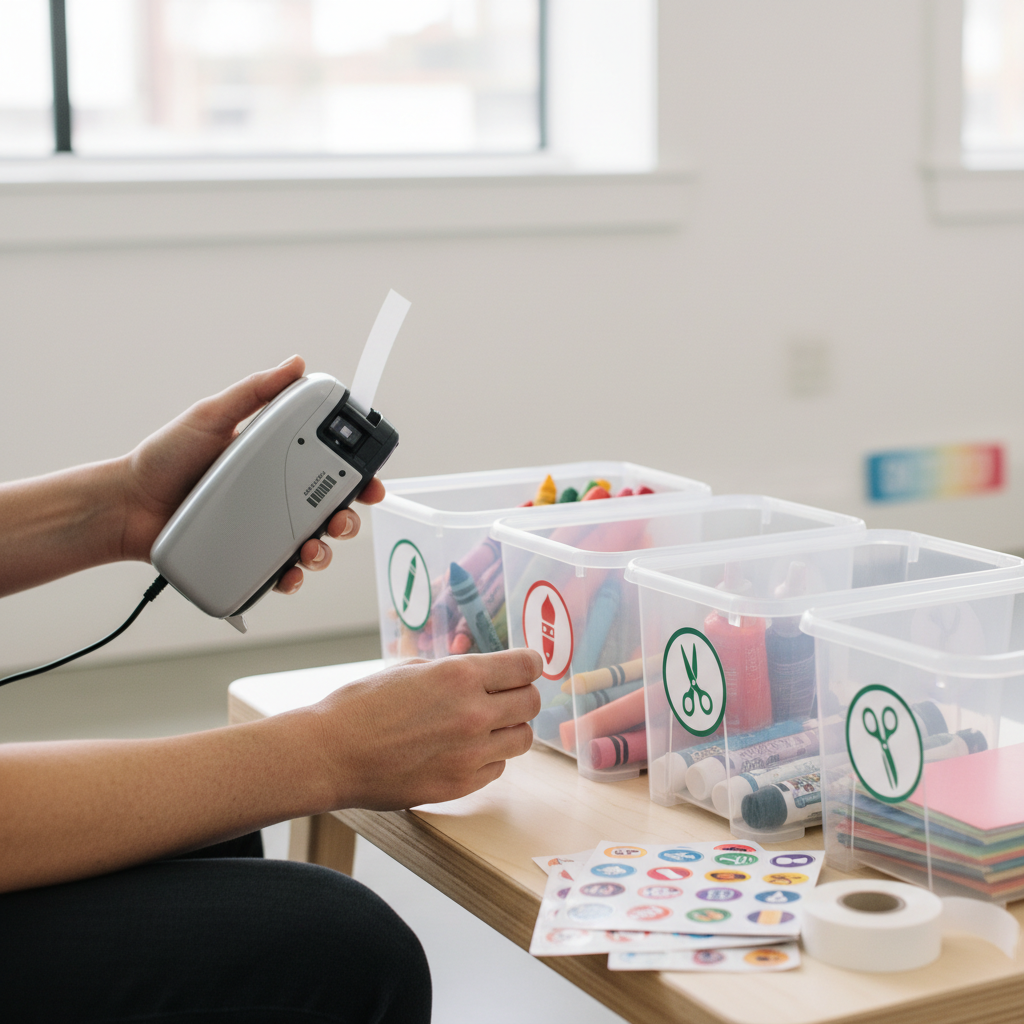
One honest tip: clear bins help adults, but kids sometimes do better with picture labels. If your child can’t read yet, a simple marker icon on the bin beats perfect typography.
Step-by-step: a small-space reset you can do in one afternoon
If your supplies are currently spread across multiple drawers, backpacks, and random bags, this sequence keeps it from turning into an all-day project.
1) Sort into “keep, relocate, toss” quickly
- Keep: items your child uses this month, and duplicates you truly need.
- Relocate: school-only supplies can live with backpacks, not in the art bin.
- Toss: dried-out markers, broken crayons you don’t plan to melt, glue that smells off.
According to EPA, some household products may have disposal guidance depending on what they contain, so if you have old paints or solvents, check local rules or ask your municipal waste program what applies in your area.
2) Choose your “home base” surface
Pick one realistic crafting spot: kitchen table, a small desk, or a corner of the living room. Your storage should sit within a few steps of that spot, otherwise the setup will drift.
3) Build Zone 1 first (one bin only)
This is where you’ll see the biggest behavior change. Limit it on purpose. If everything fits, cleanup feels possible.
- One caddy for coloring tools
- One thin folder for “today’s paper”
- One small trash cup during crafting to catch scraps
4) Add a WIP box so projects stop living on the table
Label it clearly: “Save for later.” This sounds obvious, but kids respond well to a designated “pause button.”
Safety and sanity rules that reduce mess (without killing creativity)
Rules work best when they’re simple and visible. Post a tiny checklist near the bin, or print it and tape it inside the lid.
- One bin out at a time: you can switch bins, but you reset before the next one.
- Cap-check before cleanup: uncapped markers create two problems, mess and wasted supplies.
- Glitter lives inside a bin: even adults spill glitter, contain it by default.
- Wet items go to the drying spot: not the couch arm, not the windowsill.
- Food and craft glue don’t mix: if you craft at the kitchen table, wipe down before meals.
If you have toddlers or pets, treat small parts and strong adhesives as supervision-only. If you’re unsure about a material, reading the label and asking a pediatrician or poison control for guidance is a reasonable step in many situations.
Common mistakes that keep the clutter coming back
- Over-organizing too early: tiny compartments feel satisfying, but they slow kids down, then everything ends up in one pile anyway.
- Storing paper flat in deep bins: it becomes a bent, crumpled stack that nobody wants to use.
- Keeping every single craft kit: many kits are “one fun afternoon,” then they become permanent clutter unless you consolidate parts.
- No restock routine: if tape runs out and nobody replaces it, the system breaks and supplies scatter.
Here’s a more helpful mindset: you’re not building a museum archive, you’re building a tool station. A little mess during use is normal, the win is fast reset.
When it’s worth getting extra help or upgrading your setup
Sometimes the issue is less about containers, more about space limits or family routines.
- If you’re constantly stepping over supplies, a small shelving unit or a rolling cart can be a quality-of-life upgrade.
- If your child struggles with impulse grabbing, you might need to simplify categories and rotate supplies, rather than adding more storage.
- If clutter is affecting stress at home in a bigger way, a professional organizer can help you design a system around your actual layout and habits, not an ideal version of them.
And if you’re dealing with safety concerns, allergies, or questions about specific materials, it’s smart to consult a qualified professional, especially for younger kids.
Key takeaways and a simple next step
If you remember only a few things, remember these: separate daily tools from messy supplies, create a works-in-progress parking spot, and choose containers that match how kids behave, not how adults wish they behaved.
Your next step can be small: pick one bin for Zone 1, label it, and commit to a two-minute reset after crafting for a week. Once that feels normal, everything else gets easier, including how to organize kids art supplies at home without feeling like you’re always cleaning.
FAQ
How do I organize kids art supplies at home if we don’t have any extra storage?
Go vertical and portable: a handled caddy plus a vertical paper file often fits on an existing bookshelf. The trick is limiting Zone 1 so it stays compact.
What’s the best way to store construction paper in a small apartment?
Vertical magazine files or a slim paper tray on a shelf works better than a deep bin. Paper stays flat, and kids can browse without pulling everything out.
How can I keep markers from drying out?
Store them tip-down or horizontal depending on brand guidance, and make “cap-check” part of cleanup. Also, fewer markers out at once reduces uncapped strays.
Should I use clear bins or opaque bins for kids’ craft supplies?
Clear bins help adults spot what’s inside, but many kids do better with picture labels. If you can only choose one, choose the option your child will actually use consistently.
How do I manage glitter and tiny beads without banning them?
Containment beats willpower: keep small parts inside a lidded container that lives inside a bigger bin, and only bring it out over a tray. If you have very young children at home, consider supervision-only rules.
What’s a realistic cleanup routine for weeknight crafts?
Make it a two-stage reset: kids put everything back in the correct bin, then an adult does a 60-second surface wipe and checks for missing caps. Fast, repeatable, and less stressful.
How often should I declutter art supplies?
Most families do fine with a quick check every 2–3 months, plus a short back-to-school reset. If your space is very tight, rotating supplies monthly can help.
If you’re trying to organize a small home and want a more “done-for-you” approach, a simple option is to build one portable daily caddy plus one lidded backup bin, then tweak labels and categories after a week of real use instead of guessing on day one.